Why speed measurement
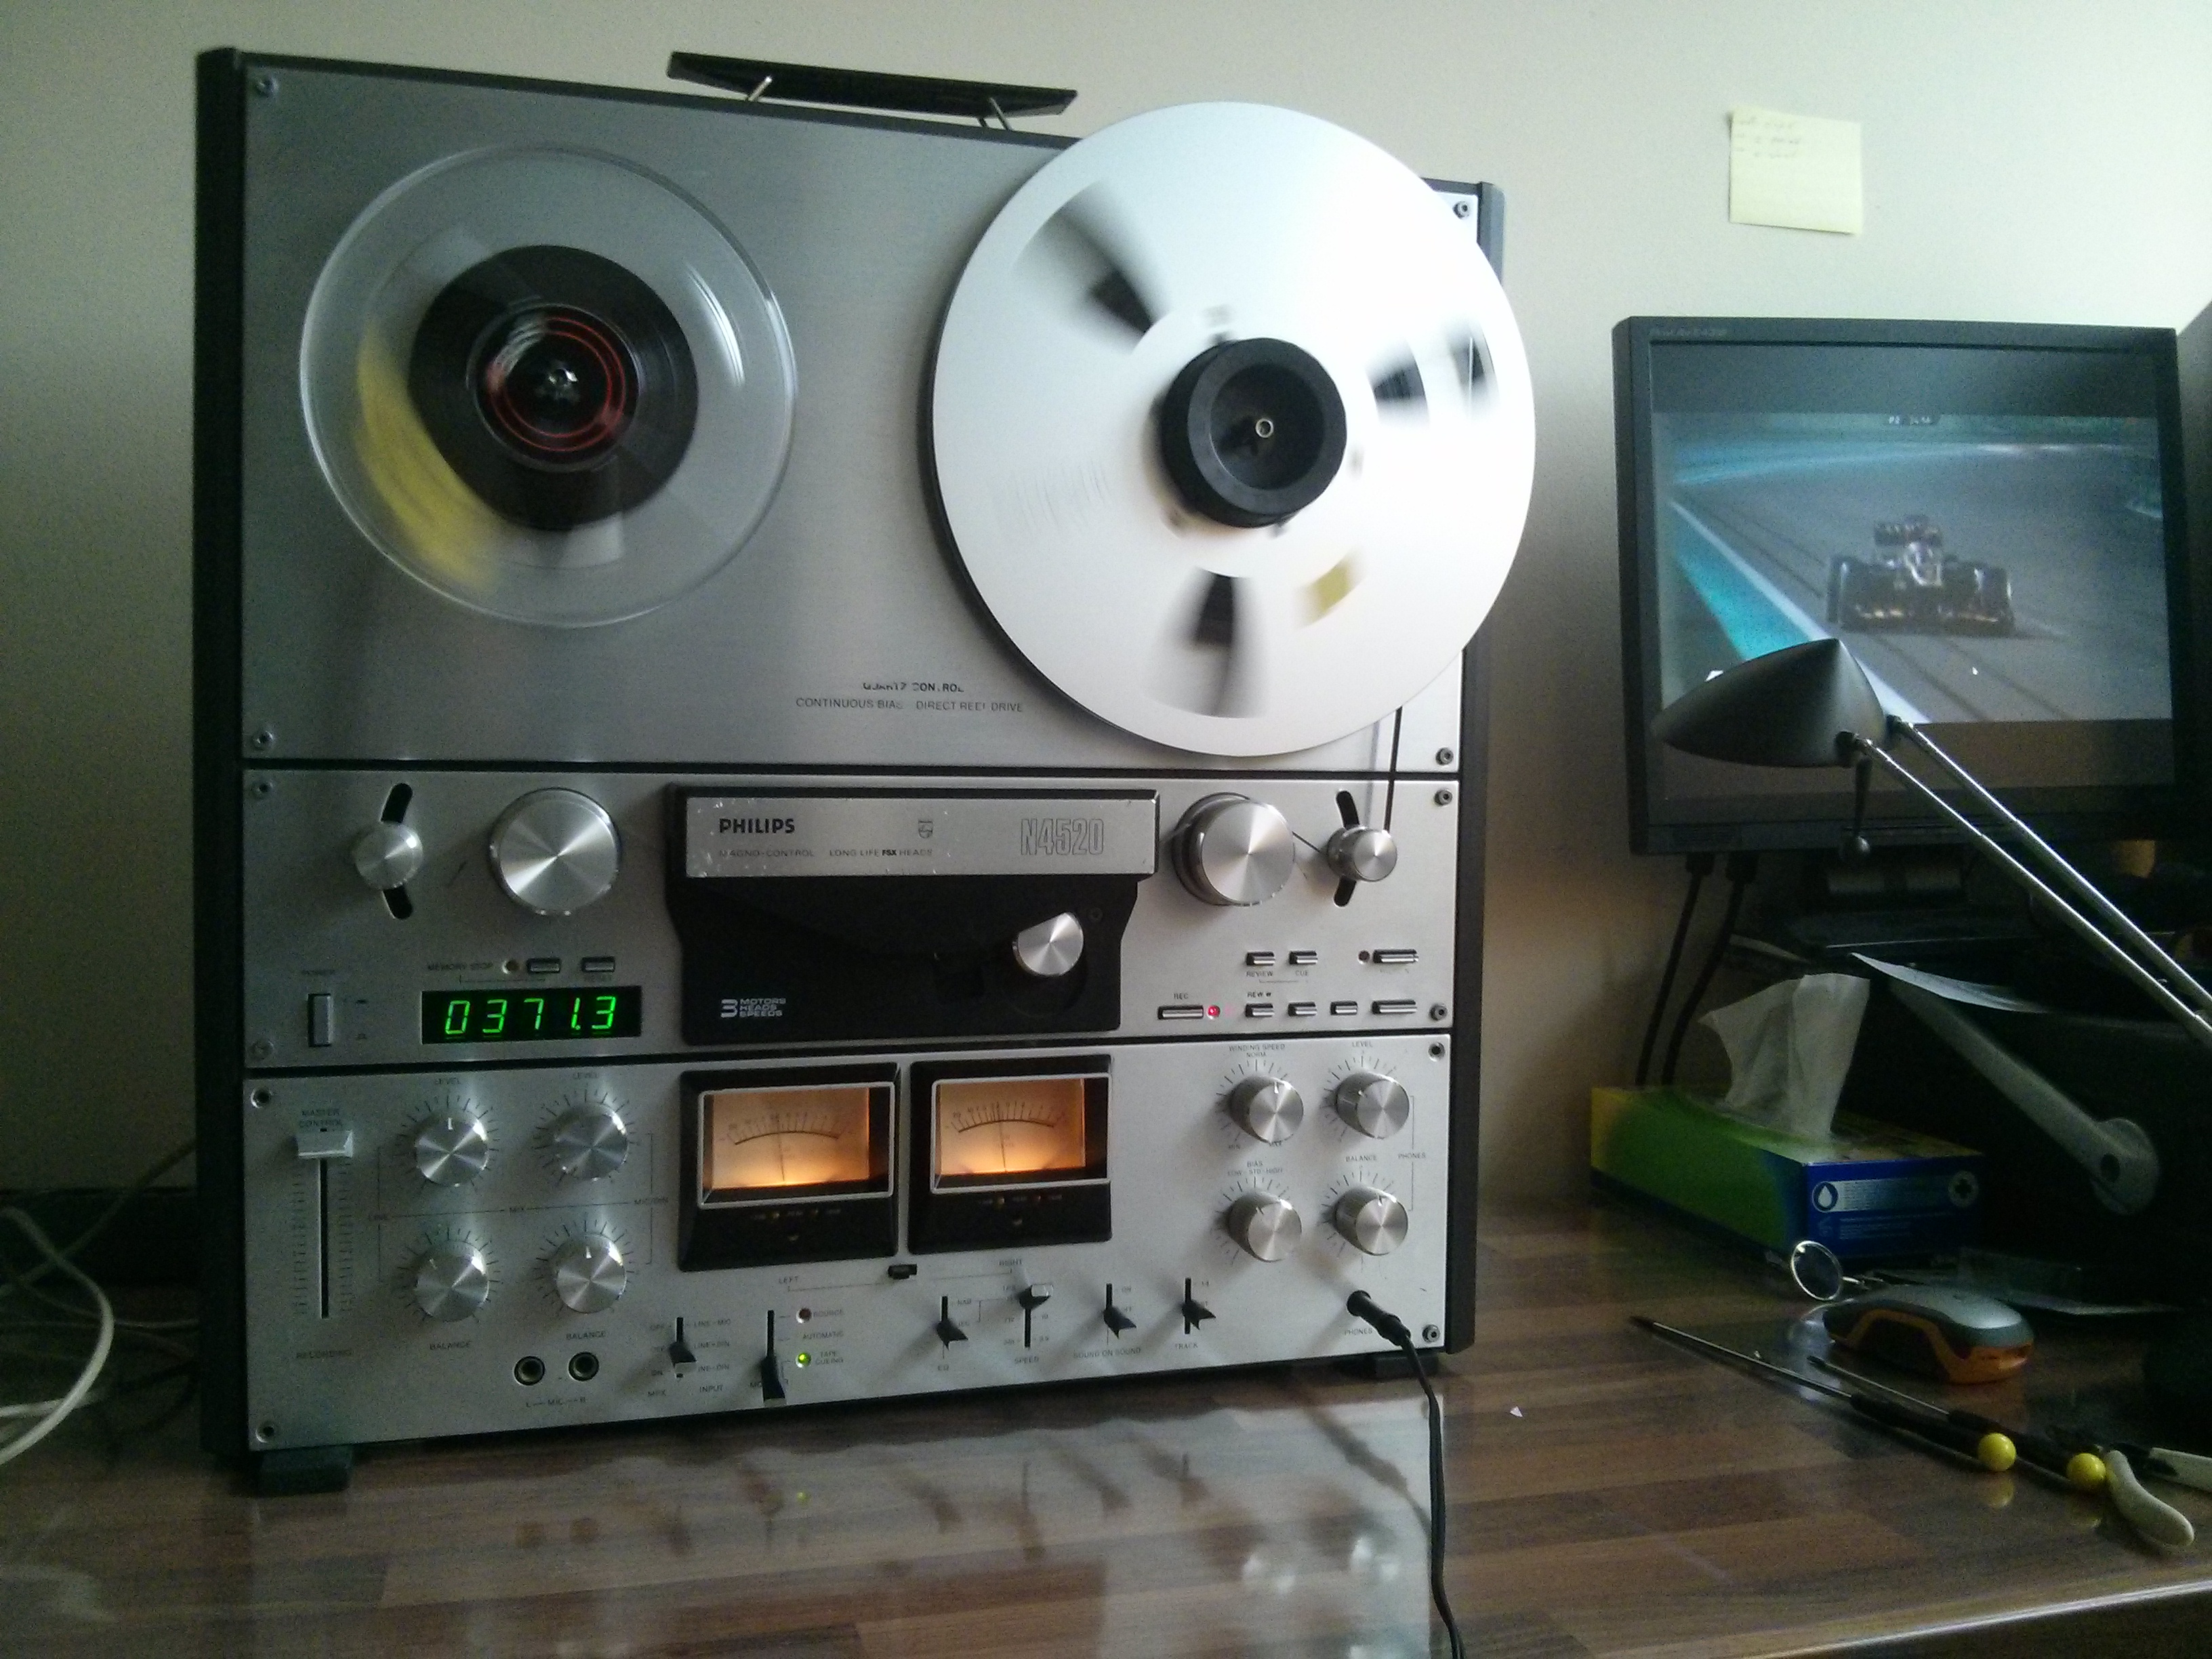
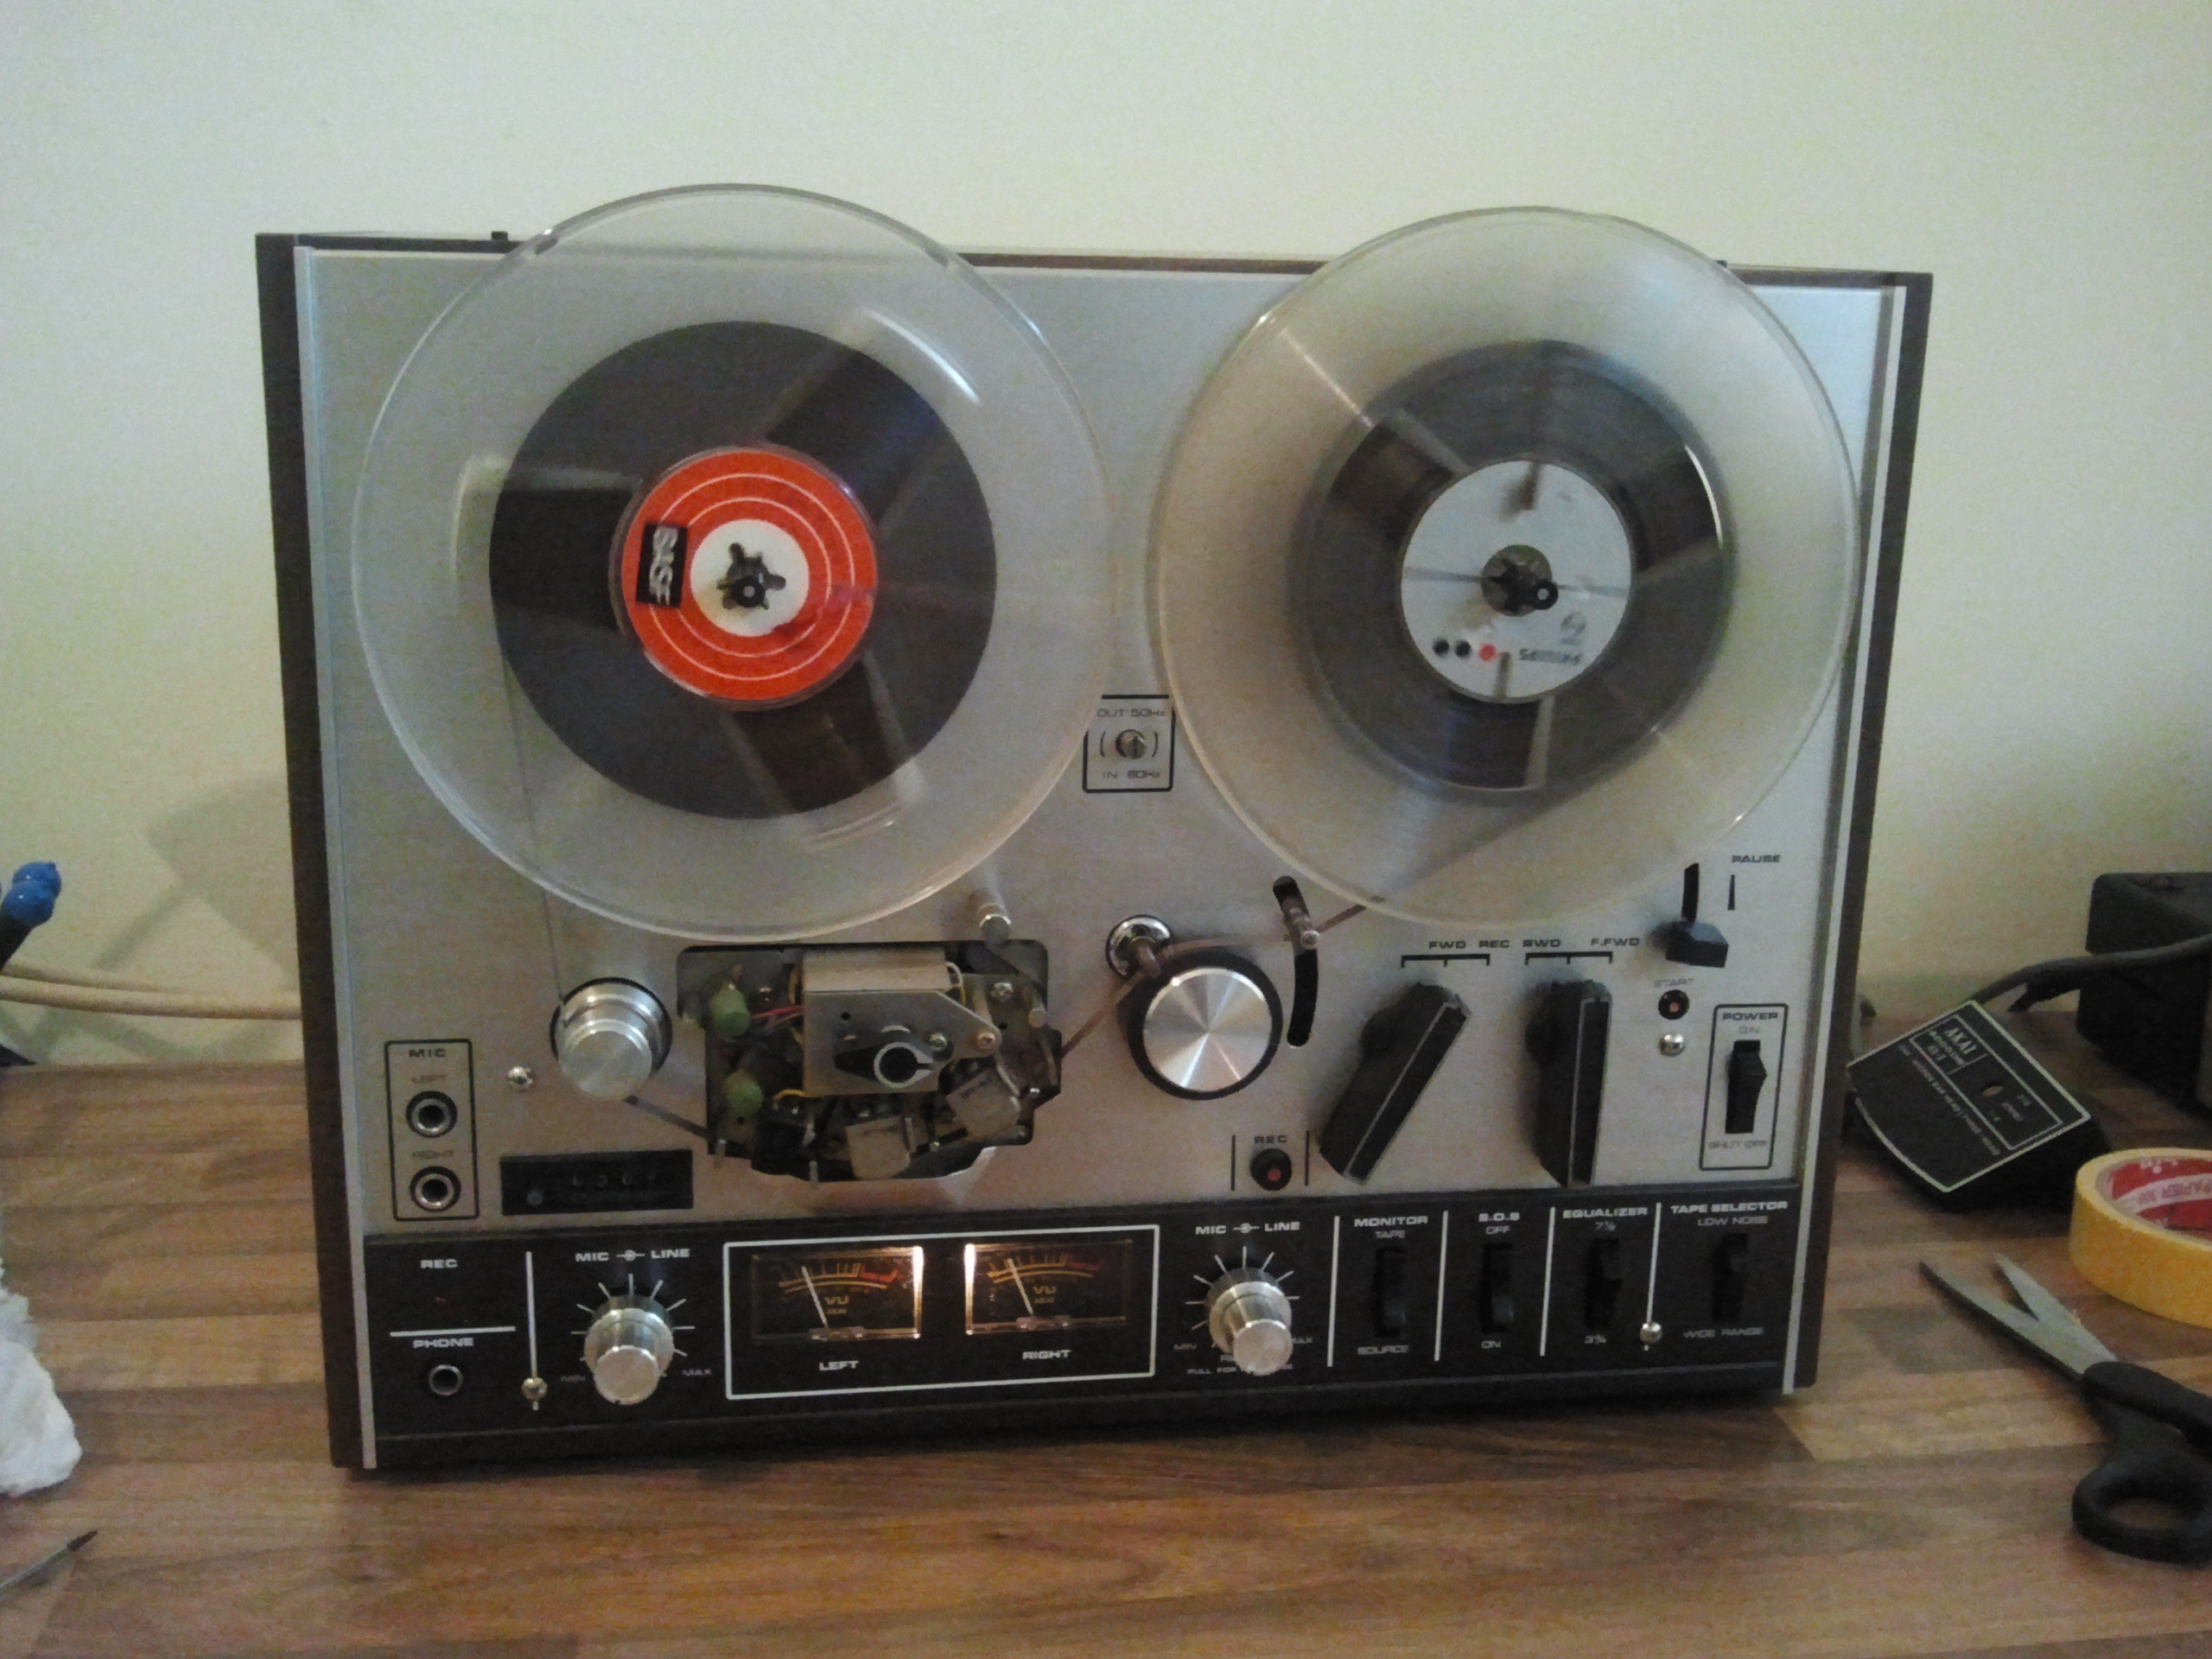
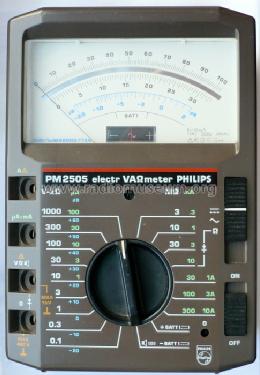
For some reason I got interested in the speed of my tape decks. Why, you ask? I really don’t know. I was fiddling around with my vintage Philips multimeter, 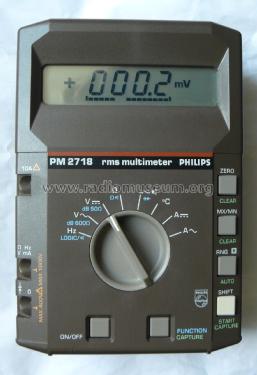 which is capable of measuring the frequency of a tone, when I thought it would be cool to use that meter to measure the 1kHz tone which is a the beginning of my (generic) calibration tapes. If the tape runs too fast, the measured frequency would be over 1000Hz, and if the speed was too low, it would be under 1000Hz. Suddenly I was fascinated by the fact whether my decks were running at the exact speed or not, or if not, how much deviation it had.
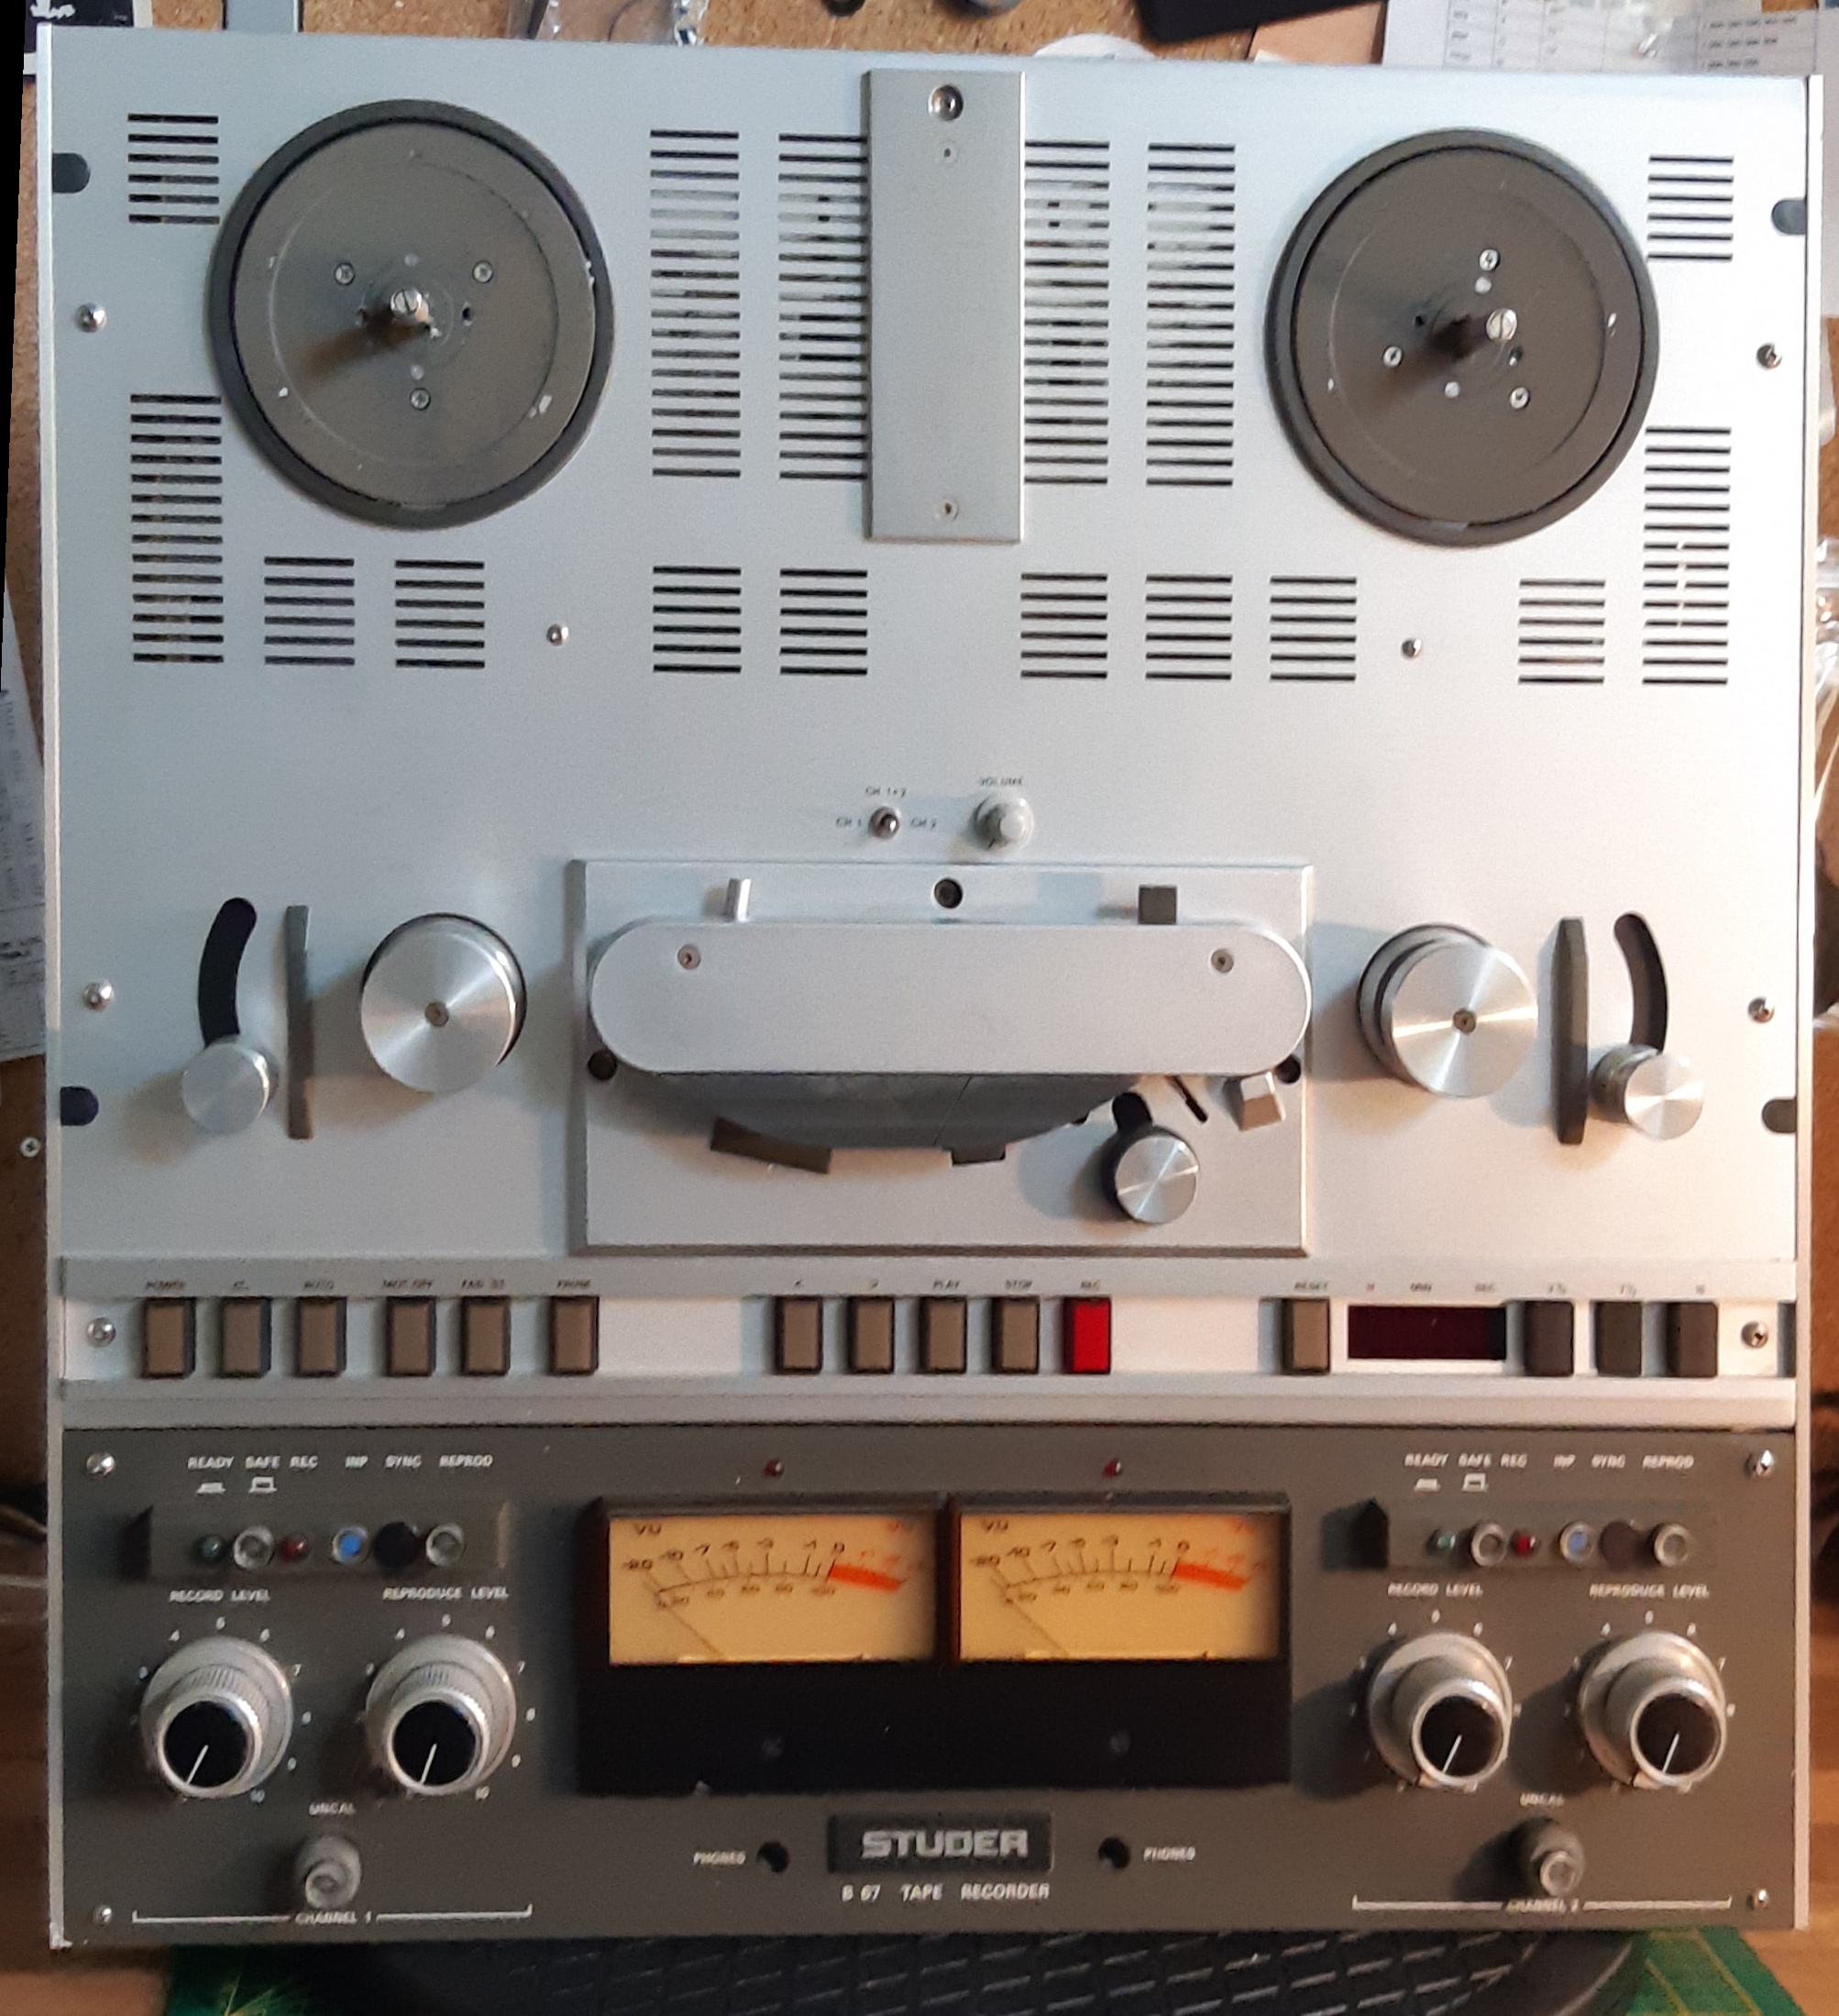
Now, you have to understand that I do a lot (well, actually not that much) calibrations of decks, but I never ever calibrated the speed. I never bothered before. I never had a problem with speed before. I never had the need to adjust the speed of a deck. So whatever I measured now, it would be the ‘default’ speed, untouched.
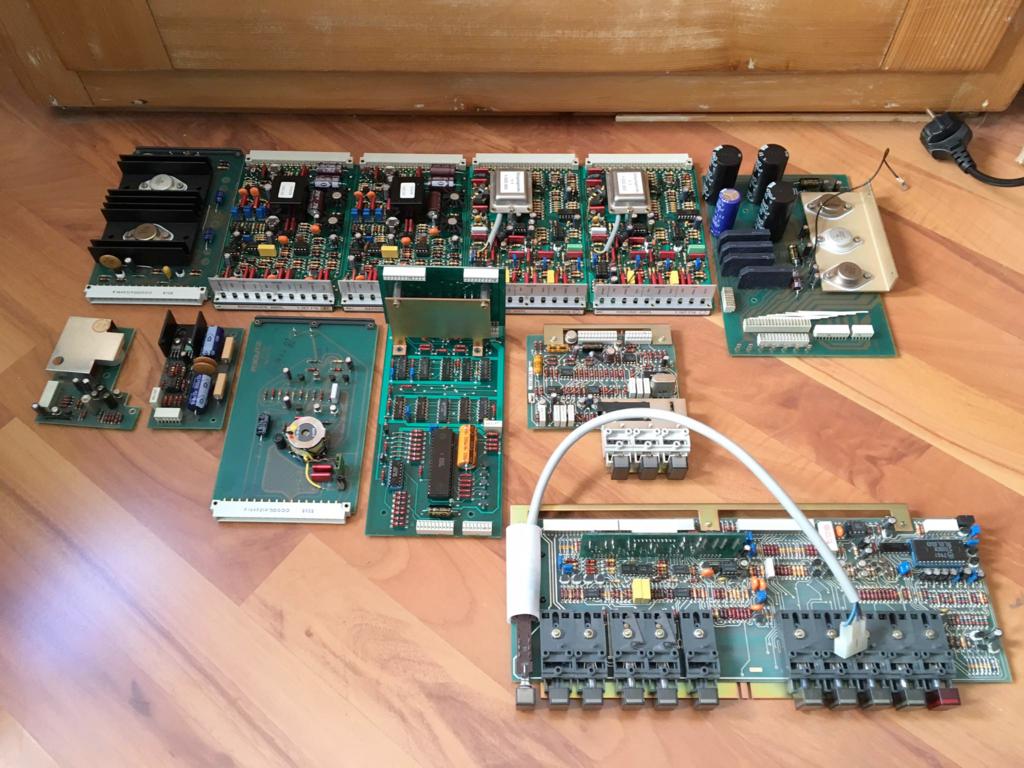
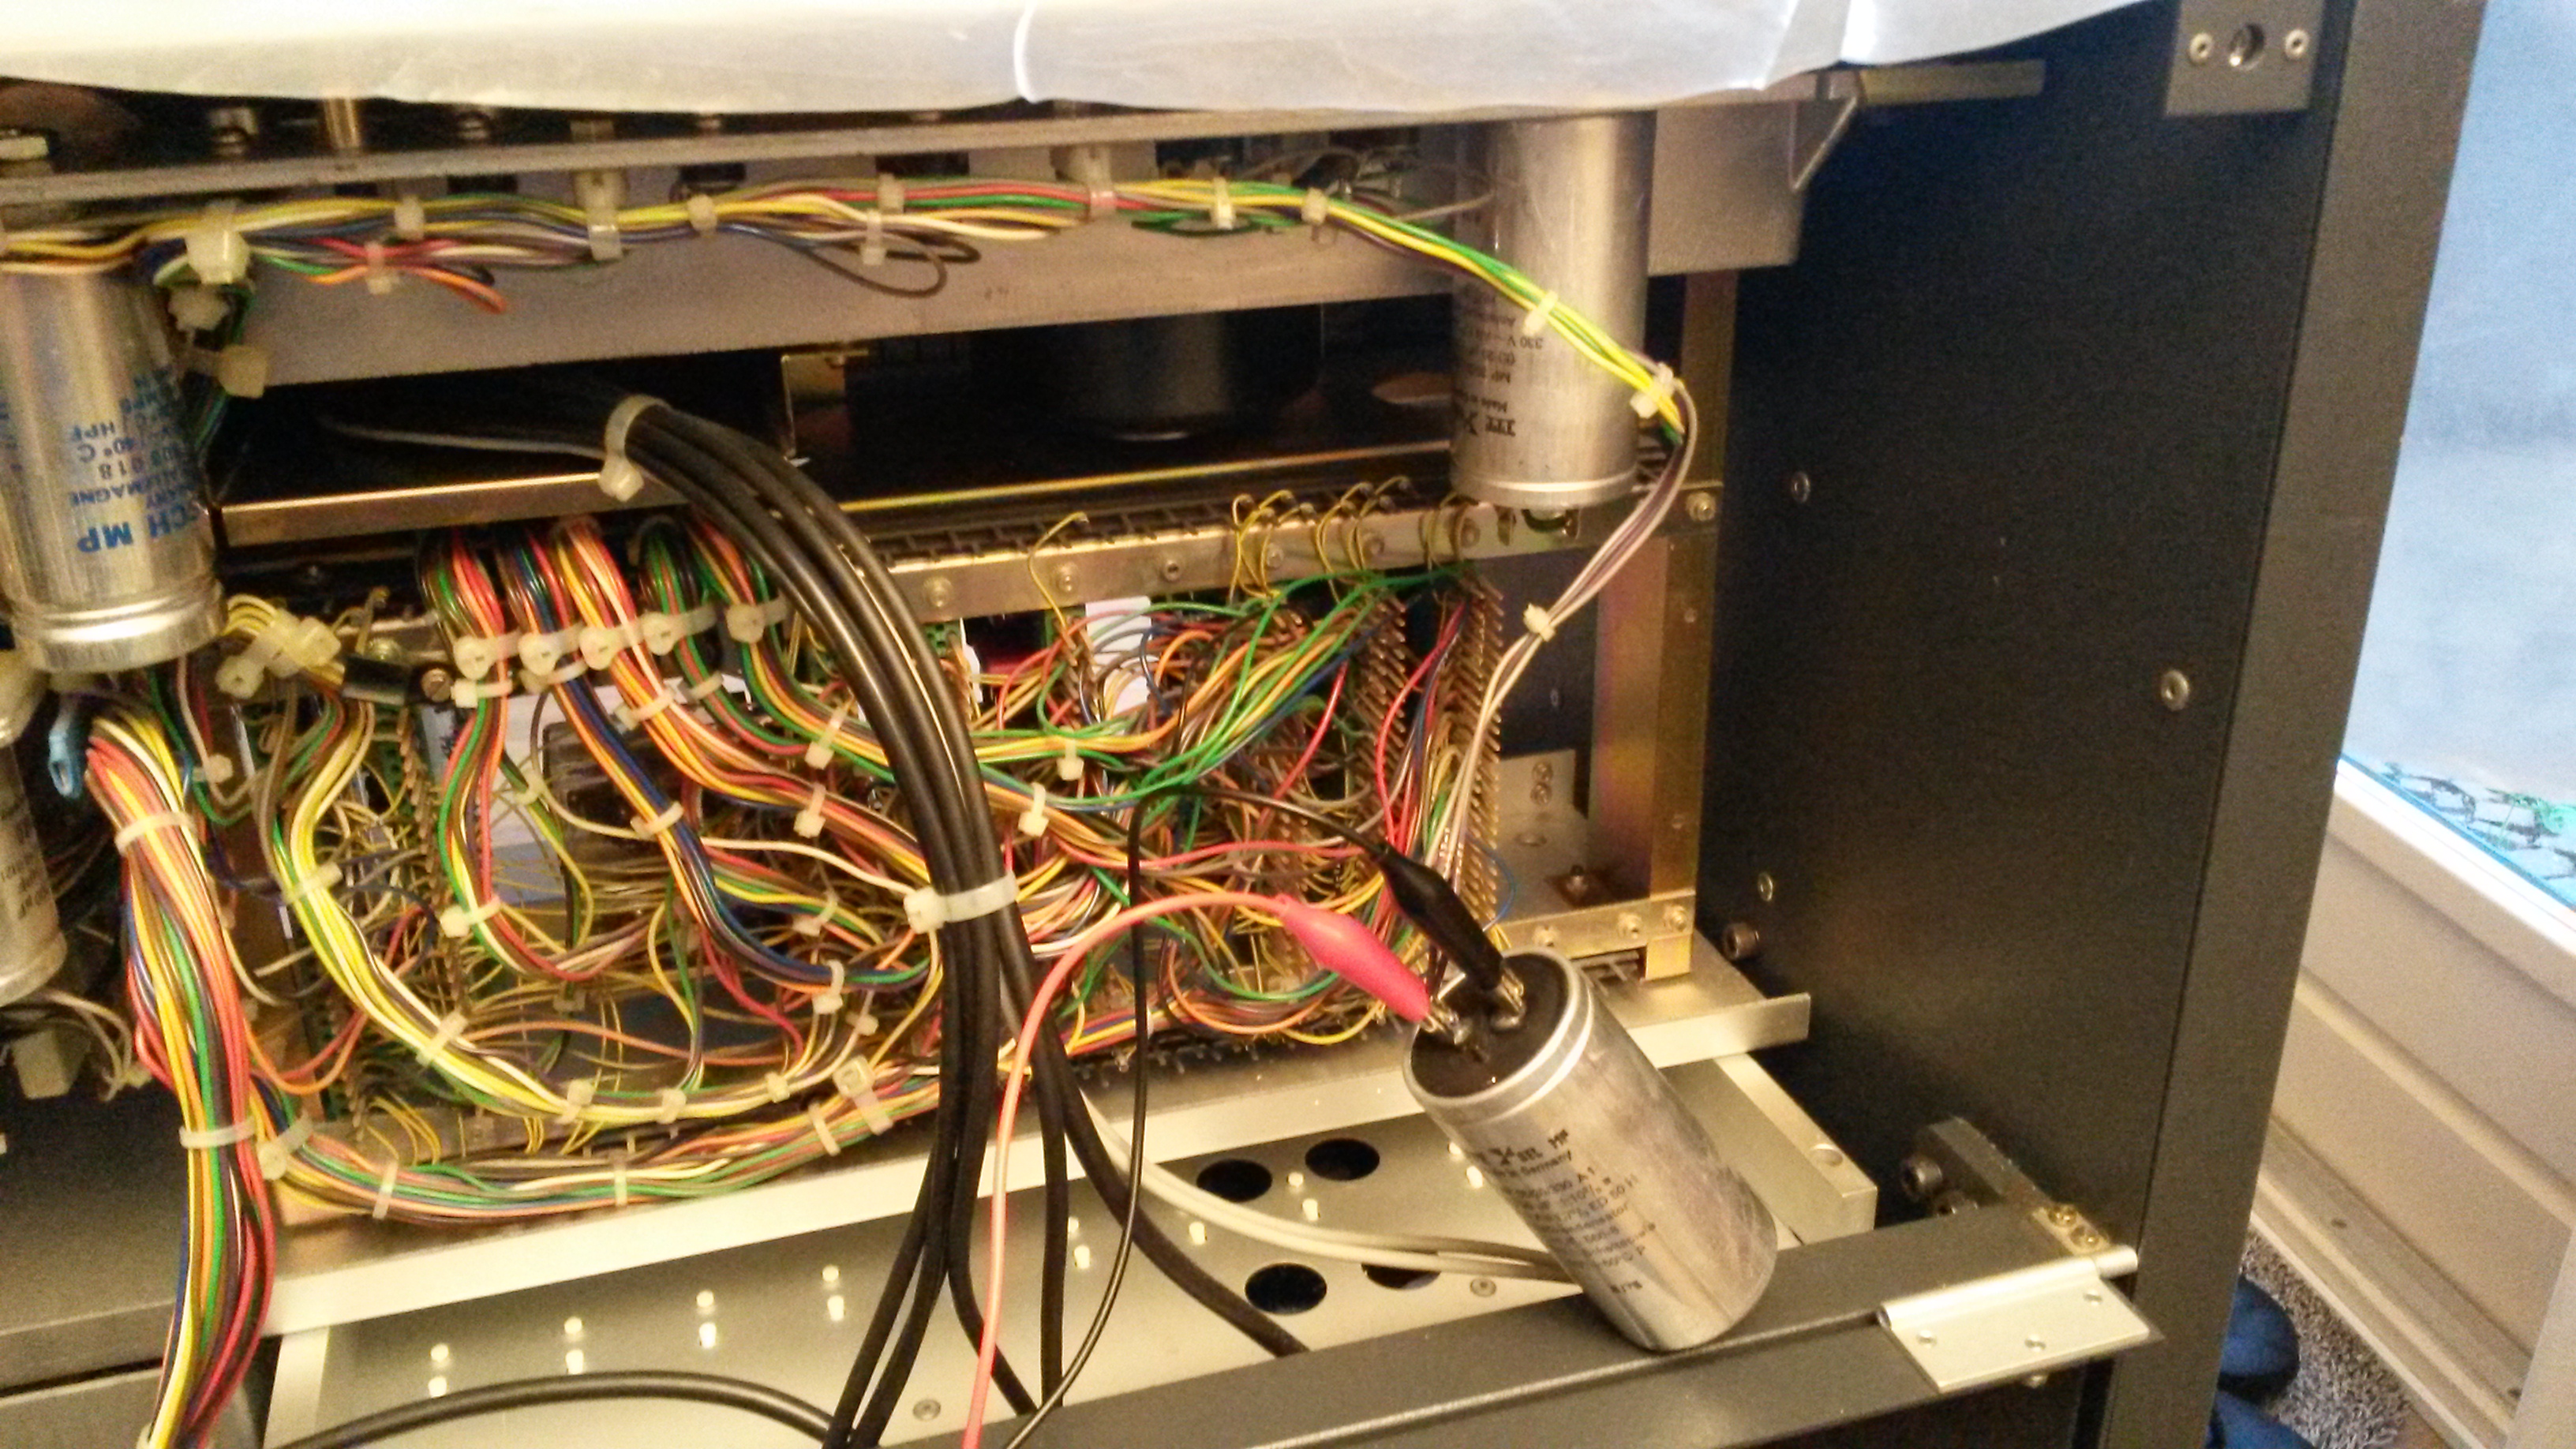
So I loaded the test tape onto all of my decks, connected the multimeter, and did my measurements.
The results were sometimes surprising, sometimes more or less expected.
| Merk/Type |
speed |
% |
| Akai GX77 |
980 |
98 |
| Revox PR99 |
994,5 |
99,45 |
| Teac X7R |
995 |
99,5 |
| Philips N7300 |
998 |
99,8 |
| Teac X2000R |
998 |
99,8 |
| Philips N4520 |
1000 |
100 |
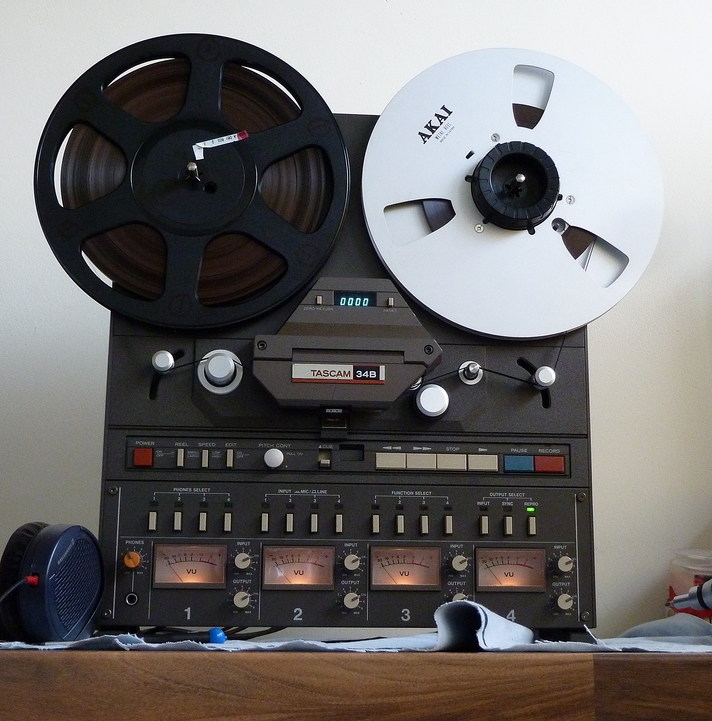
| Tascam 34B |
1000 |
100 |
| Studer A80 |
1000 |
100 |
| Teac A3440 |
1002 |
100,2 |
| Teac X7 |
1011 |
101,1 |
And a graph says more than words, so:
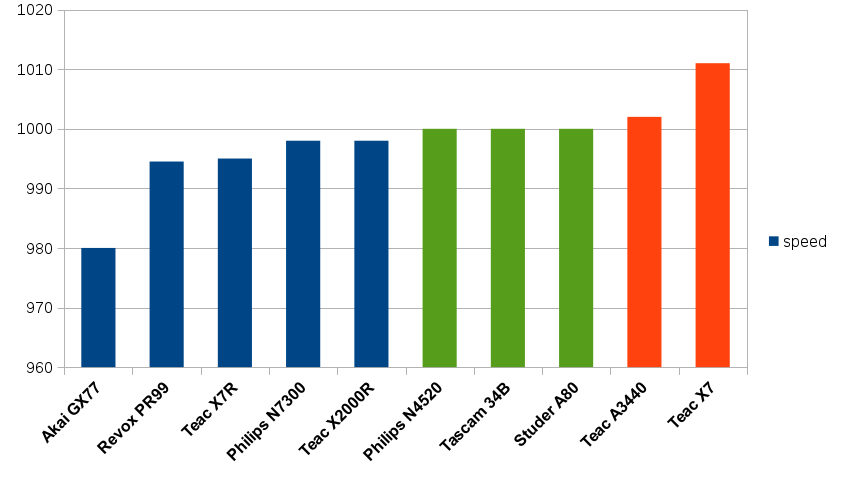
What can we conclude from this?
-
The Akai GX-77 really runs too slow
-
almost all decks run within +/- 0,5% of the correct speed, which is within the DIN norm
-
only 3 decks run a EXACT the correct speed: the Philips N4520, the Tascam 34B, and the Studer A80.
-
the Philips N4520 is know for its quartz/PLL like control, so this is no surprise
-
the Tascam 34B is a professional deck, but this result still surprised me
-
the Studer A80…..well…….need I say more?
enter the wow and flutter
So that has been a very interesting experience. But then I started thinking about variations of the speed, also known as ‘wow’ and ‘flutter’.
Wow is the slow variation in speed, with a period below 6 Hz.
Flutter is the fast change in speed, with a frequency above 6 Hz.
One can experience wow then playing a record where the hole is not centered, and the speed goes up and down all the time.
Flutter is more difficult to hear because it is so fast. It can be measured however. Flutter is created by faulty mechanics: a capstan here, a roller there, dirt, bearings, the overall construction etc. It would appear that less flutter makes for a more tight and clean sound.
There is always wow and flutter. No mechanical system is without them. It is just a matter of reducing it as much as possible.
causes of W&F
what are the causes of W&F? There can be many. The capstan or axis involved might not be perfectly round. The bearing idem. The system may not be perfectly lubricated. There may be dirt on tape guides, causing jerky tape motion (on a microscopic scale). Tape may not be slit evenly. Etc. etc. etc. There really are too many to mention here.
Remember: There is always wow and flutter. No mechanical system is without it. Realize that.
measuring wow and flutter
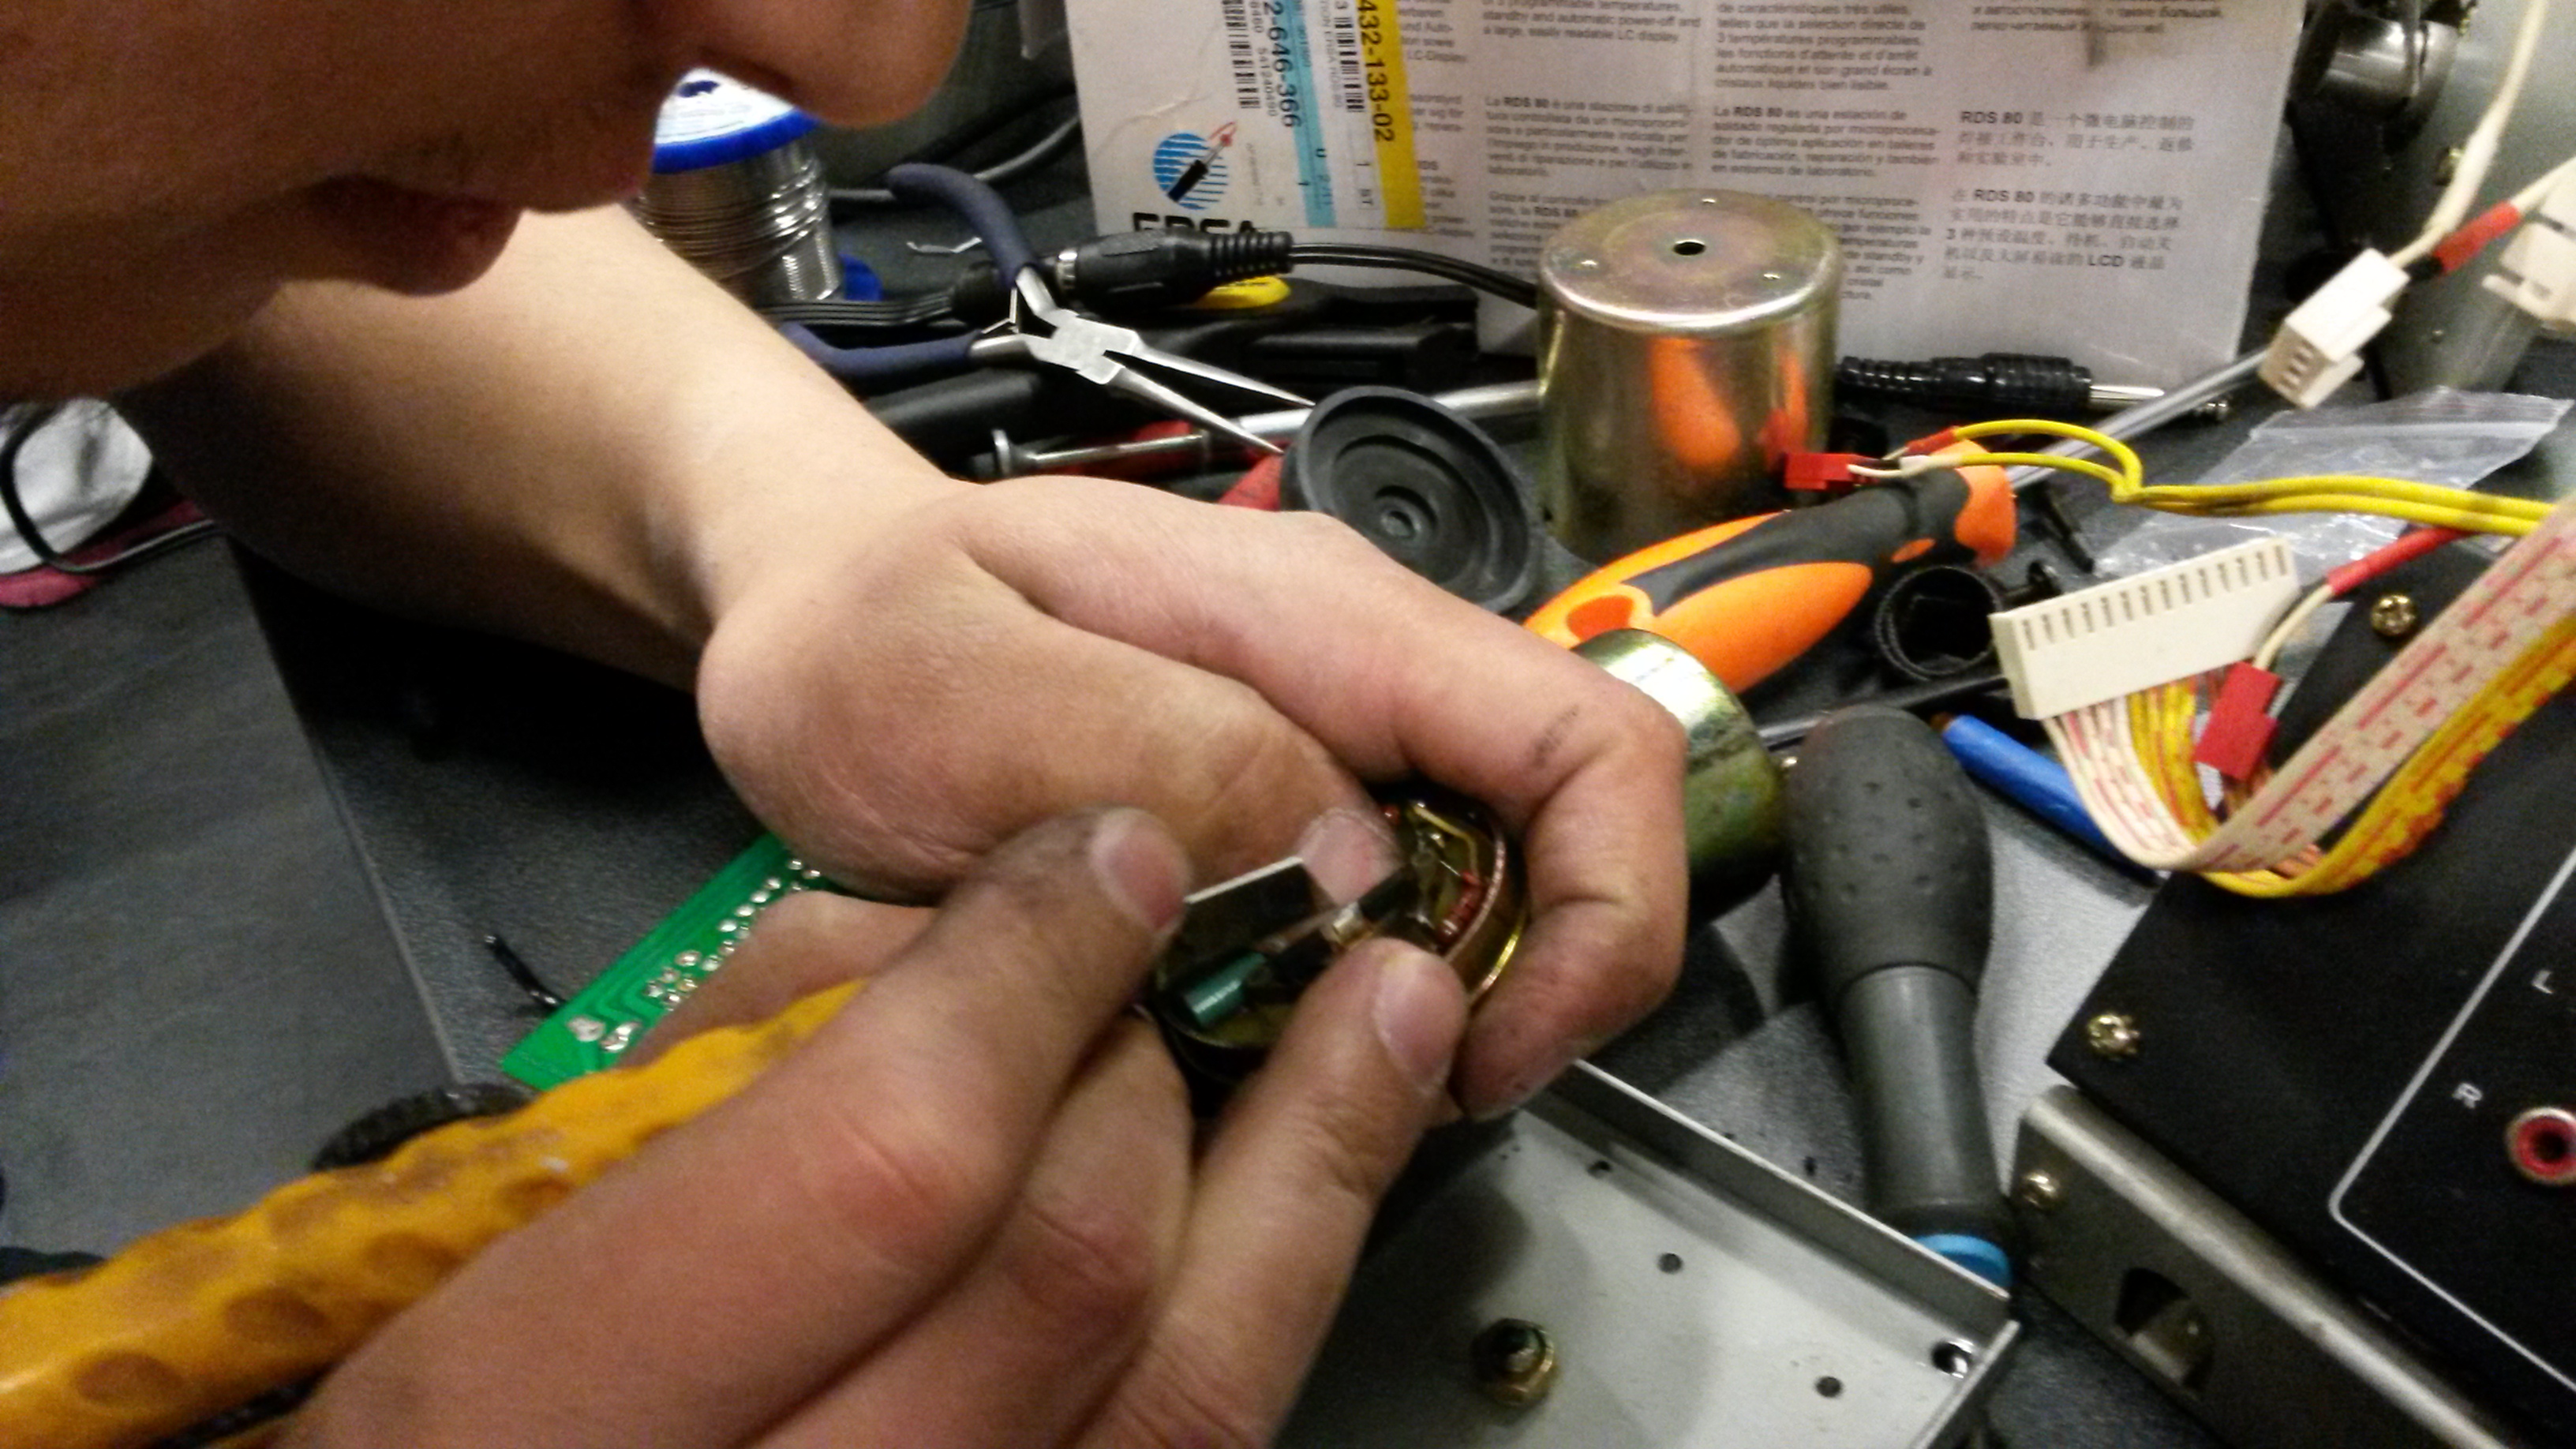
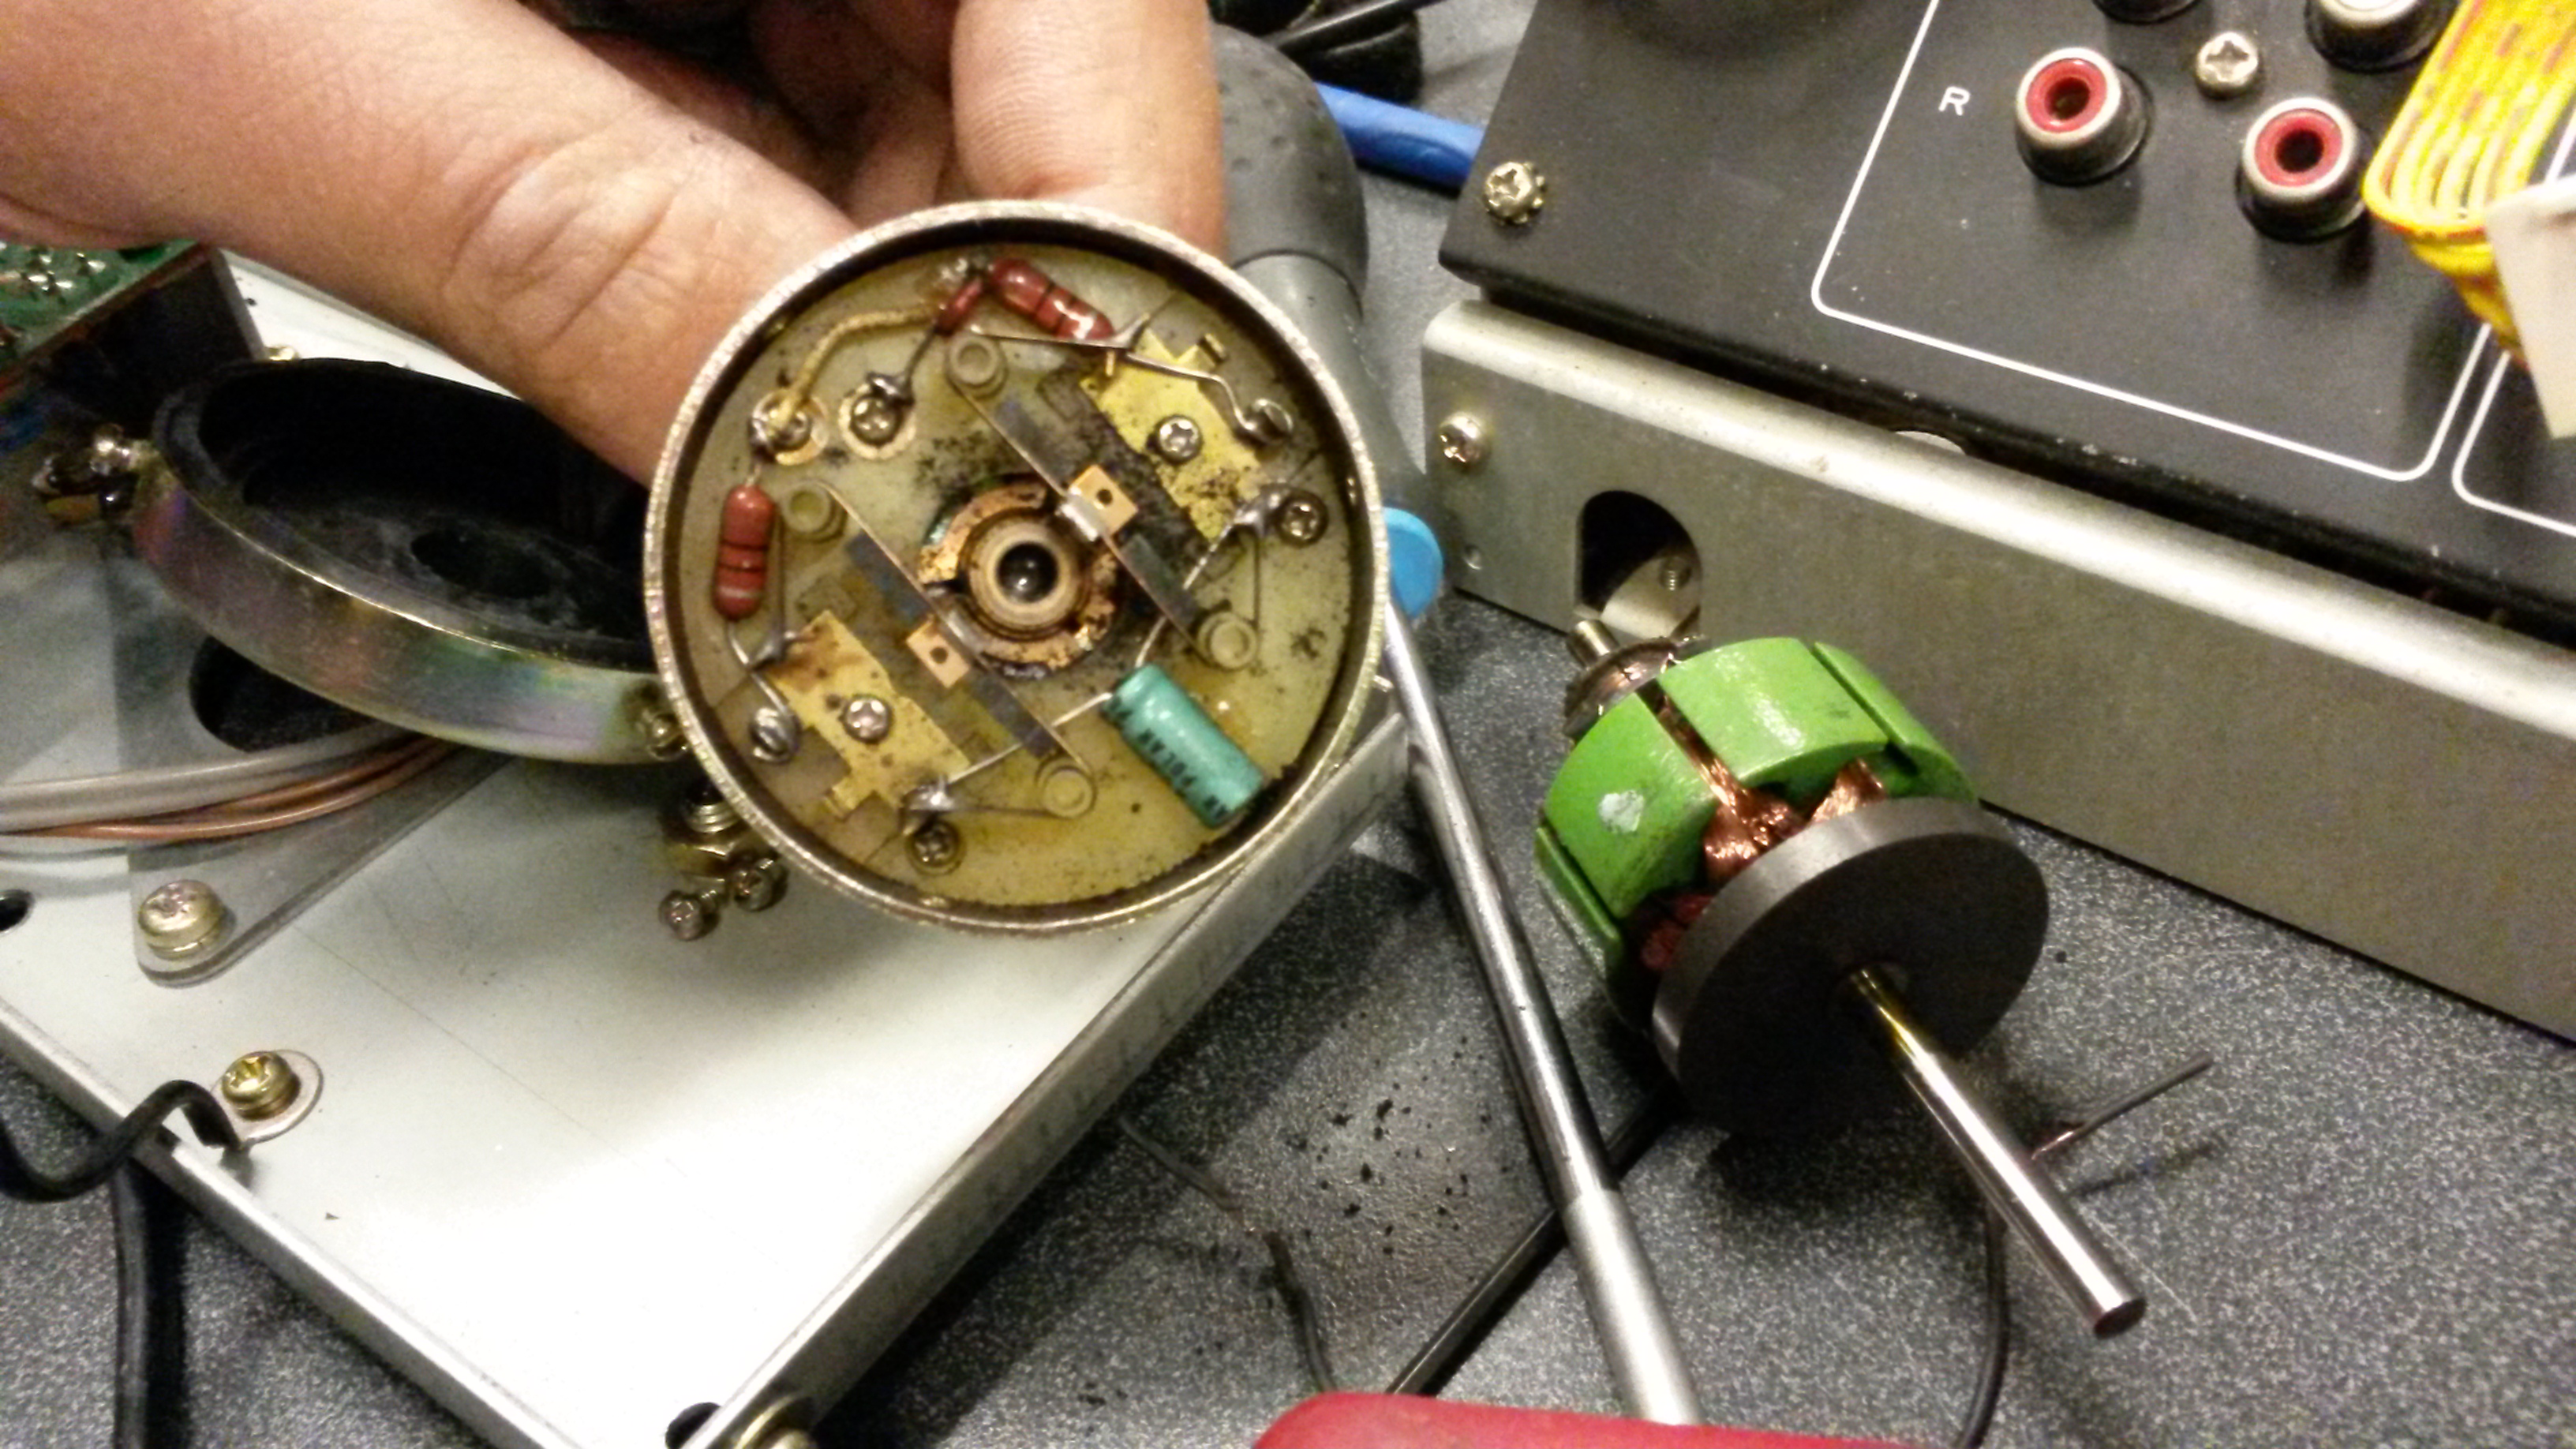
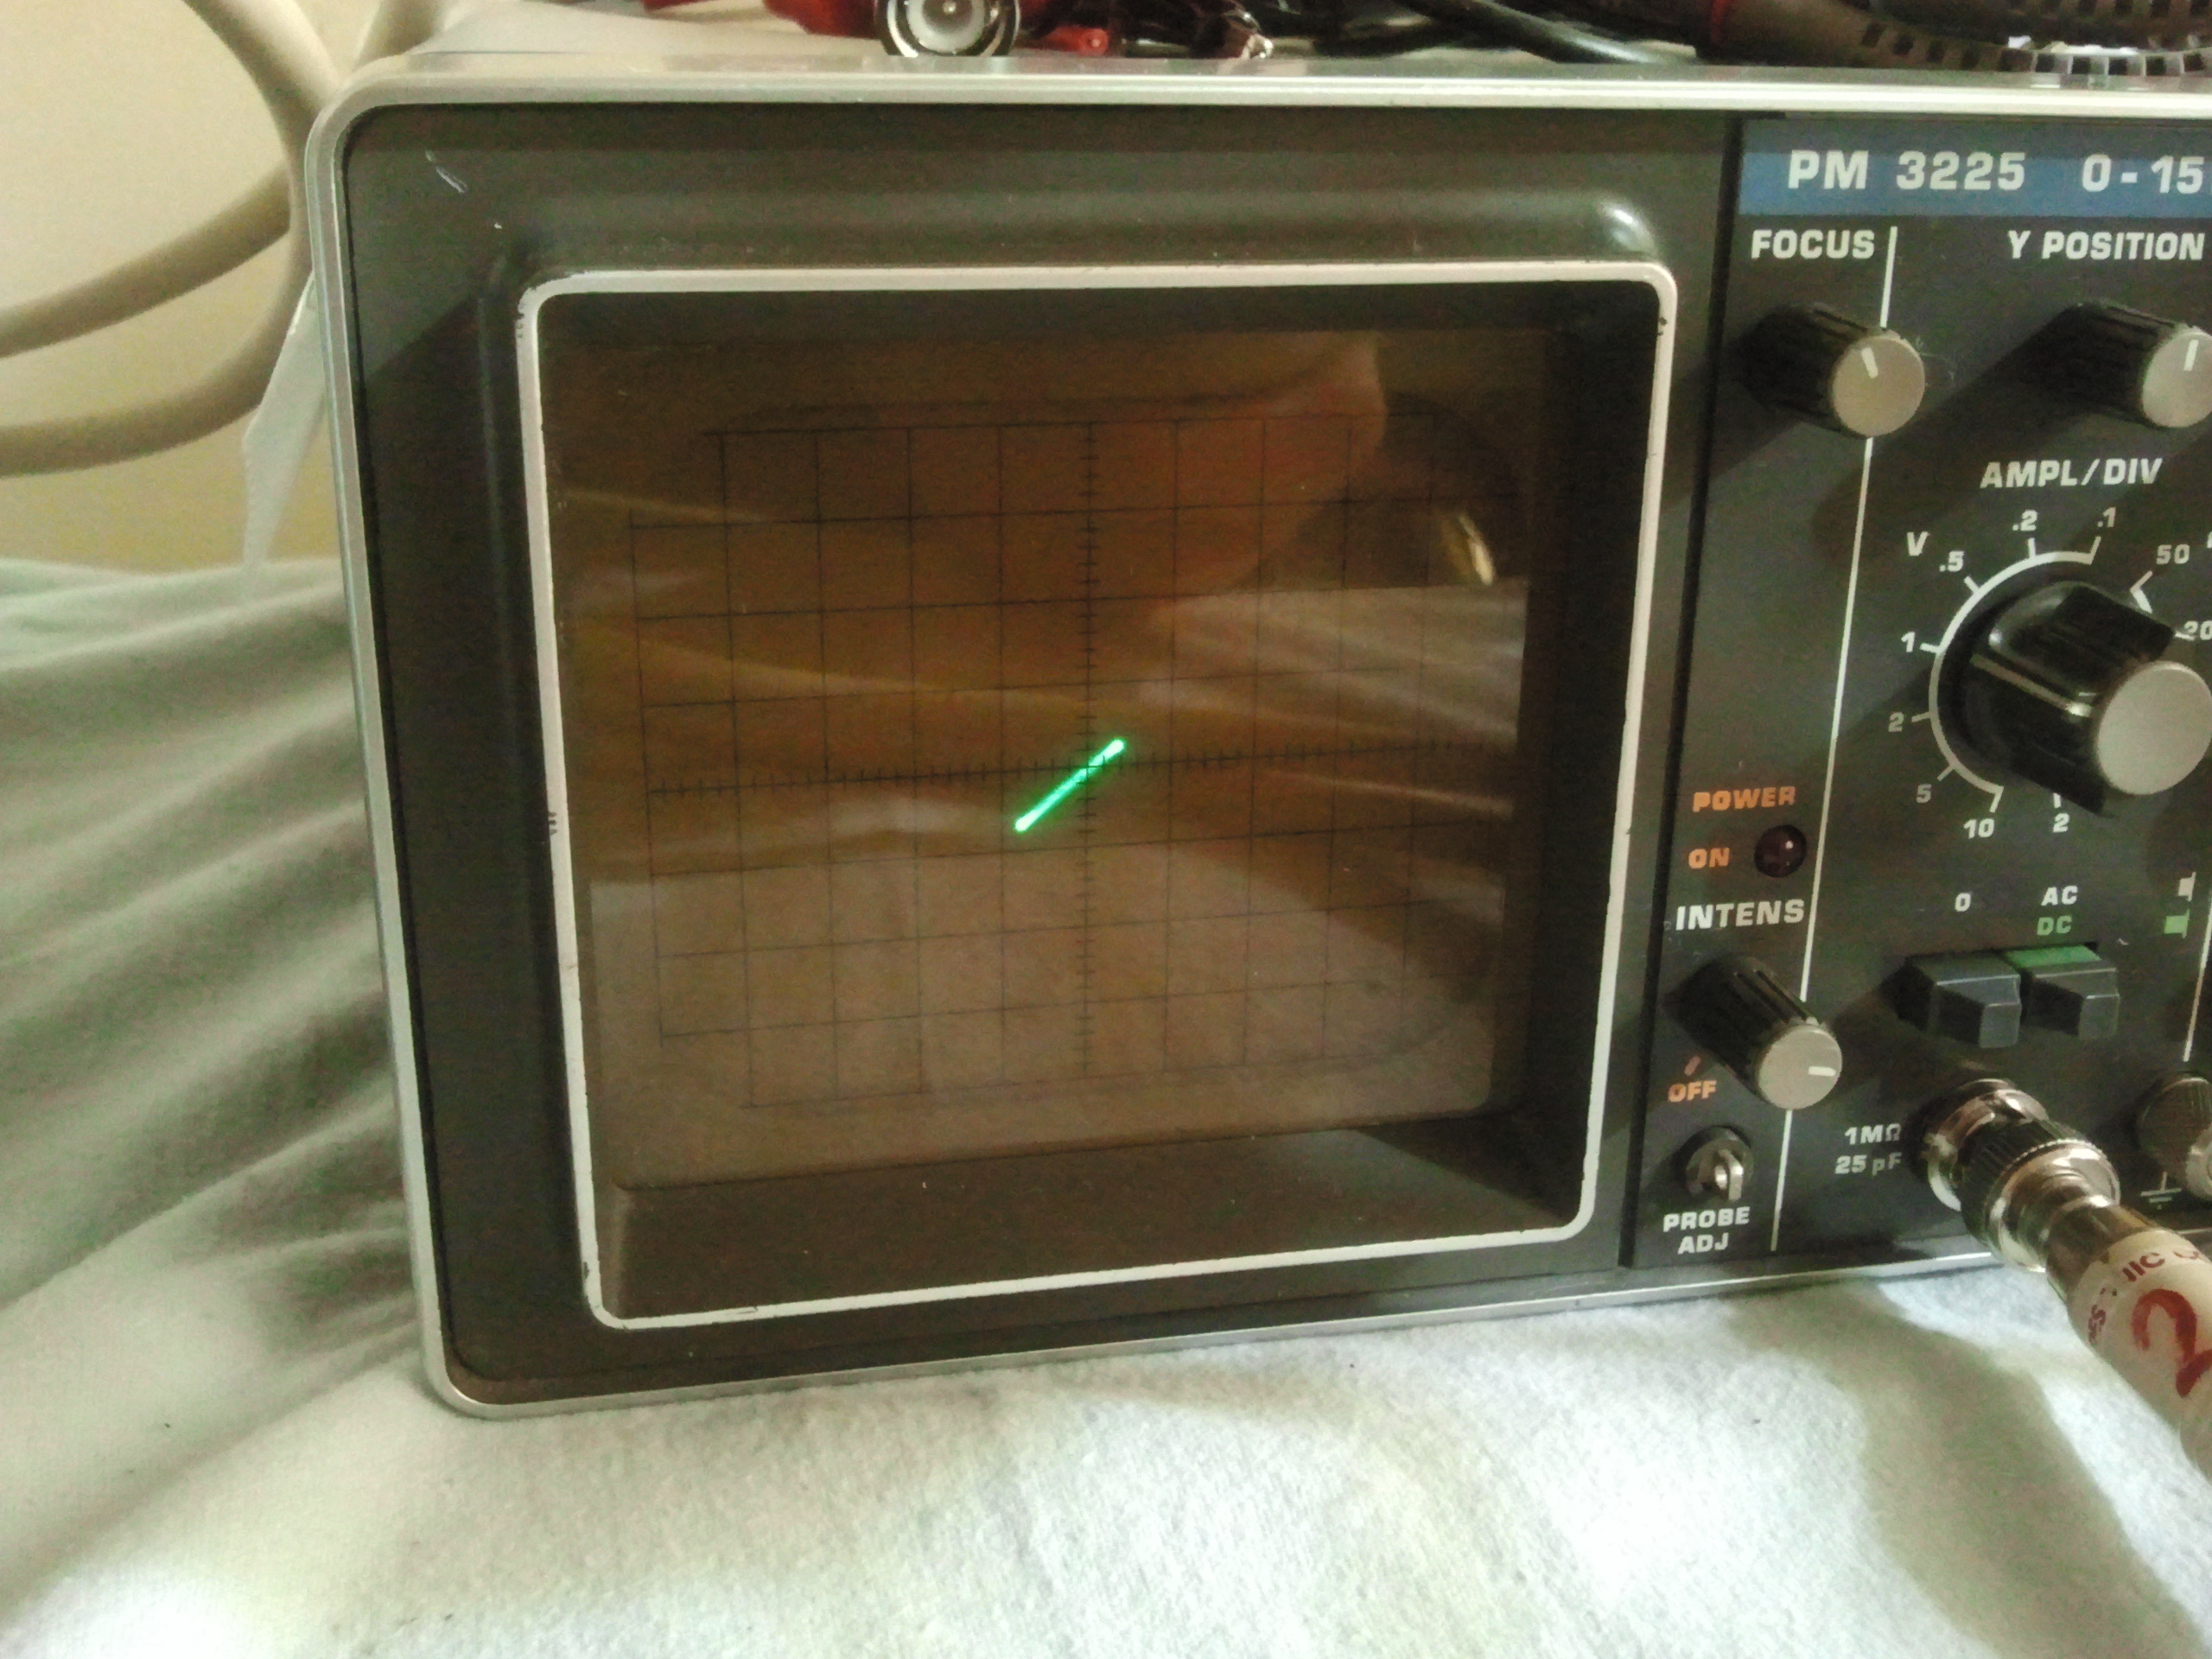
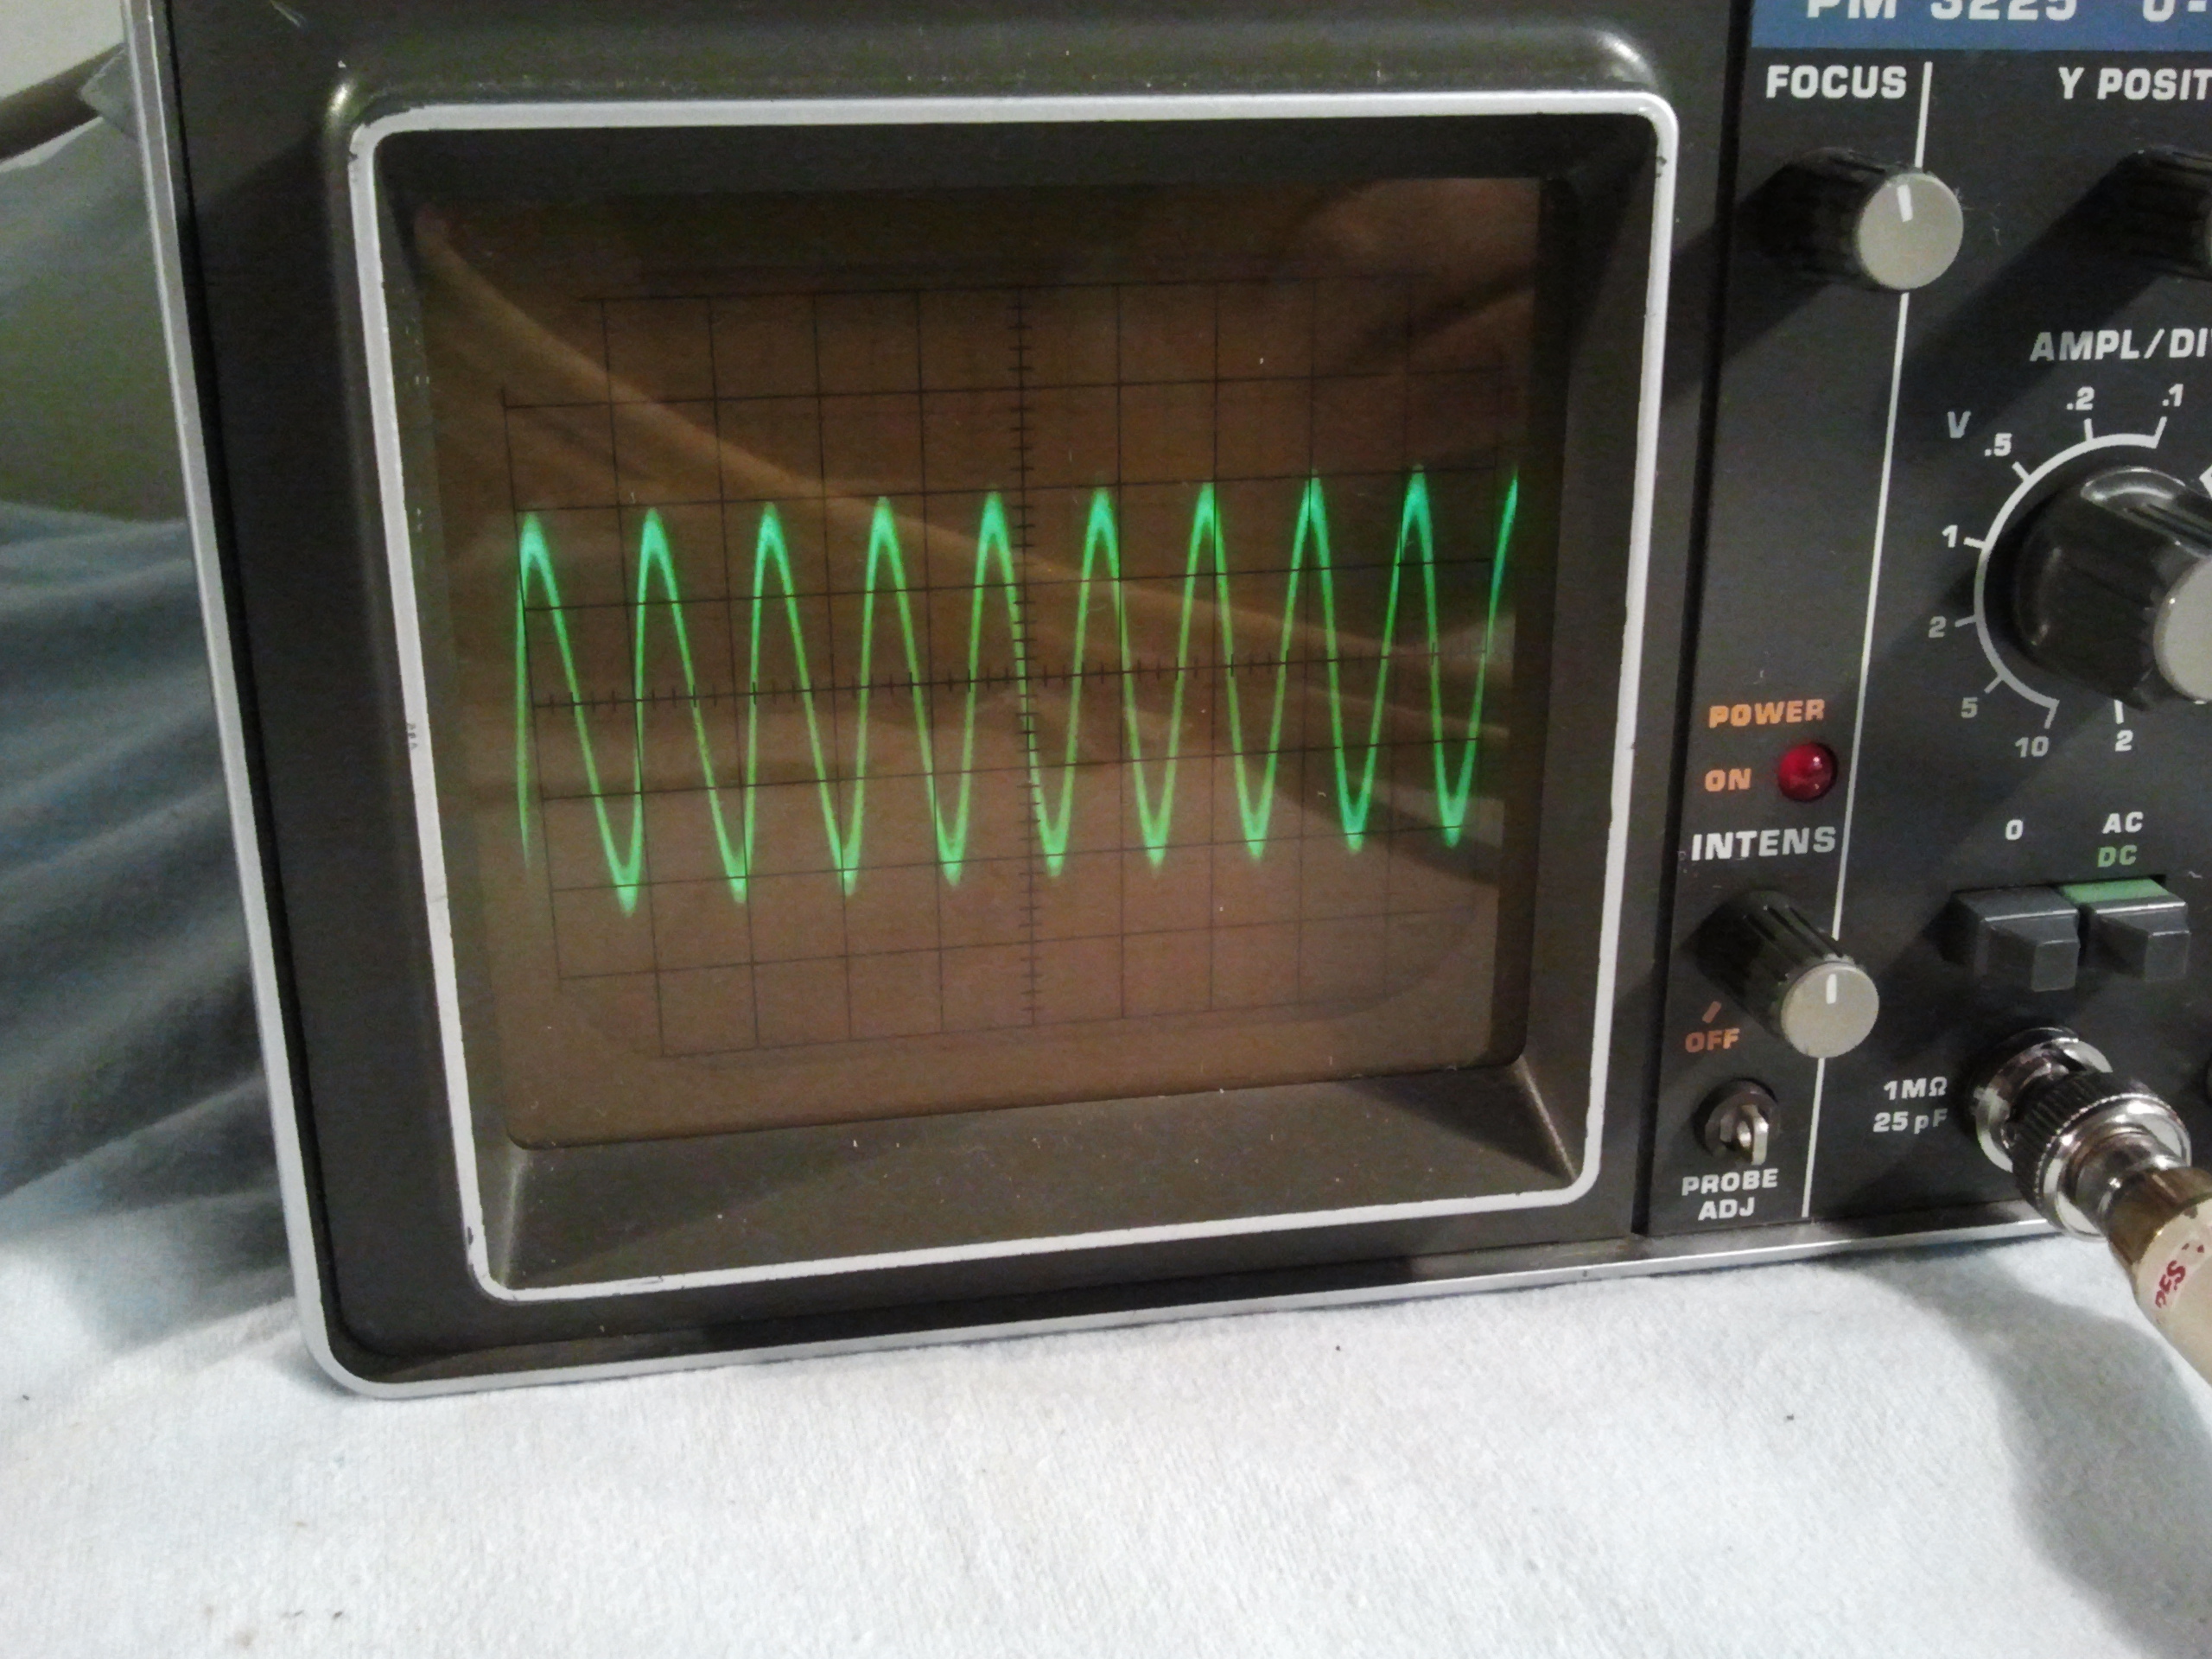
Now there I had a problem. To measure W&F you need a special device called a ‘wow and flutter meter’. Of course, you can rely on Philips that they had such a product back in the days. They did. It is this one:
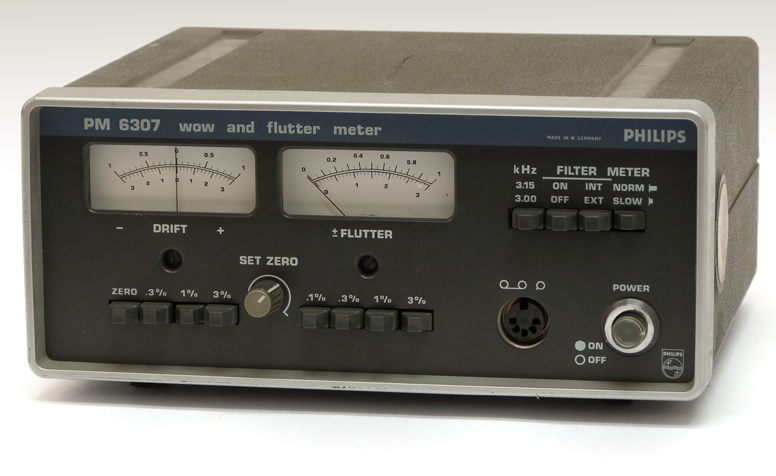
But unfortunately I don’t own one. It is on my wanted list though. They are relatively rare, and sometimes expensive. If you have one, or one like this, and you would like to sell it to me, please let me know.
software to the recue
What to do now? Fortunately I found an interesting program on the web that is supposed to measure W&F. It’s called WFGUI. Here is a screenshot of the program in action:
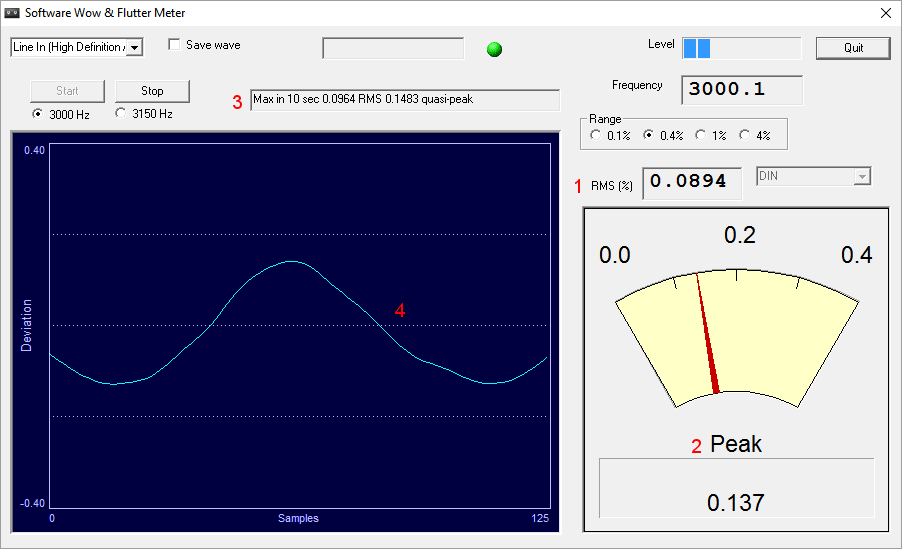
That looks impressive, right? It can measure DIN 45507, wow < 6Hz, and flutter >6Hz. According to the documentation provided with the program it has been tested against some real life hardware W&F meters and the results were very very comparable. Good!
Now I had a different challenge with this program, as it runs on windows, and I only have Linux. But, I soon found out that it runs perfectly fine in Wine! Yeah!
You can select between the 2 most used frequencies in calibration: 3000 and 3150 Hz. (It also shows the measured frequency for your convenience.) Then there are 3 values to take notice of:
- RMS (%): this shows the root mean square value in % of the current measurement
- Peak: this shows the current peak in % using a nice needle display
- maximum value of RMS and Peak in % during the last 10 seconds
- and it also produces a nice waveform of the current fluctuation measurement (this is NOT the input or output sinewave)
Now, this is where it gets interesting. The program has different settings so it can measure different values. It can measure:
- DIN (Deutsche Industrie Norm), or more specifically DIN 45507
- wow: measure variations between 0,3 Hz and 6 Hz
- flutter: measure between 6 Hz and 200 Hz
Now I will not go into too much detail here, but take it from me that the DIN norm is a sort of average between the 2nd and 3rd setting, i.e. it takes a little bit of both. If you want to know more, you can read the documentation that comes with the program, that has some nice graphs that show it all. That will explain everything. For my measurements I used all three settings (DIN, wow and flutter), and I measured all 3 values (RMS, Peak and Max RMS)
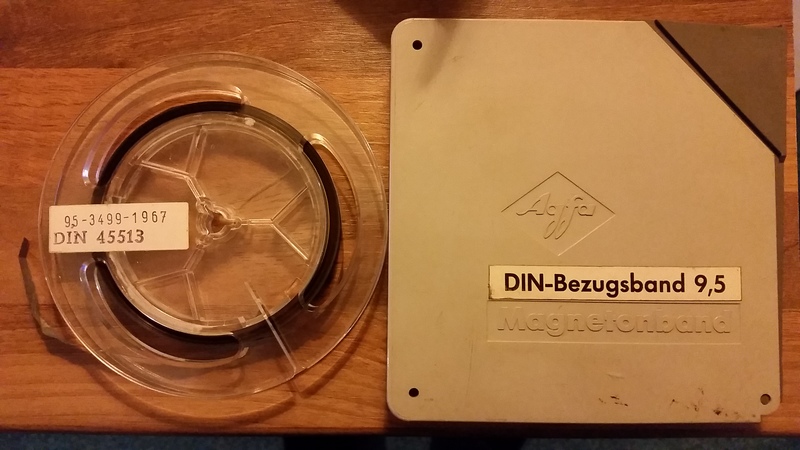
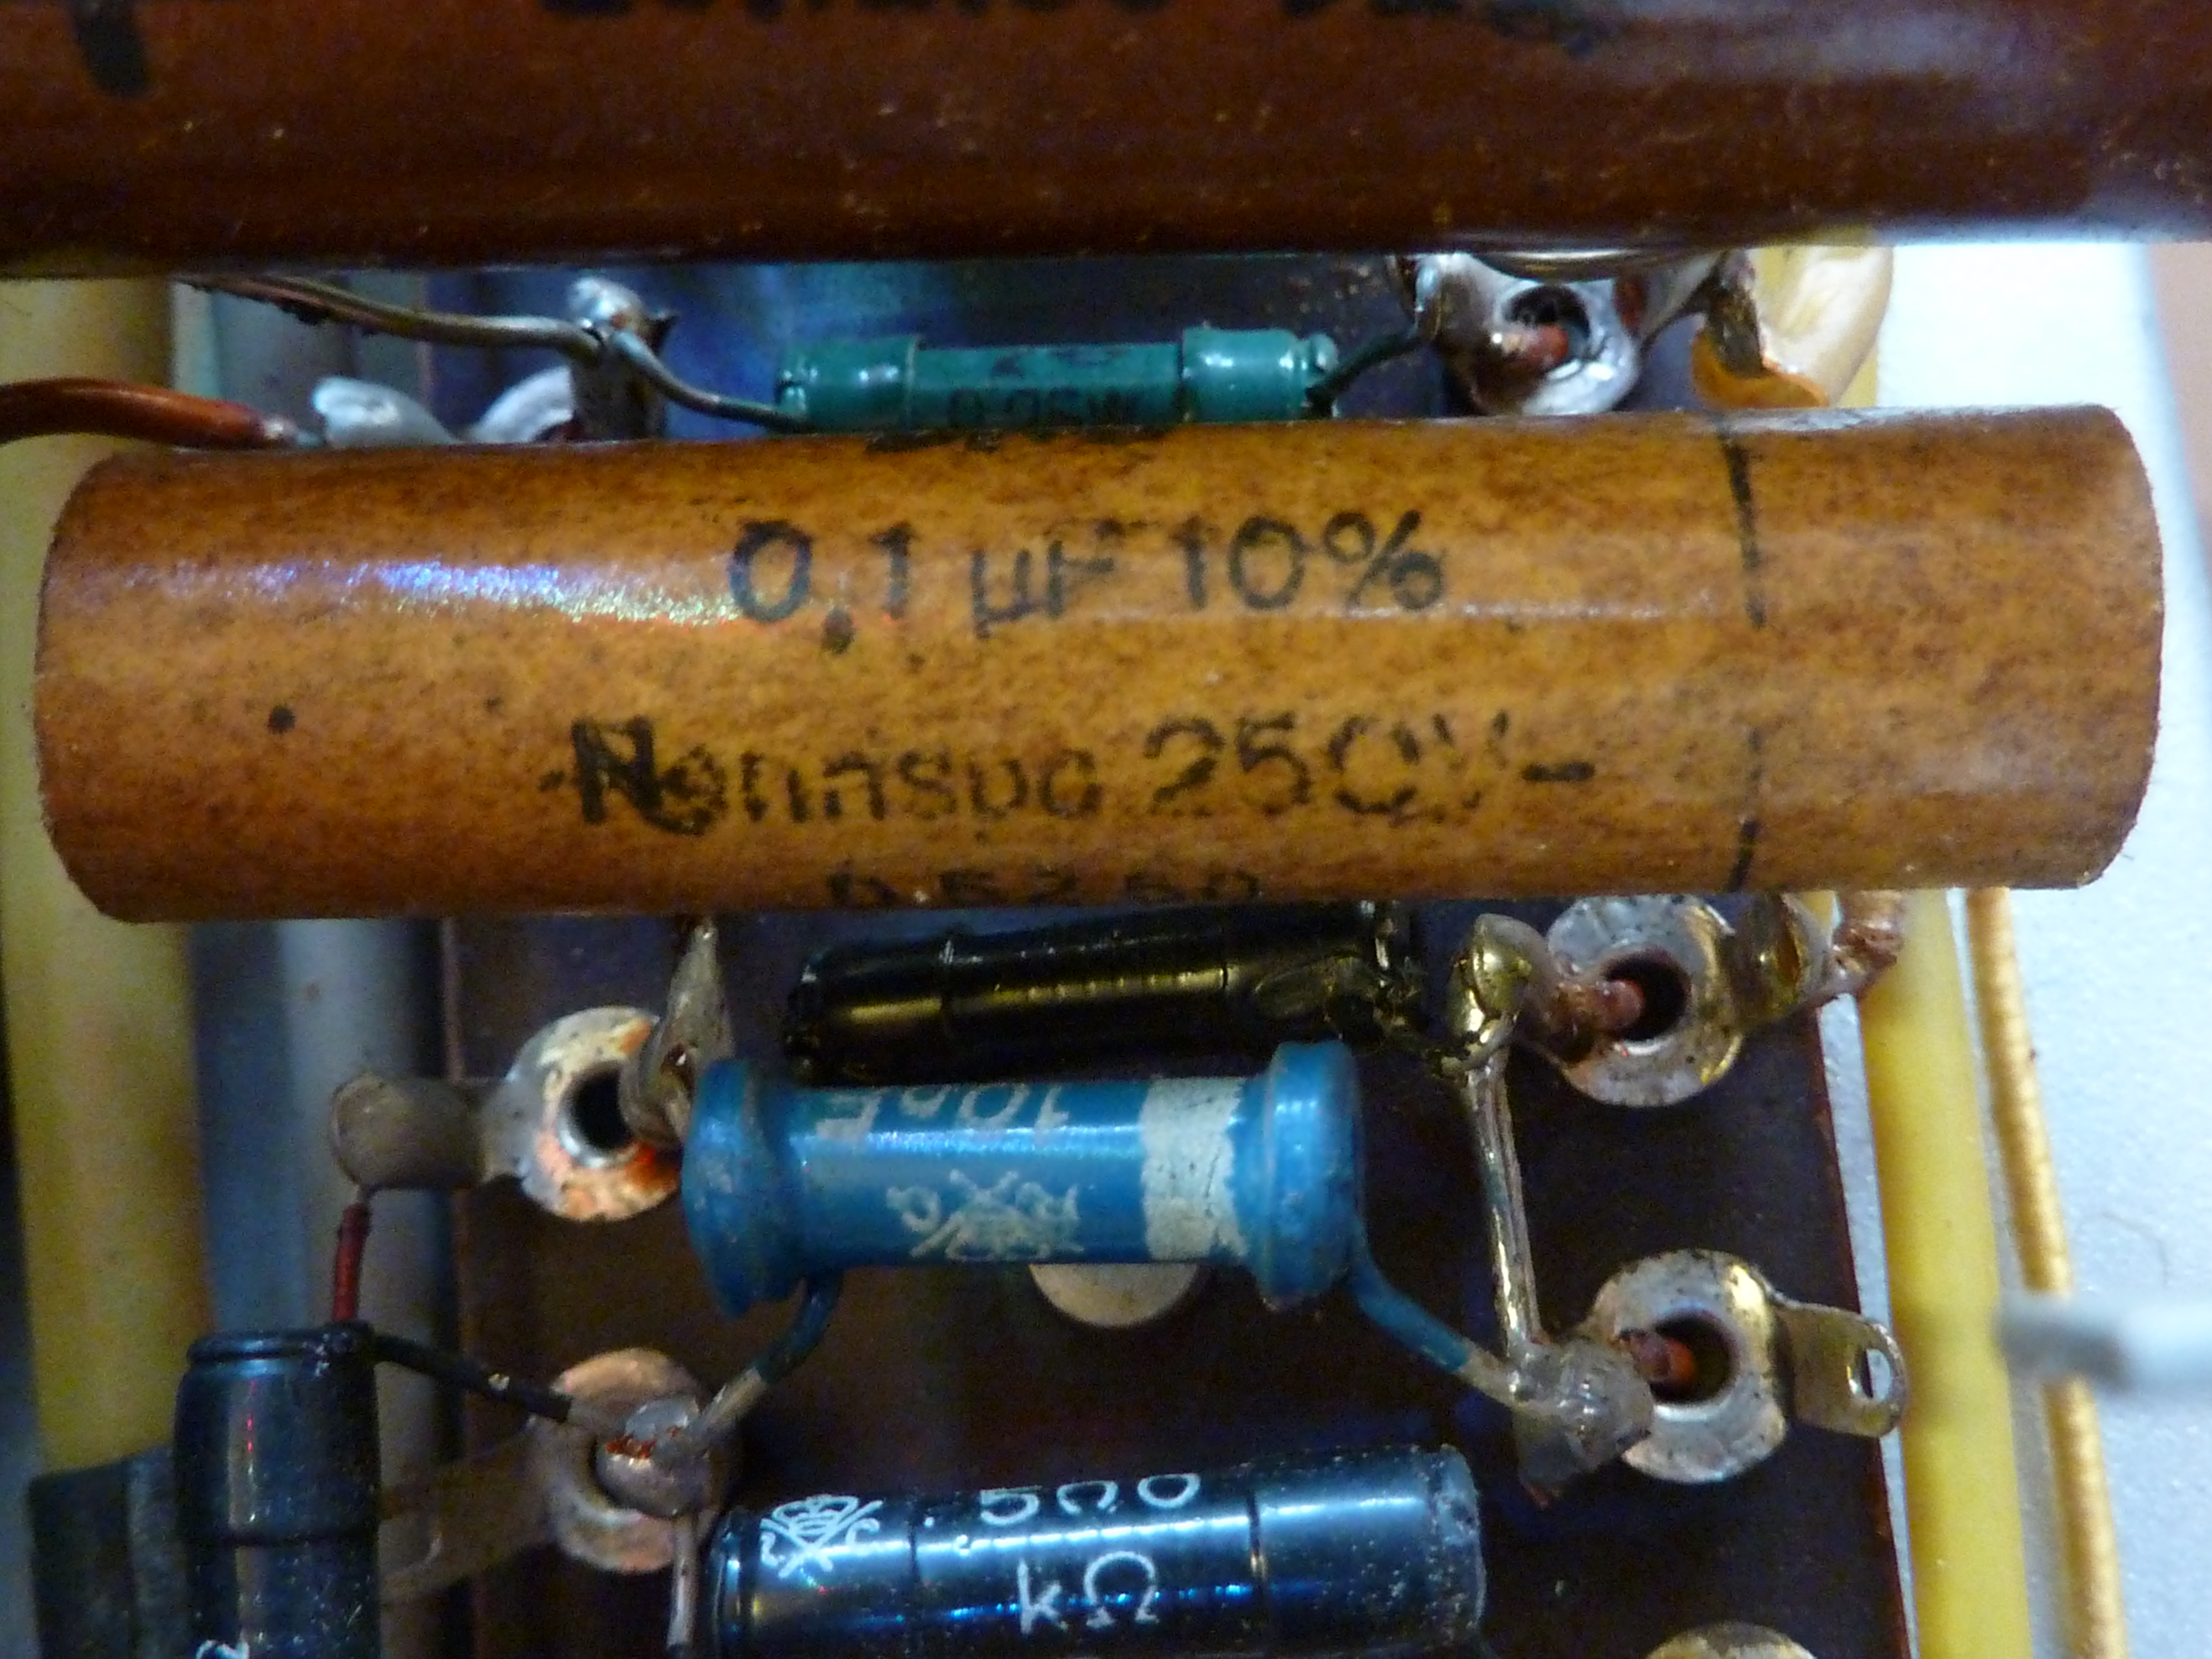
calibration tape
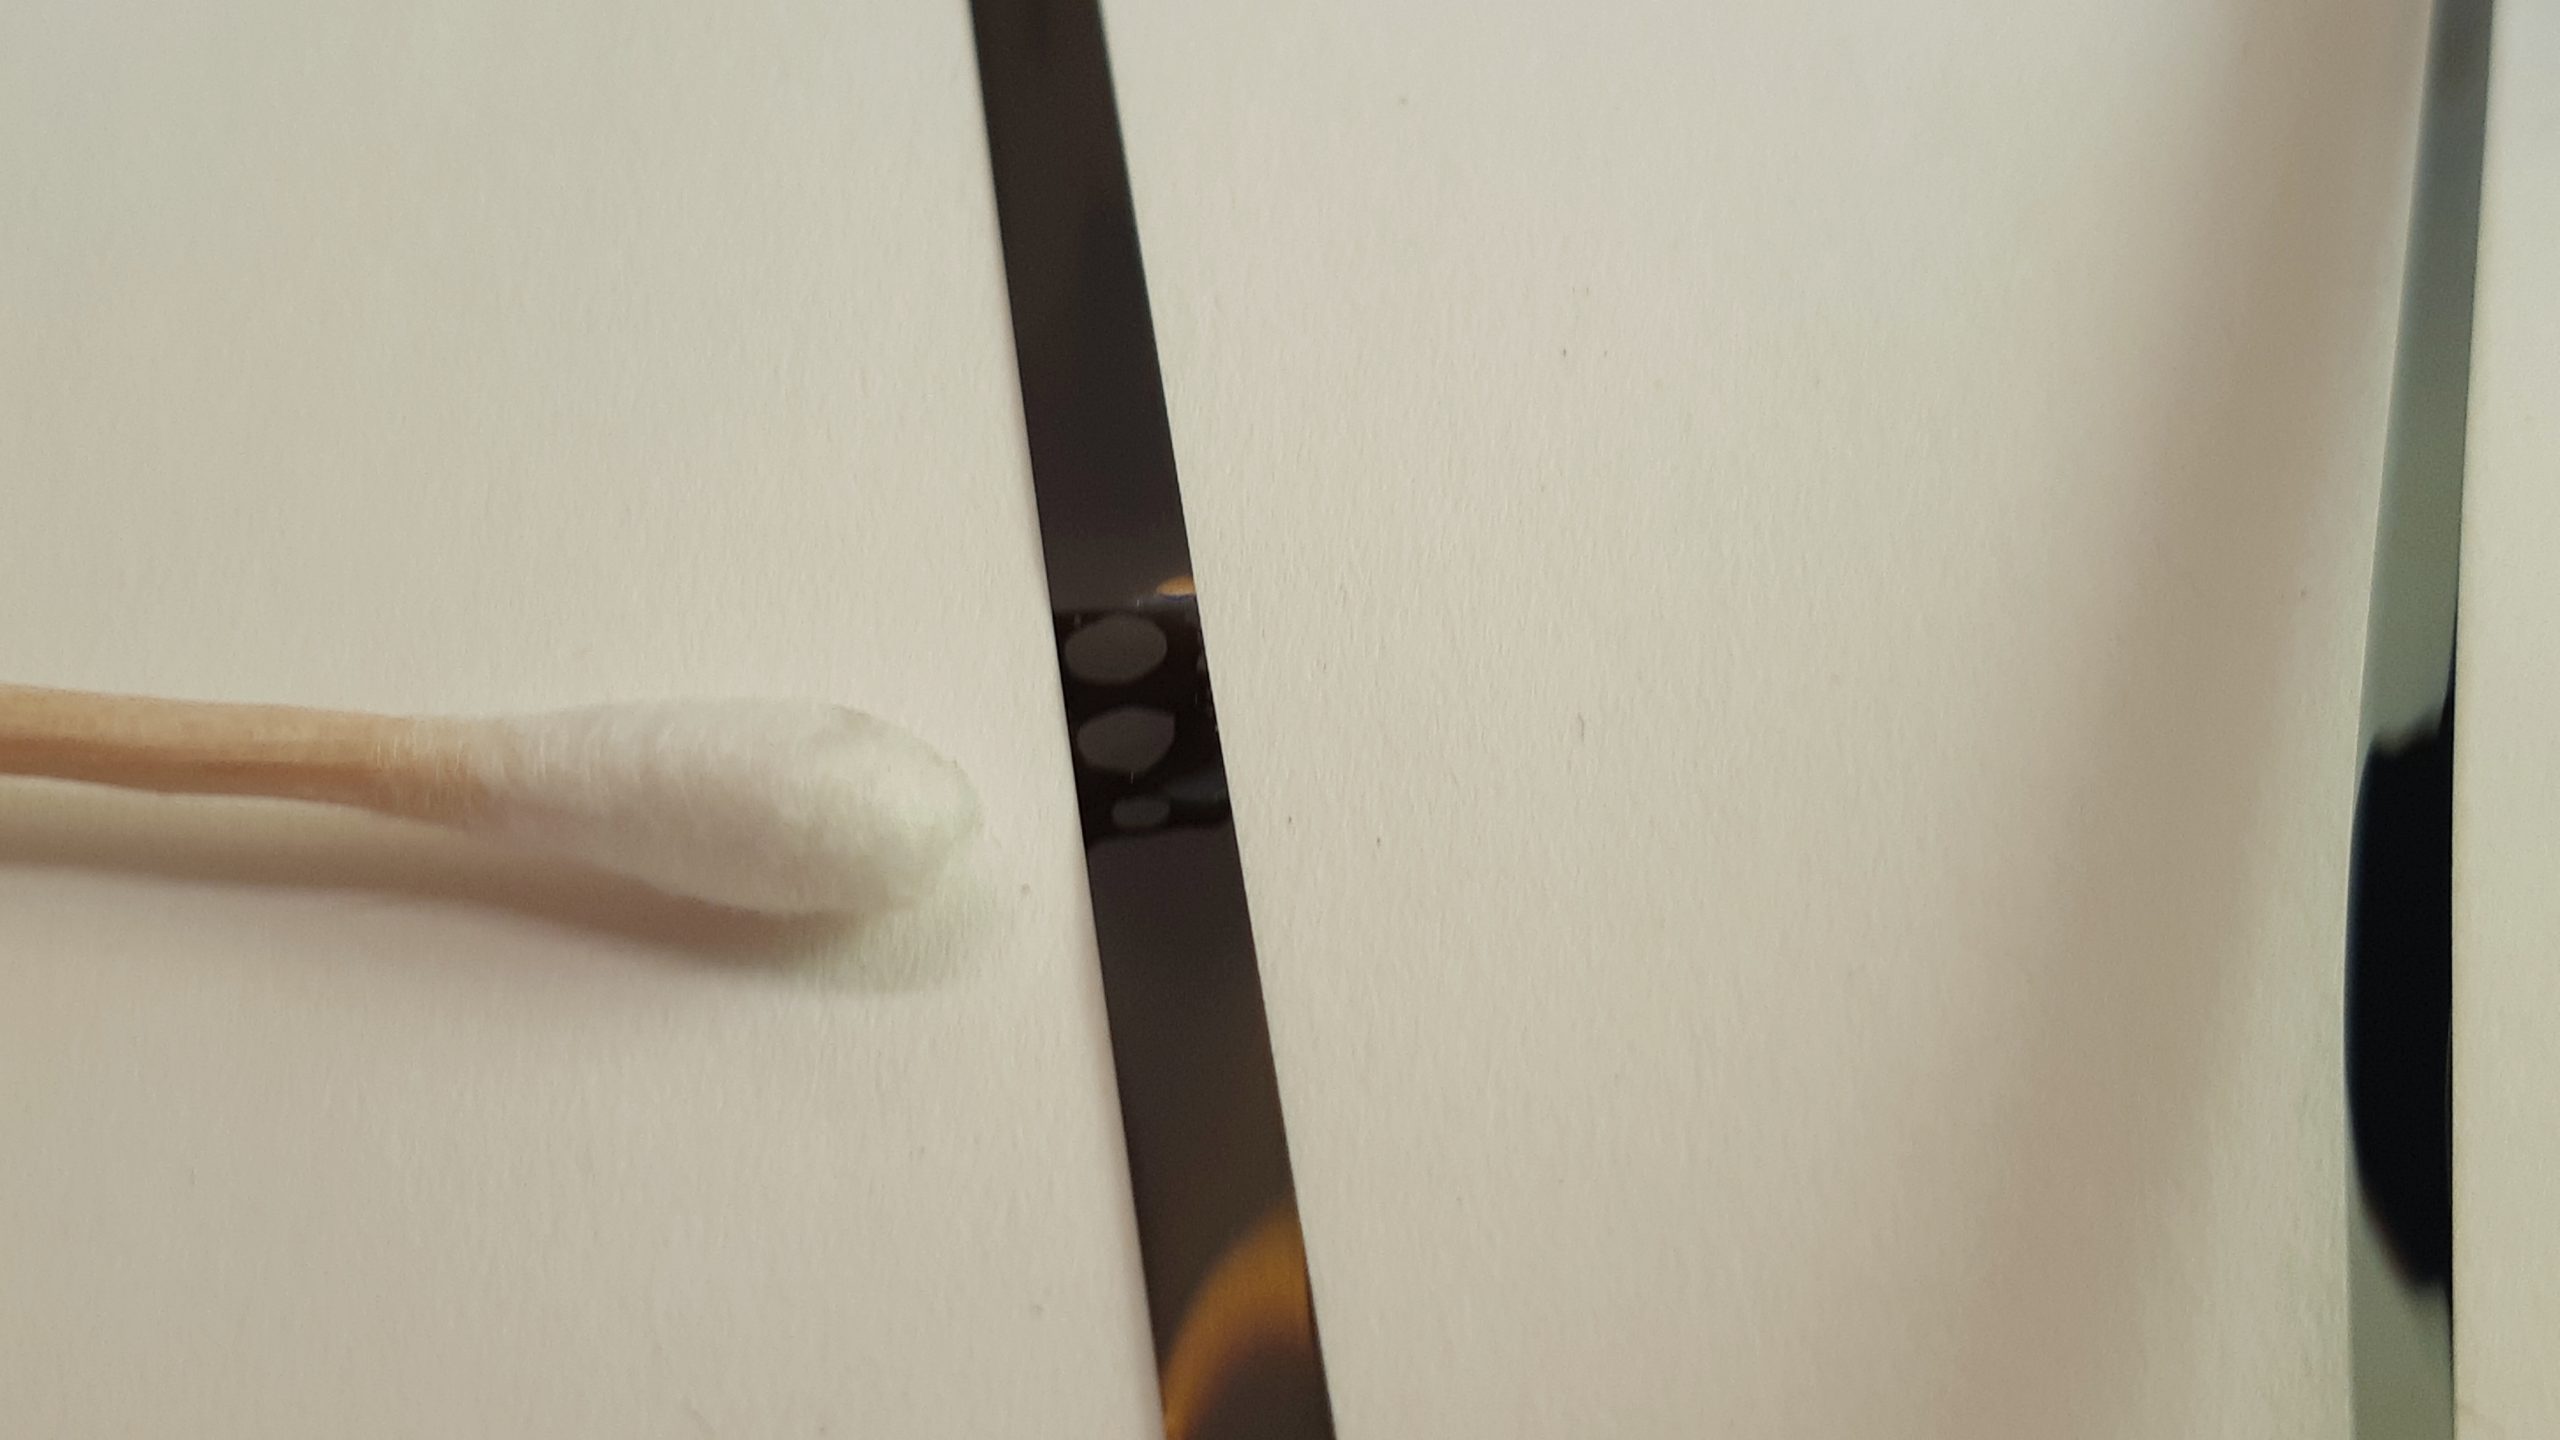
The problem I had is that measuring these kinds of W&F is traditionally done with a tone of either 3000 or 3150 Hz. And, more specifically, you need a special (and expensive) speed calibration tape with that tone on it recorded in a very precise manner.
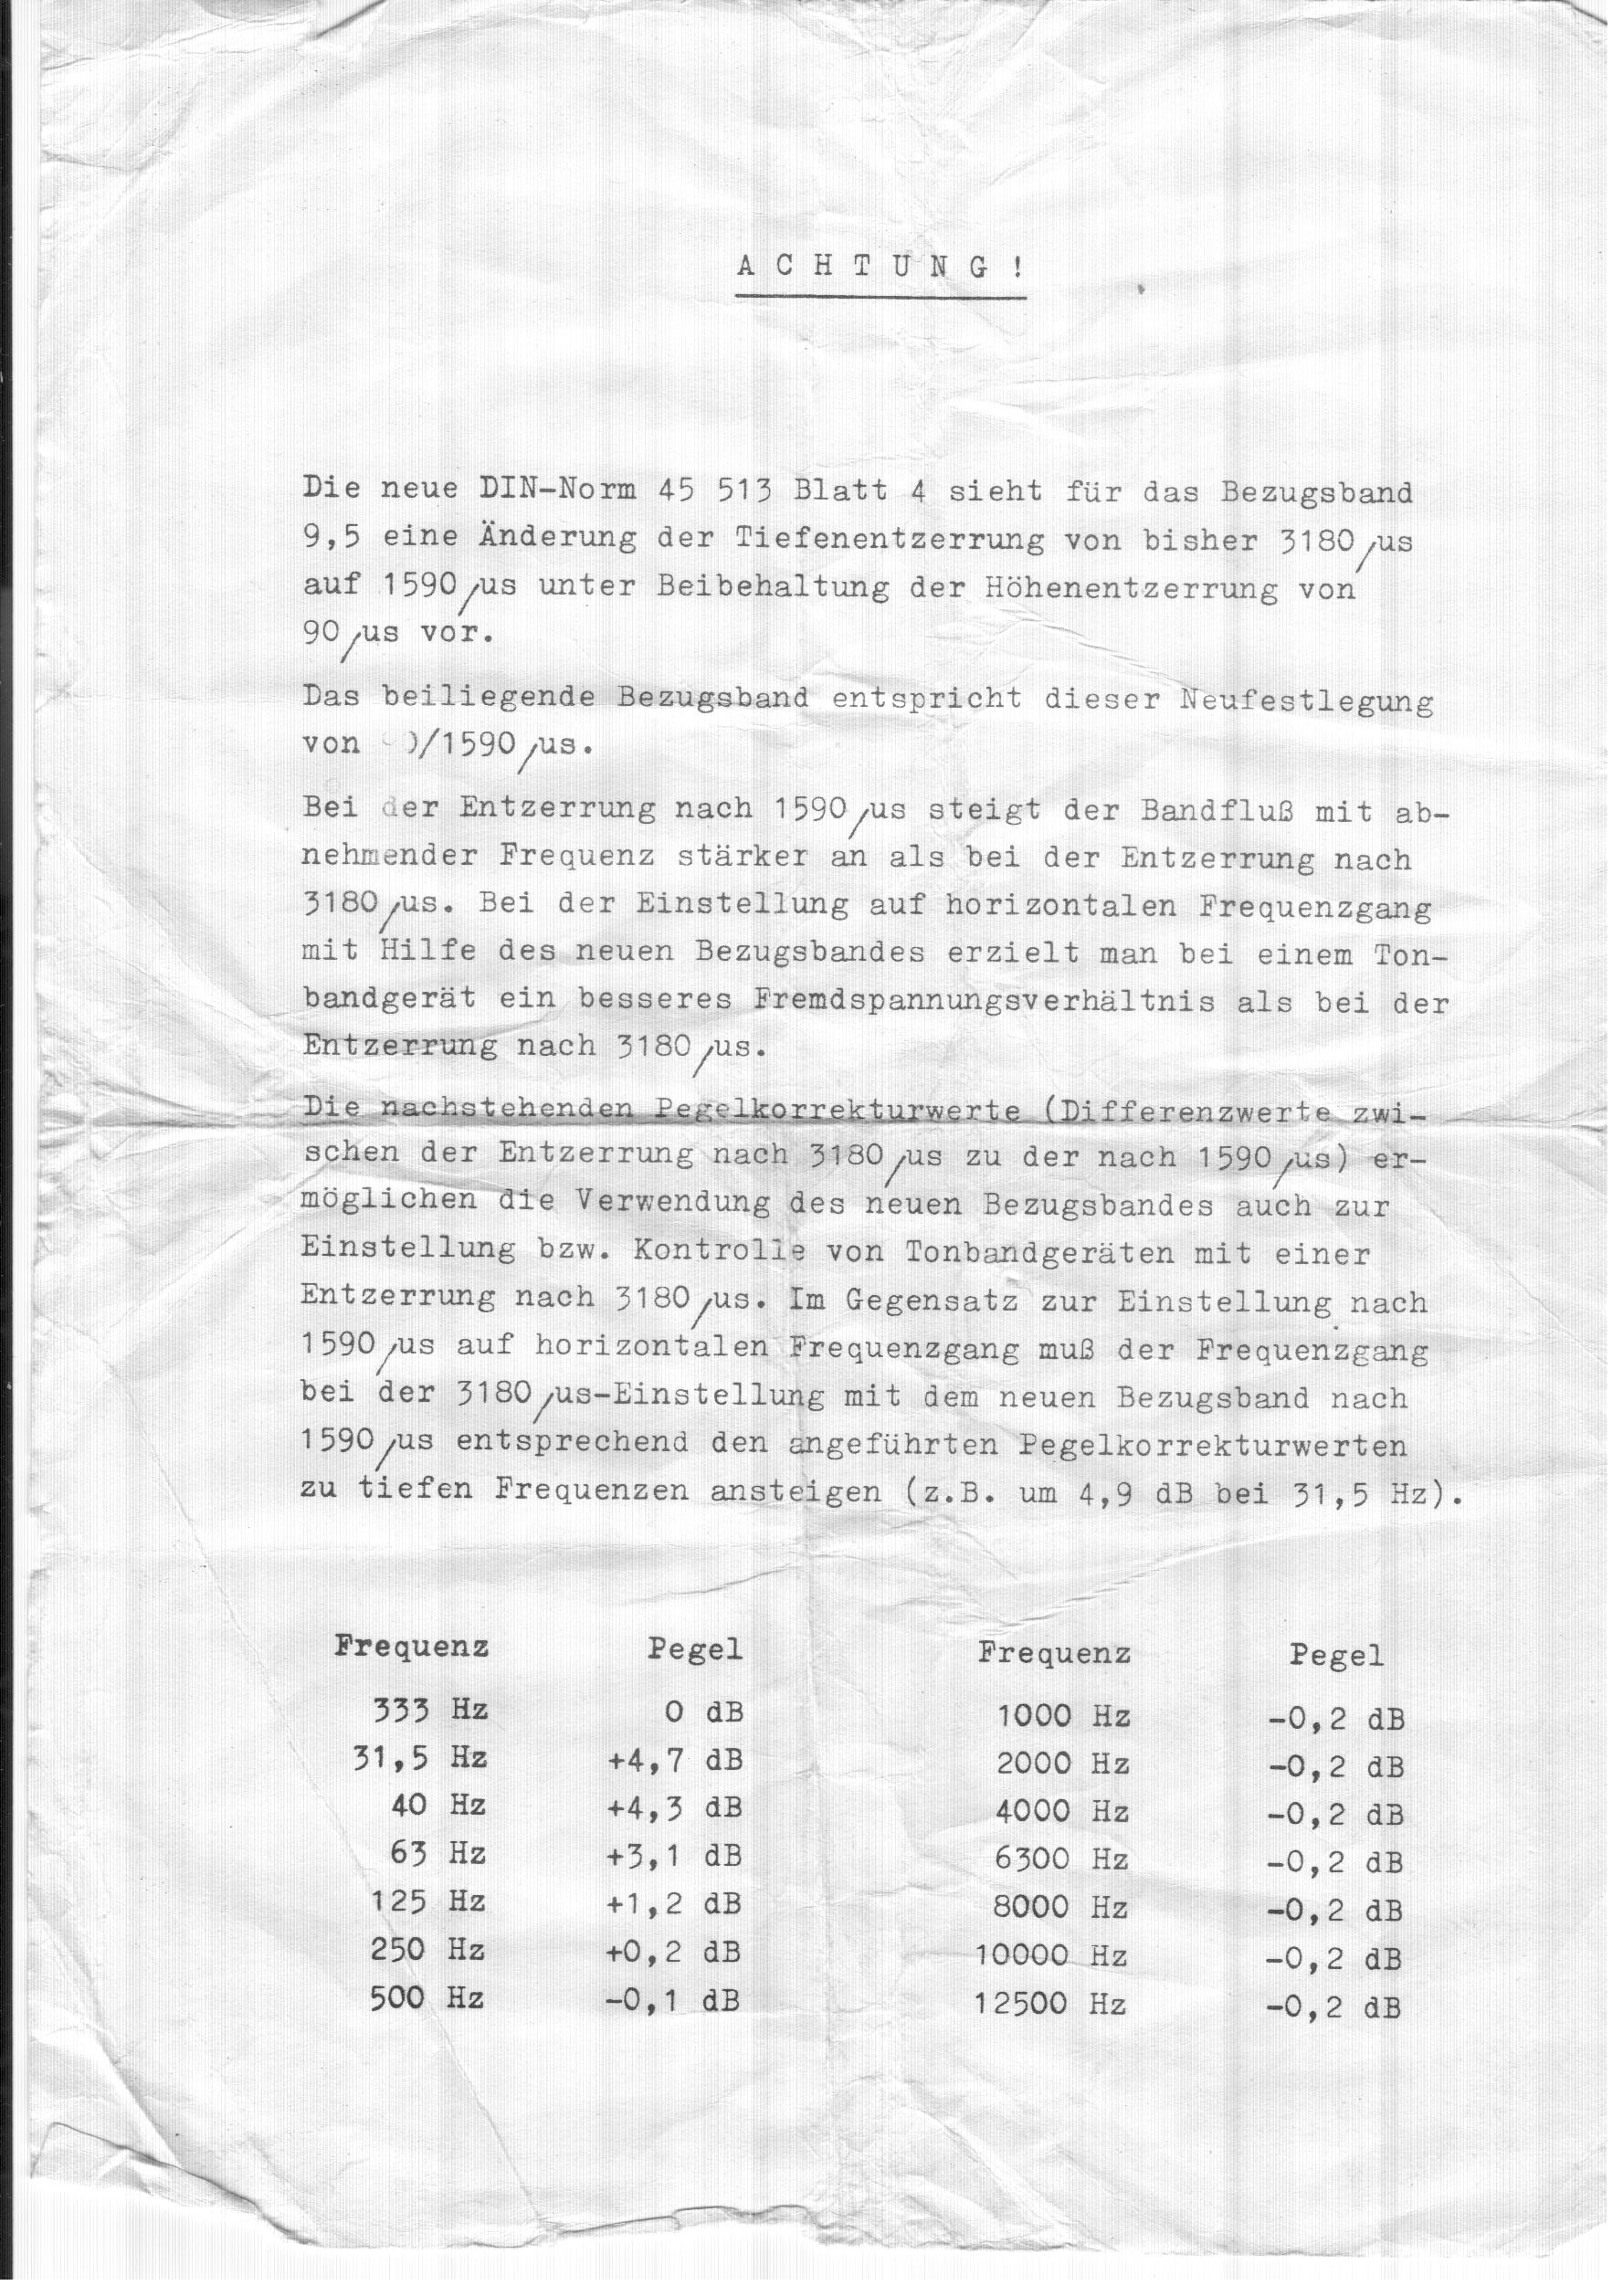
Guess what, I do not own such a tape. They are quite rare actually, although you can still buy them at MRLtapes.com I presume. My regular Bezugsband (German for calibration tape) has a 1kHz tone at the beginning, but that is used foor reference level measurements.
making my own test tape (huh?)
So I thought about it a bit and I knew I was never going to buy that special speed calibration tape (>€130). What if I took my trusted tone generator and used that to record and immediately playback a 3kHz tone? Of course that would be an imperfect recording, because it would contain W&F, but wasn’t that just what I wanted to measure? And if you play back that recording on the same deck, doesn’t that give a good indication of the performance of that deck? The more I thought about it, the more sound (pun intended!) the idea seemed to be.
Doing that would mean that I could not refer to a know calibrated source anymore. But I’m not interested in those figures. I can now compare the performance of my decks between themselves, see who stands out, either way.
Some people may argue that one can not make his or her own test tape. Of course that is true. But that is not the purpose. I want to measure the W&F of a deck. I was going to use the deck itself to record a tone and play it back at the same time.
Some may argue that that is not a good way to measure W&F. I disagree. I will explain.
When you record the test tone on the DUT (device under test), it wil will be recorded with wow and flutter. That is clear. So it will be an imperfect recording. So what. That is what I want to measure, so that seems ok to me. Let’s assume that the recorded tone will contain at the maximum an amount of W&F of n. If you would examine the tape in a laboratory you would find max n W&F. The DUT obviously has a W&F value of n. So at some points in time the value would be 0 (zero), at some points in time the value would be n (the max value) and most of the times some value in between. This will vary constantly, and it will vary very quickly.
Now I play back this tape on that same deck that has that W&F reading of max n. So again, some of the time that tape will play back with no W&F, and some of the time it will play back with the maximum value of n, and most of the time some value in between. The resulting W&F will be 2*n at the most, to be exact that would occur when a piece of the tape that was recorded at that moment with n W&F value will be played back at a moment that the deck plays back with a W&F value of n.
testing
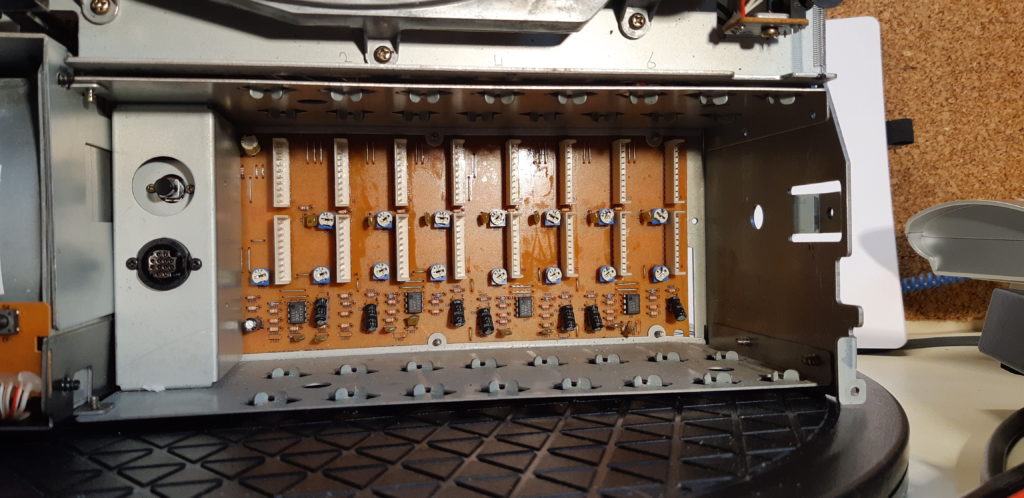
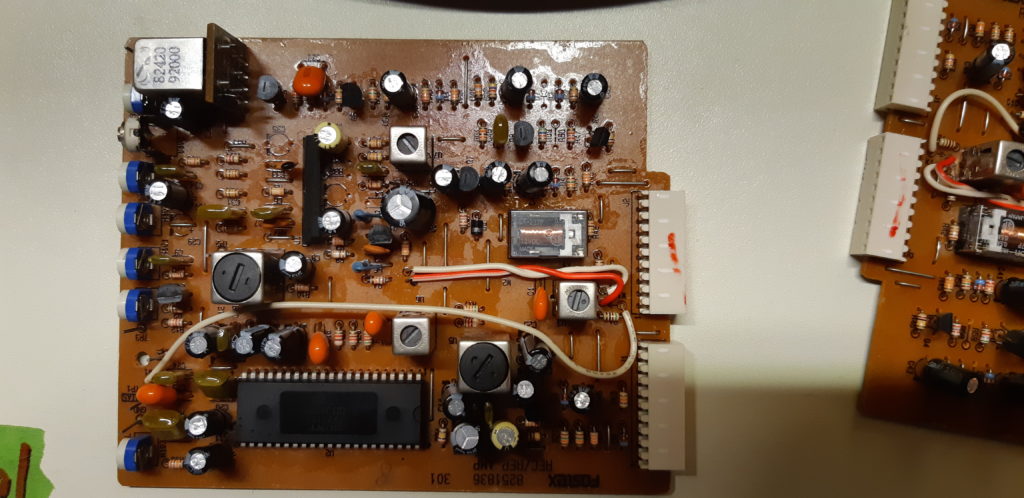
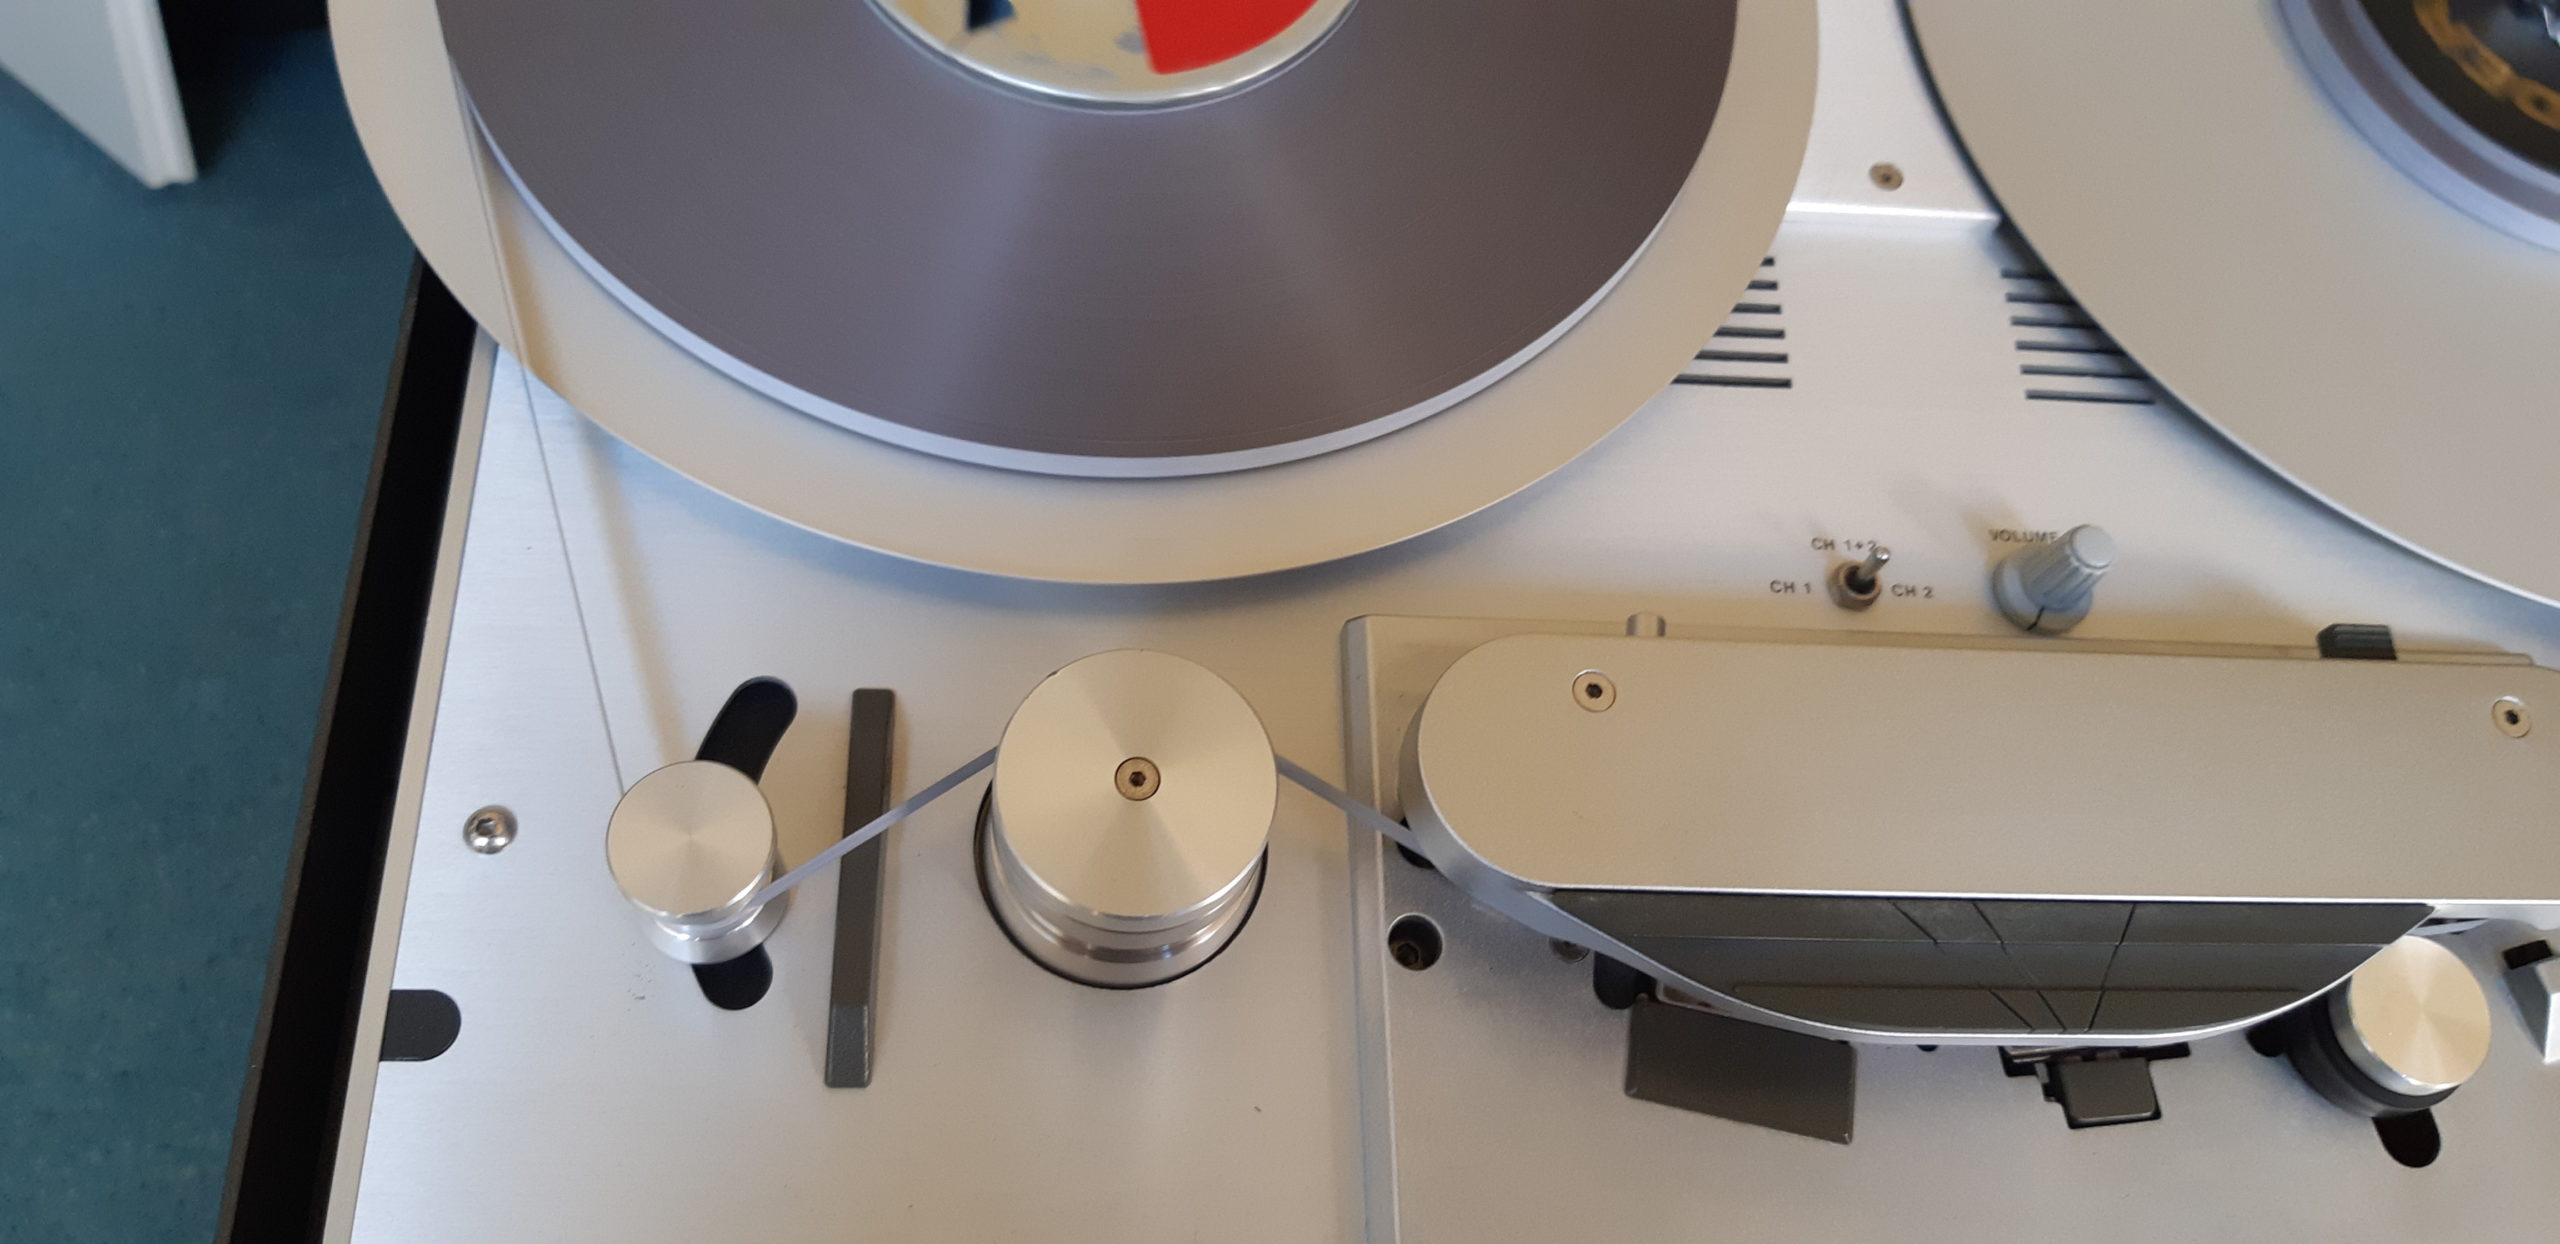
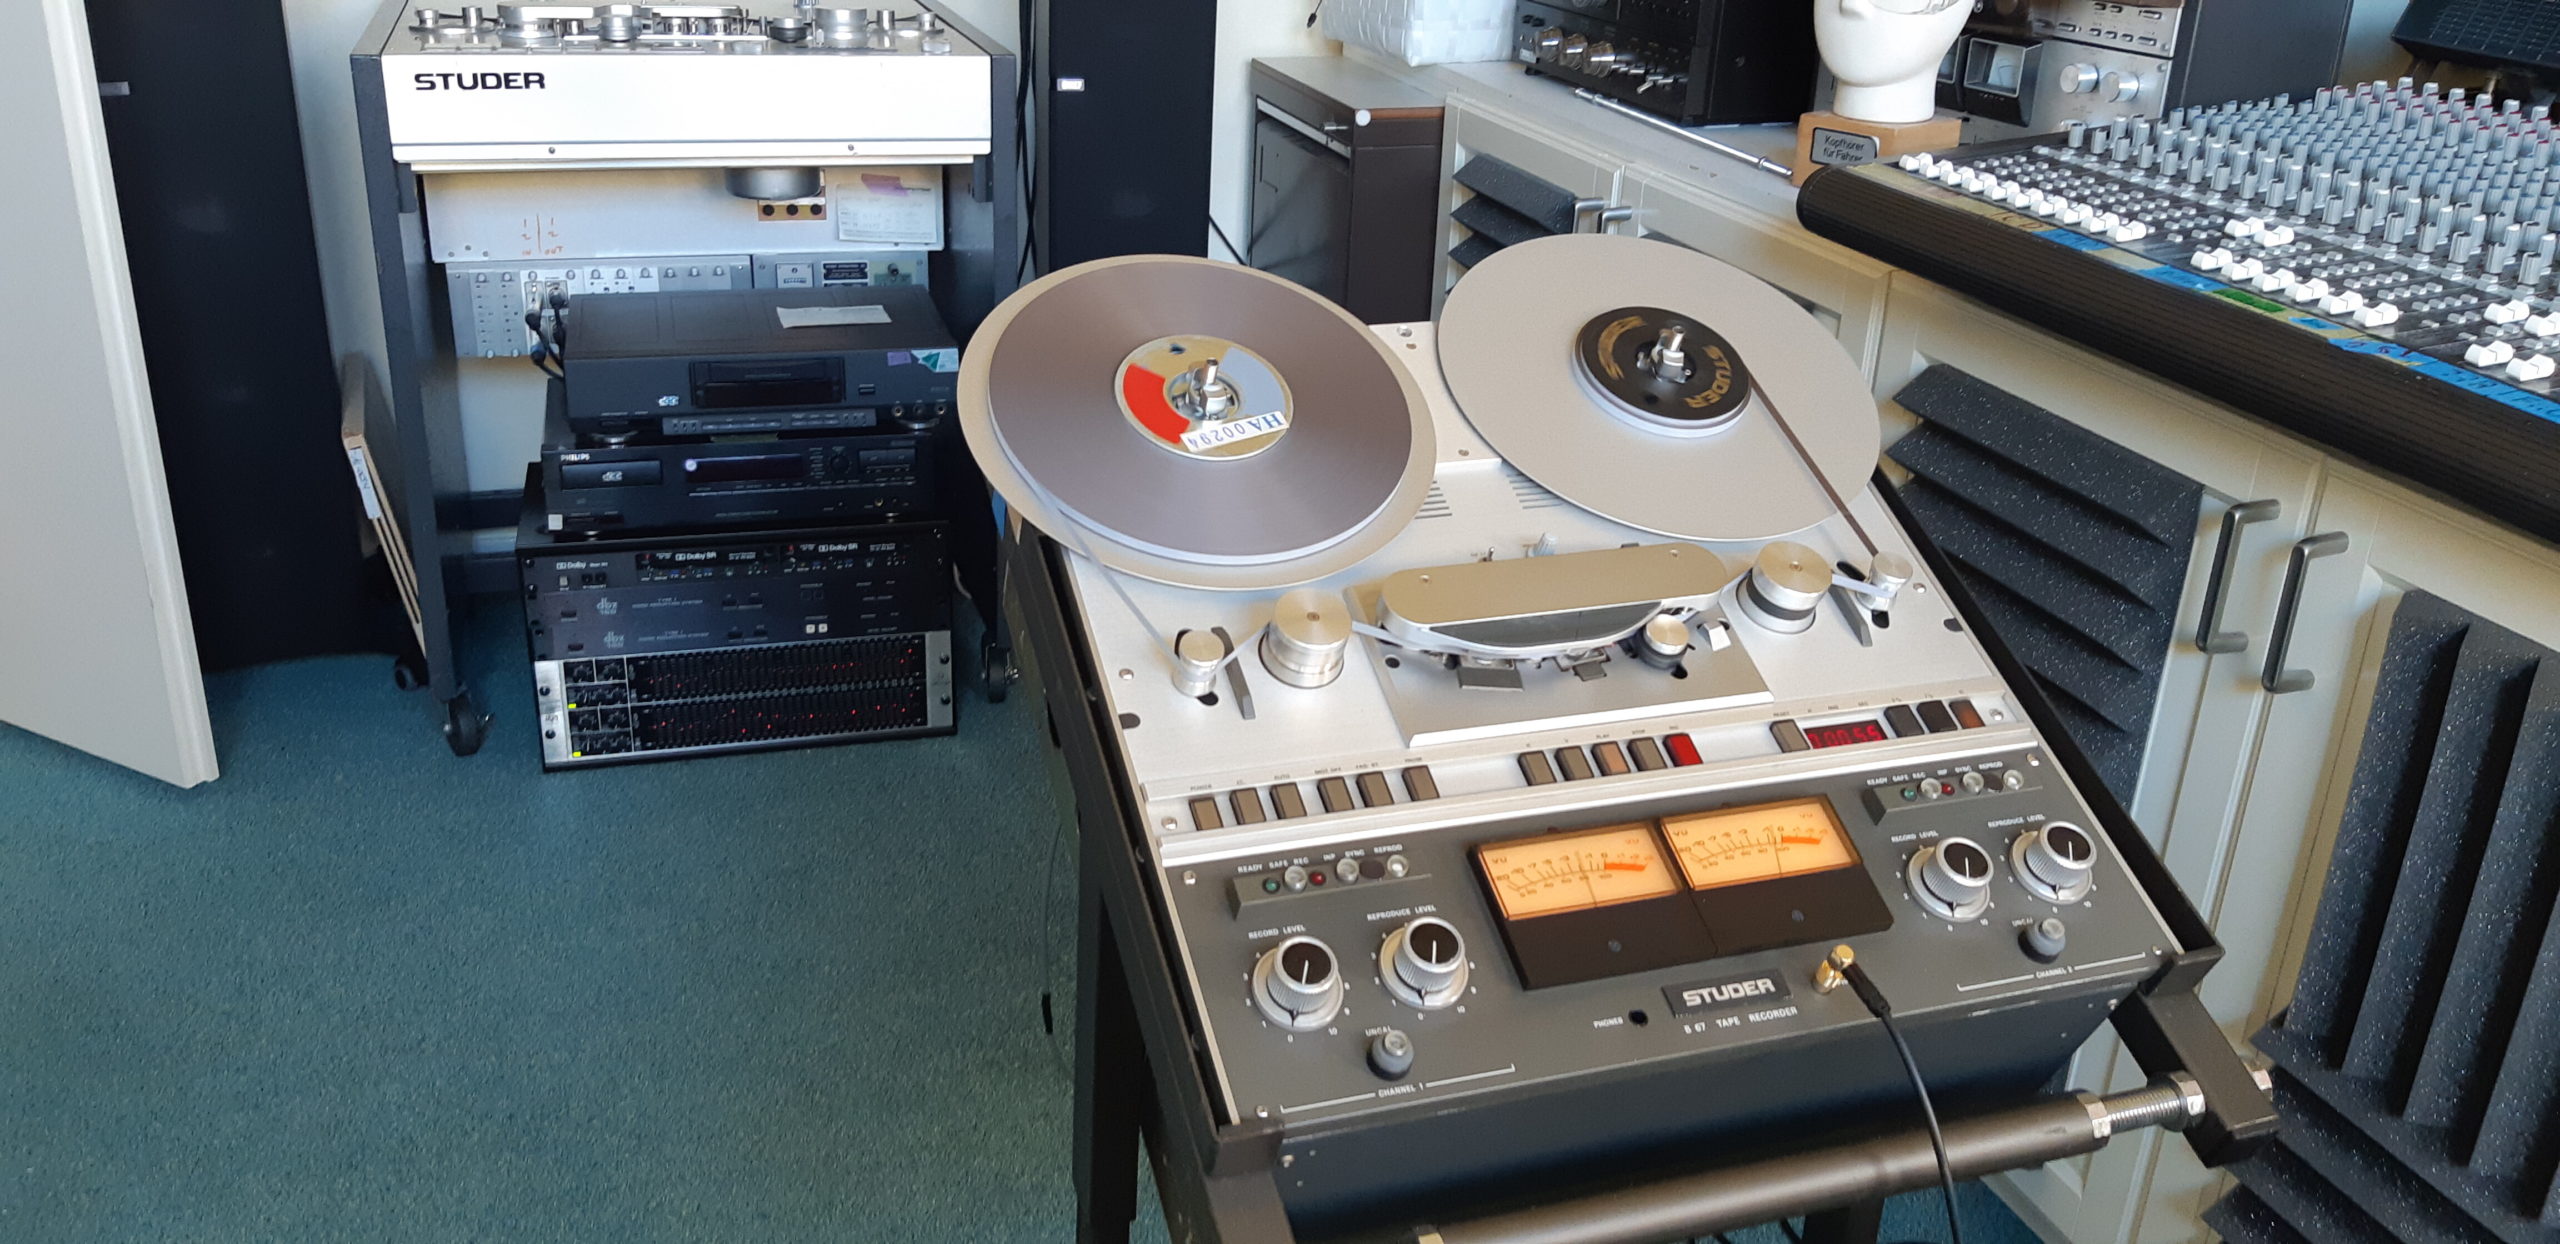
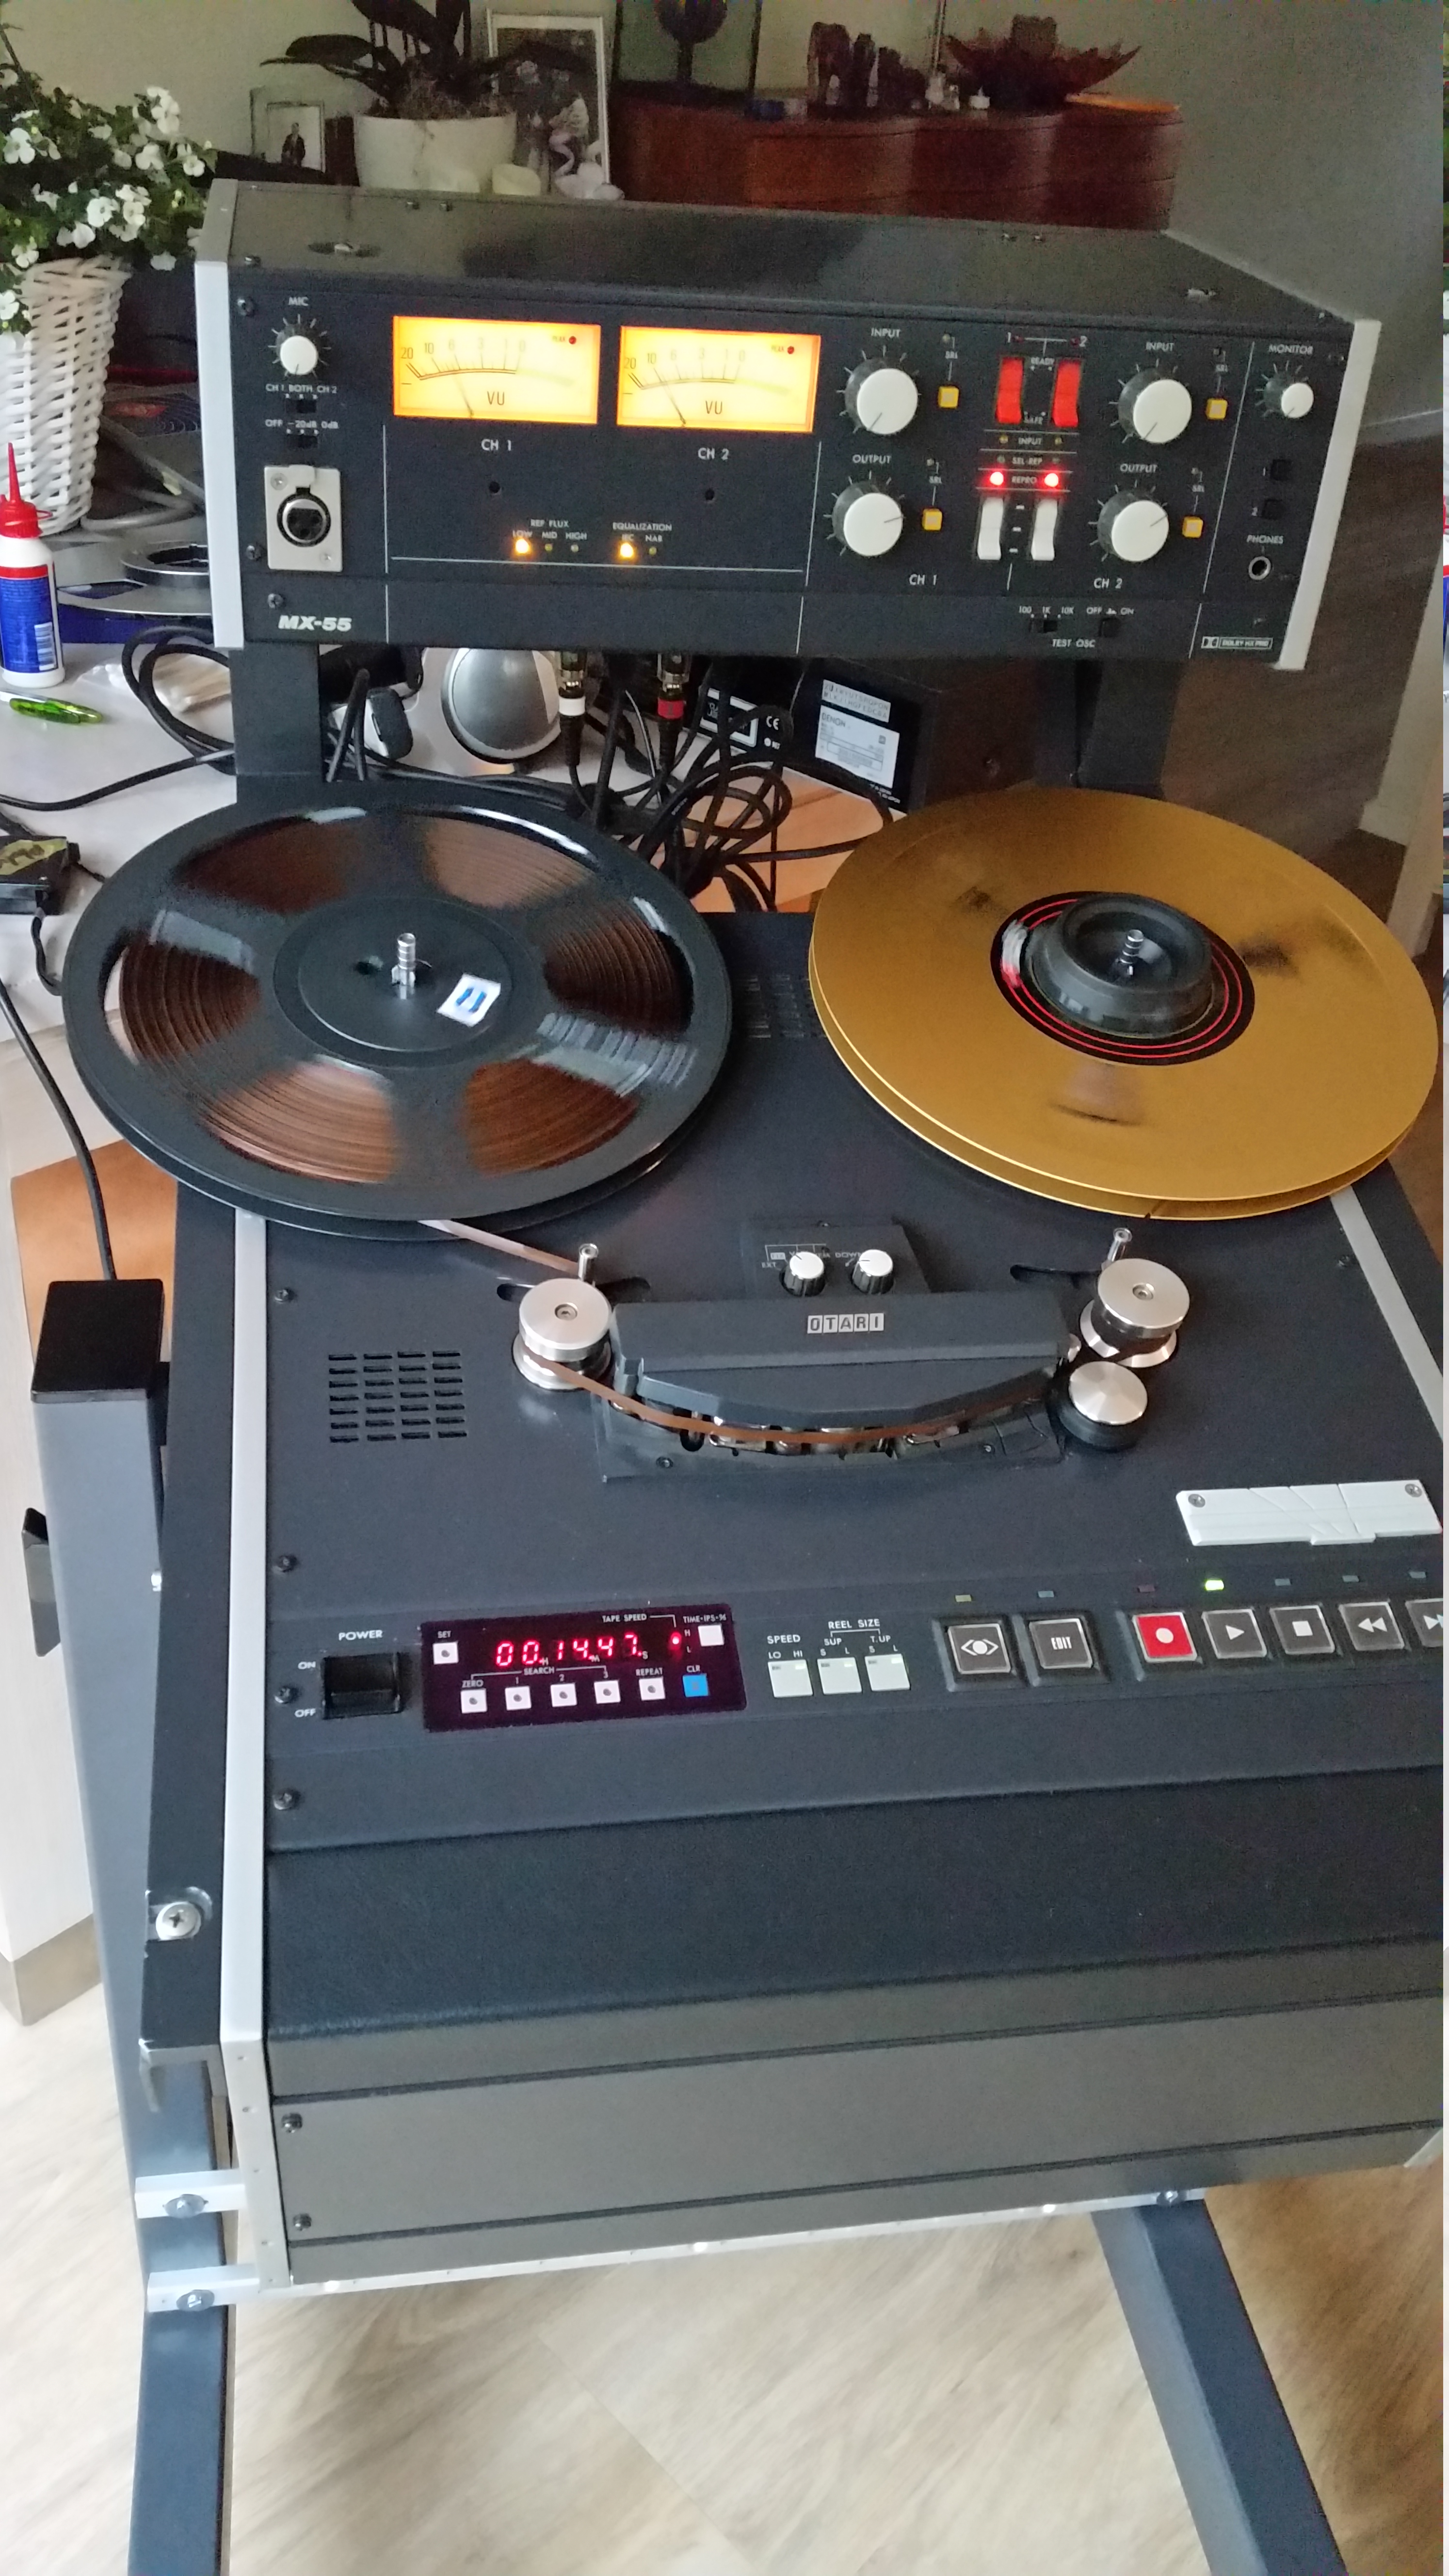
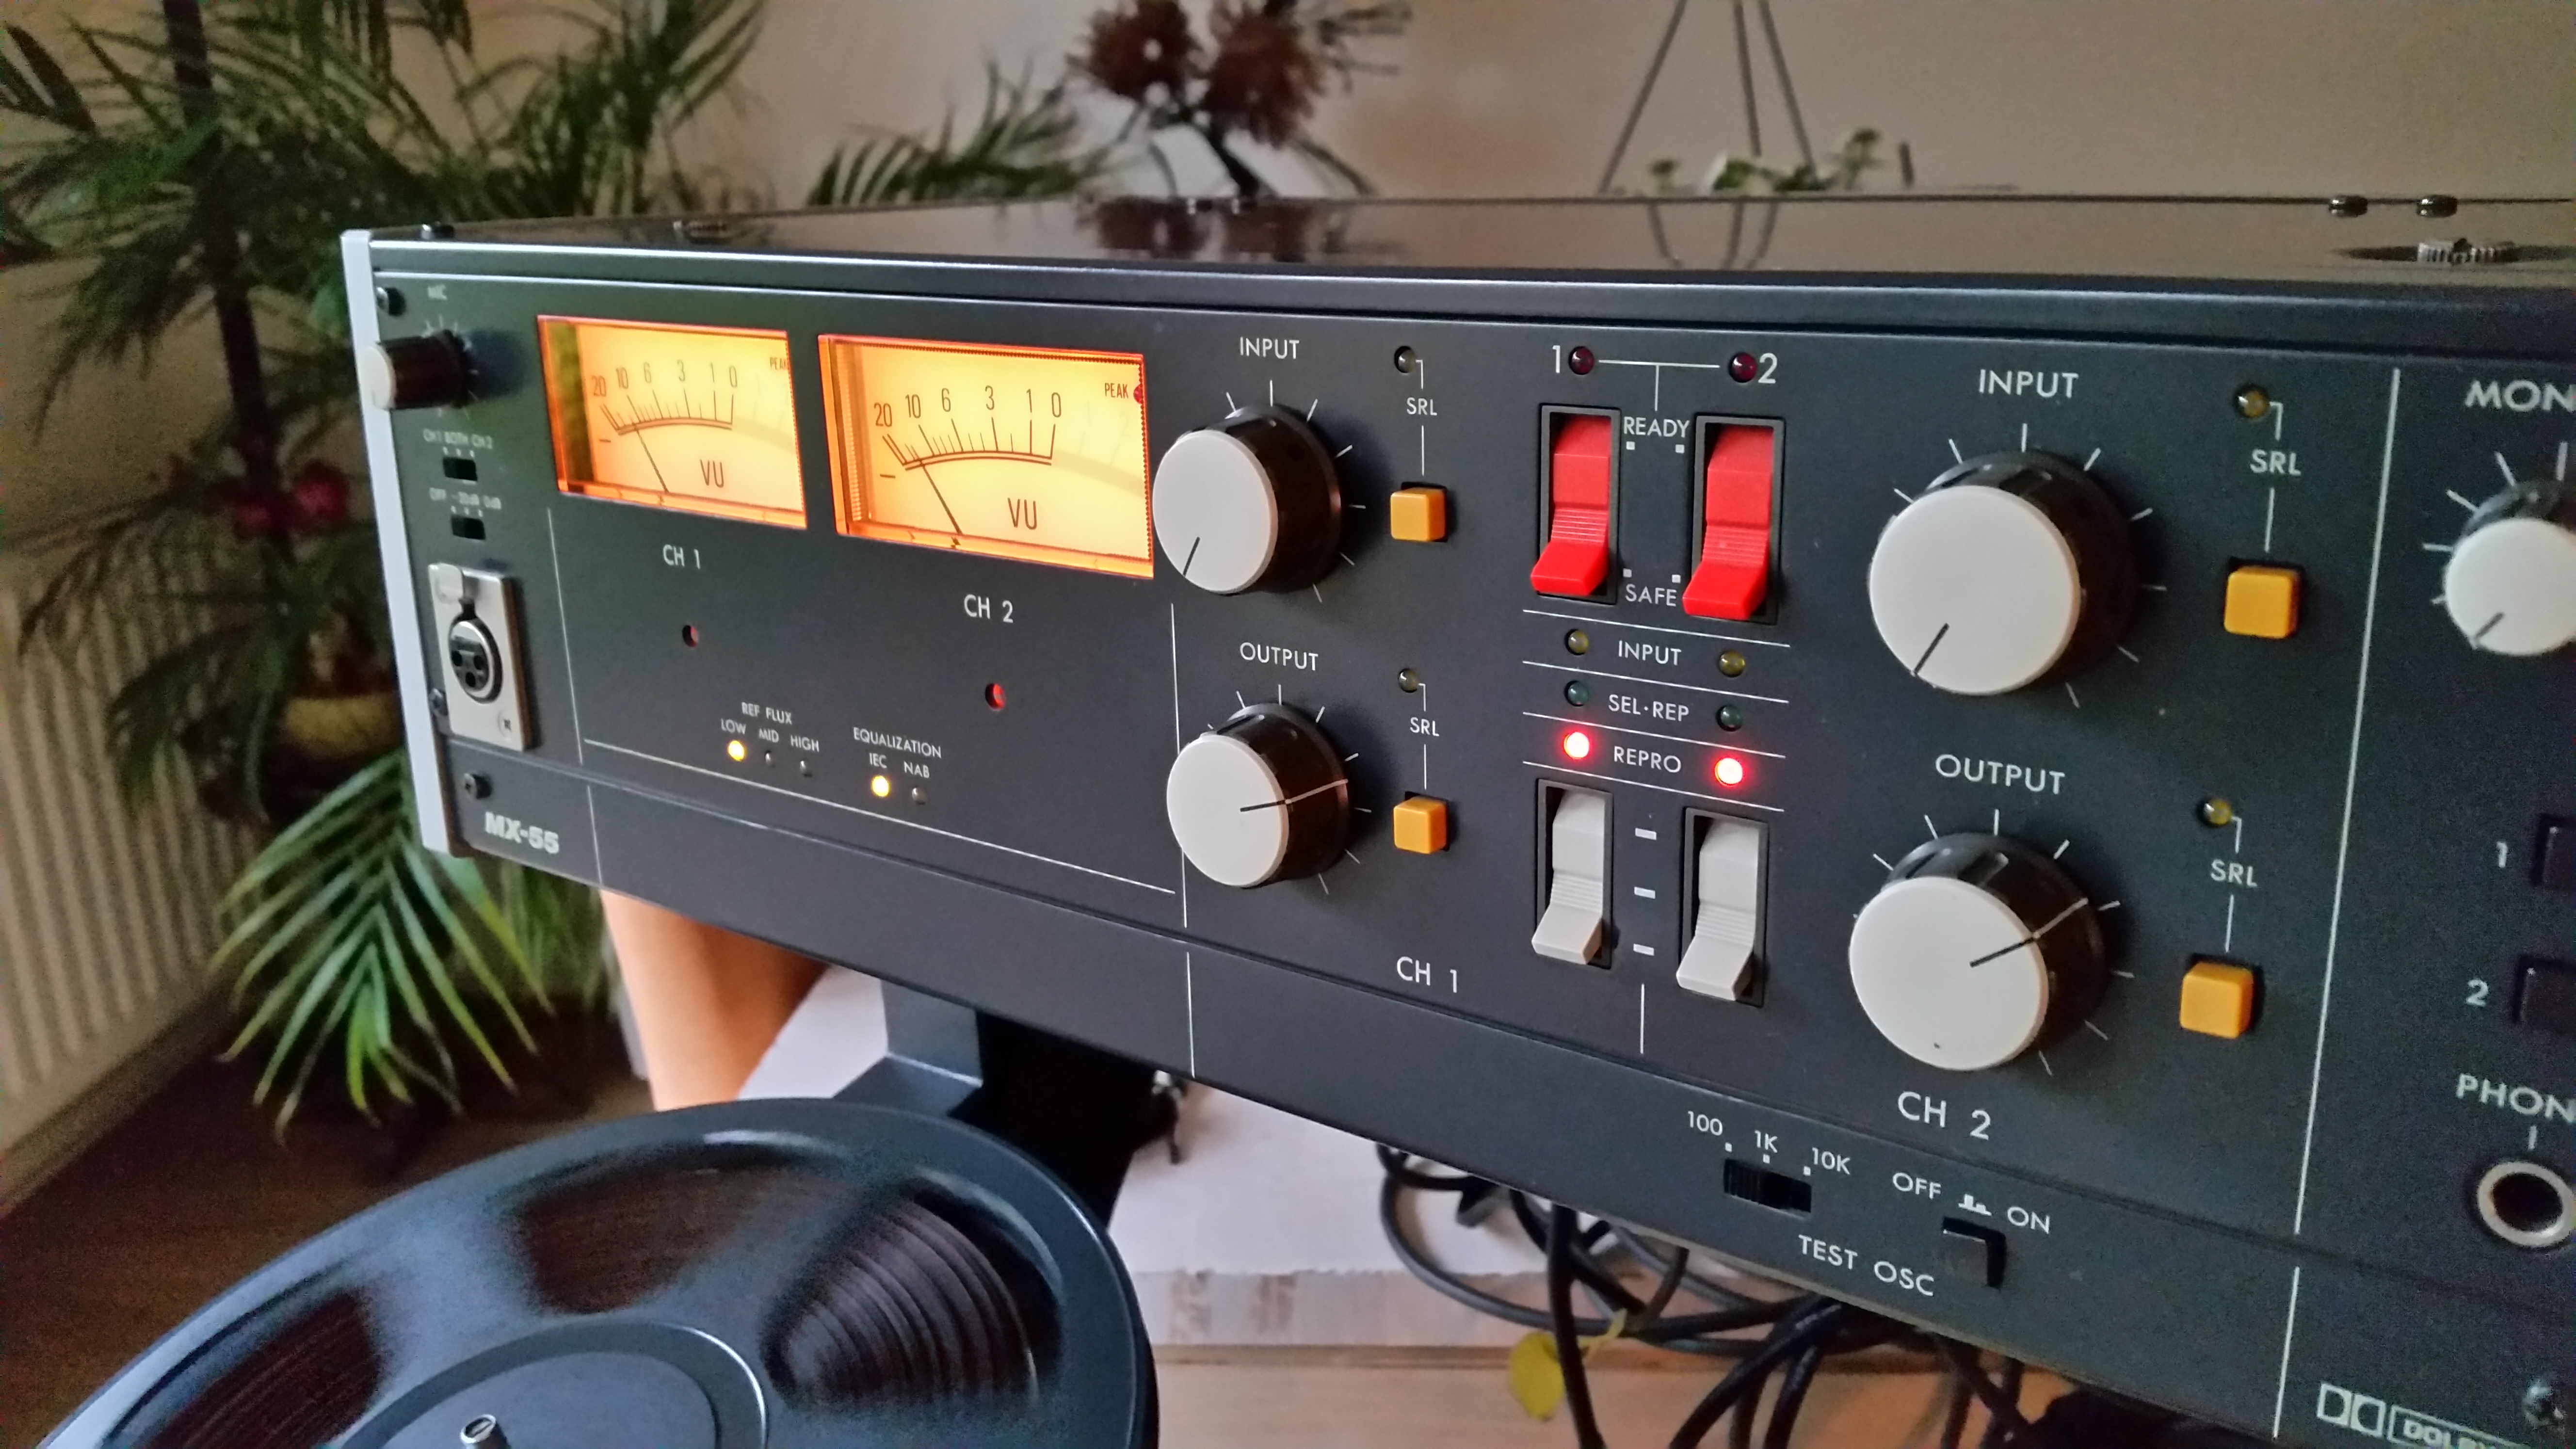
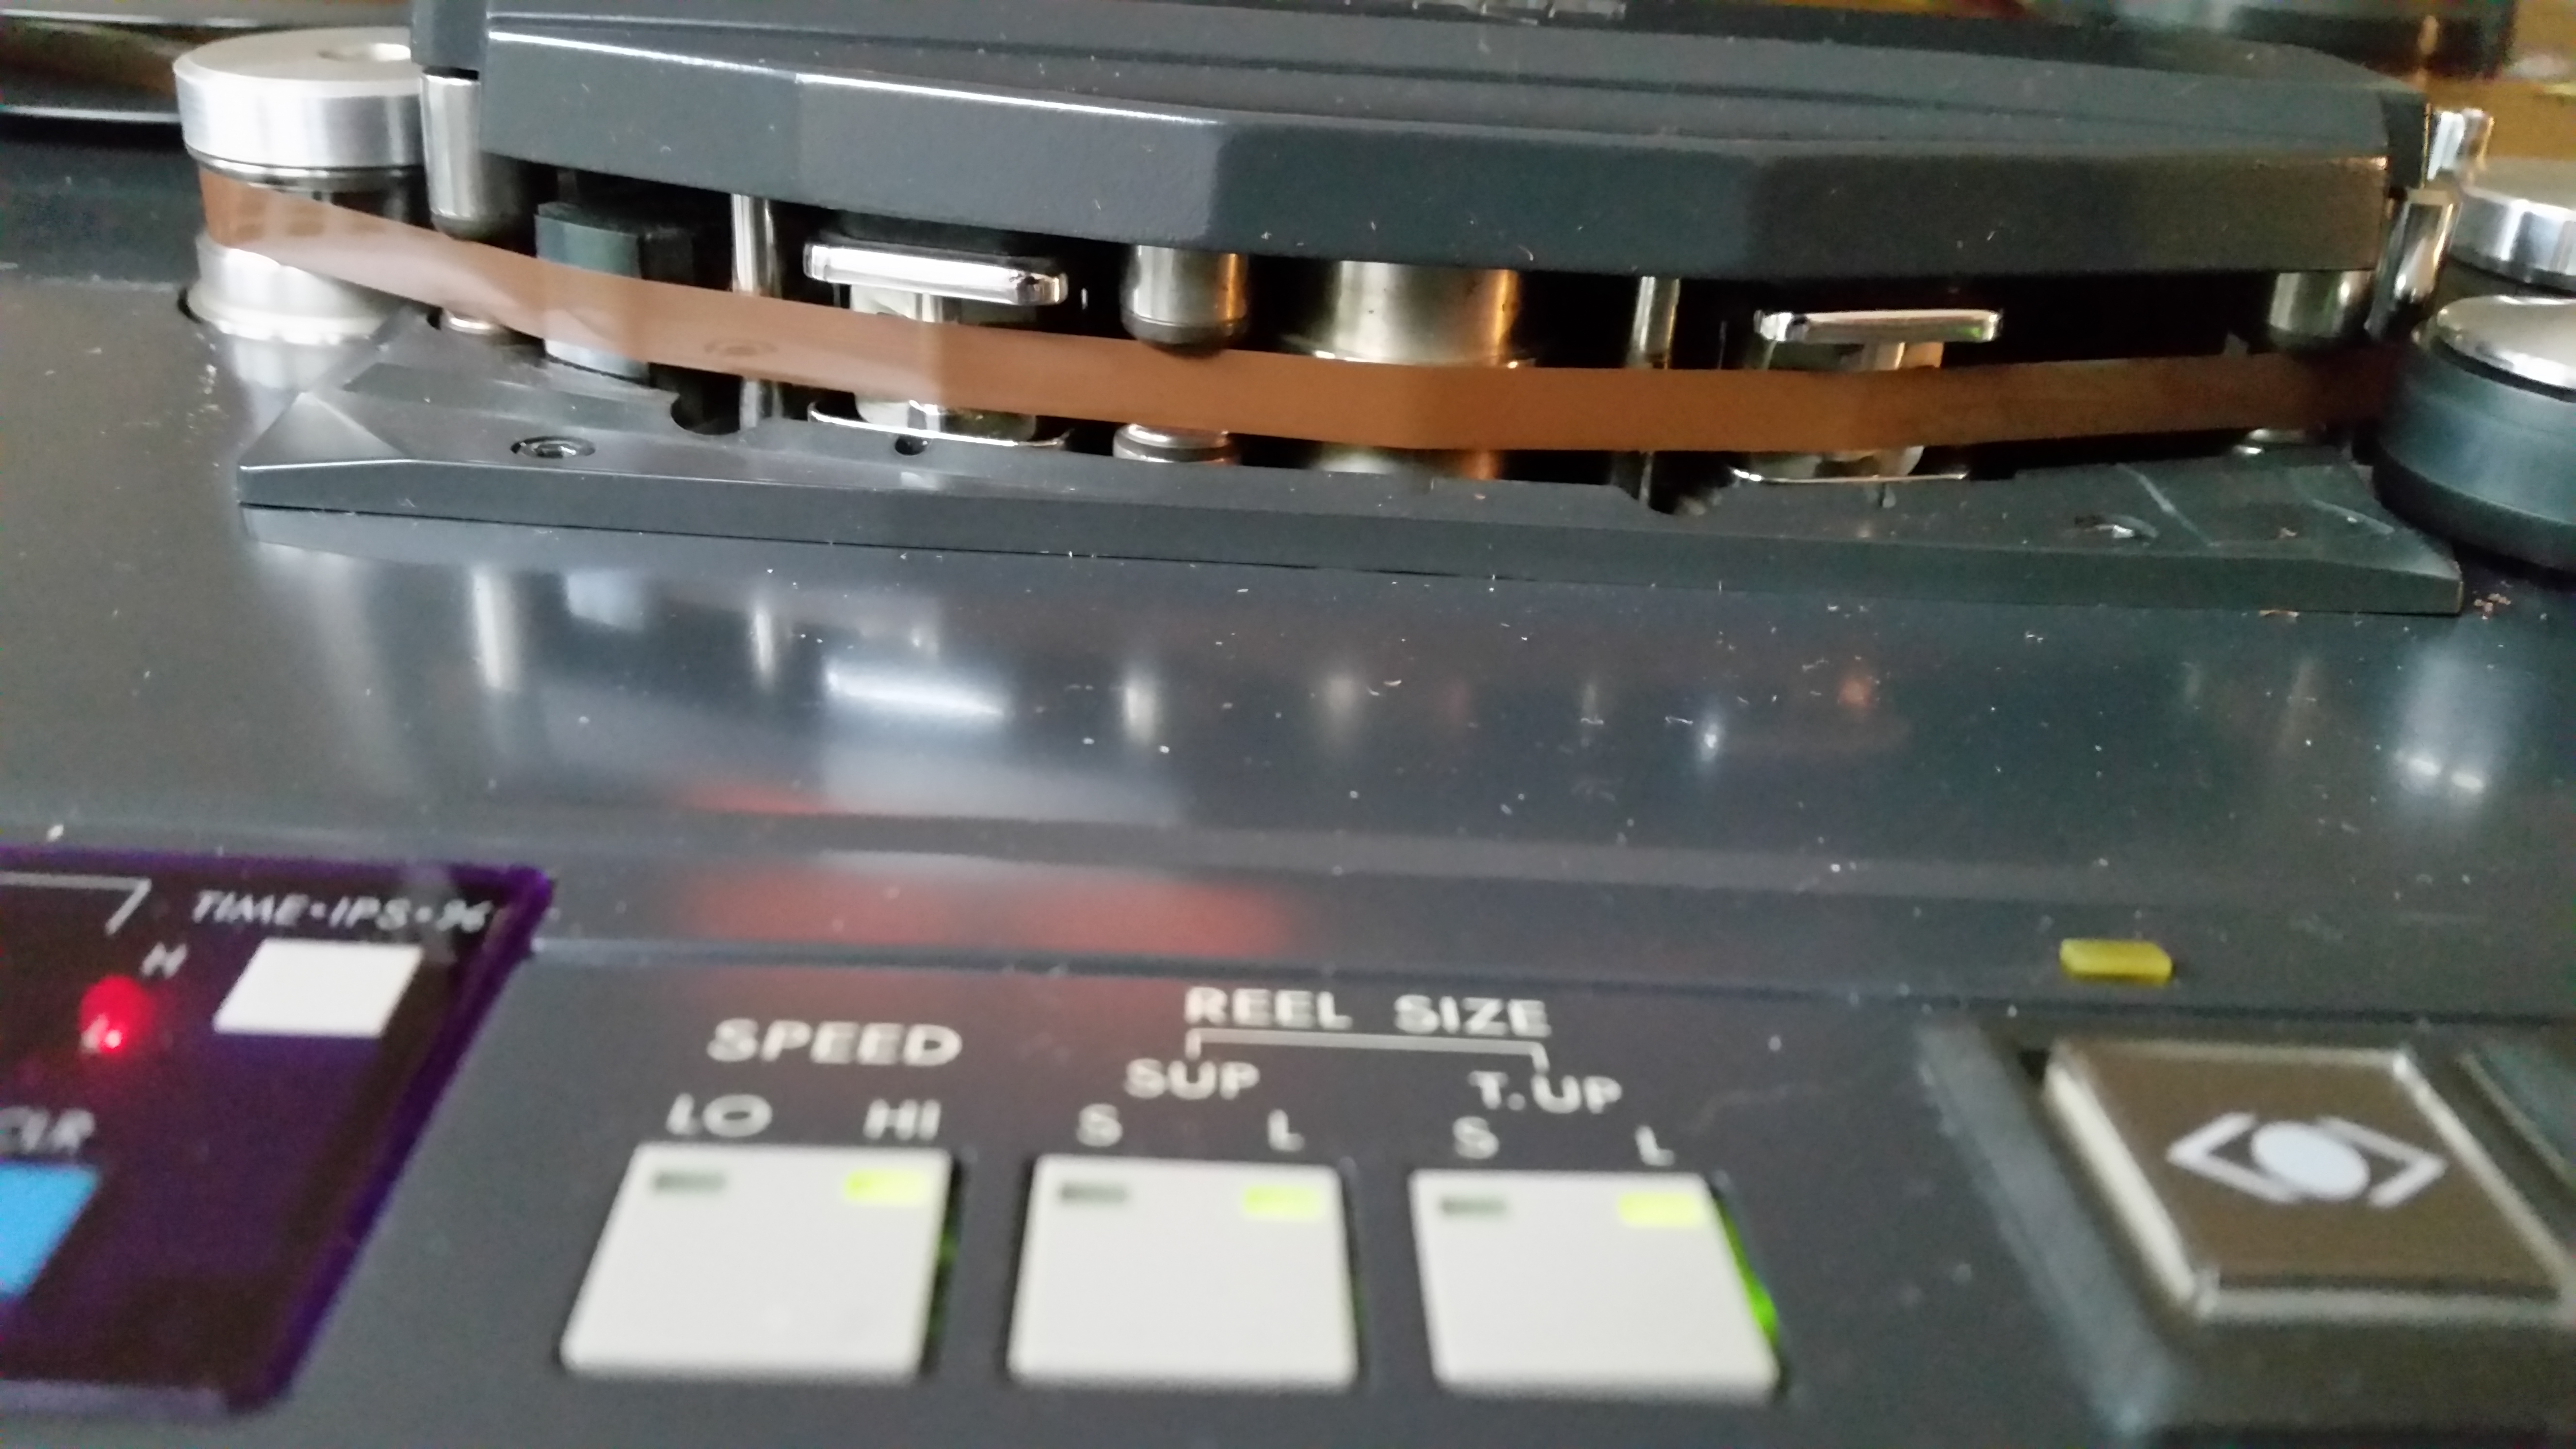
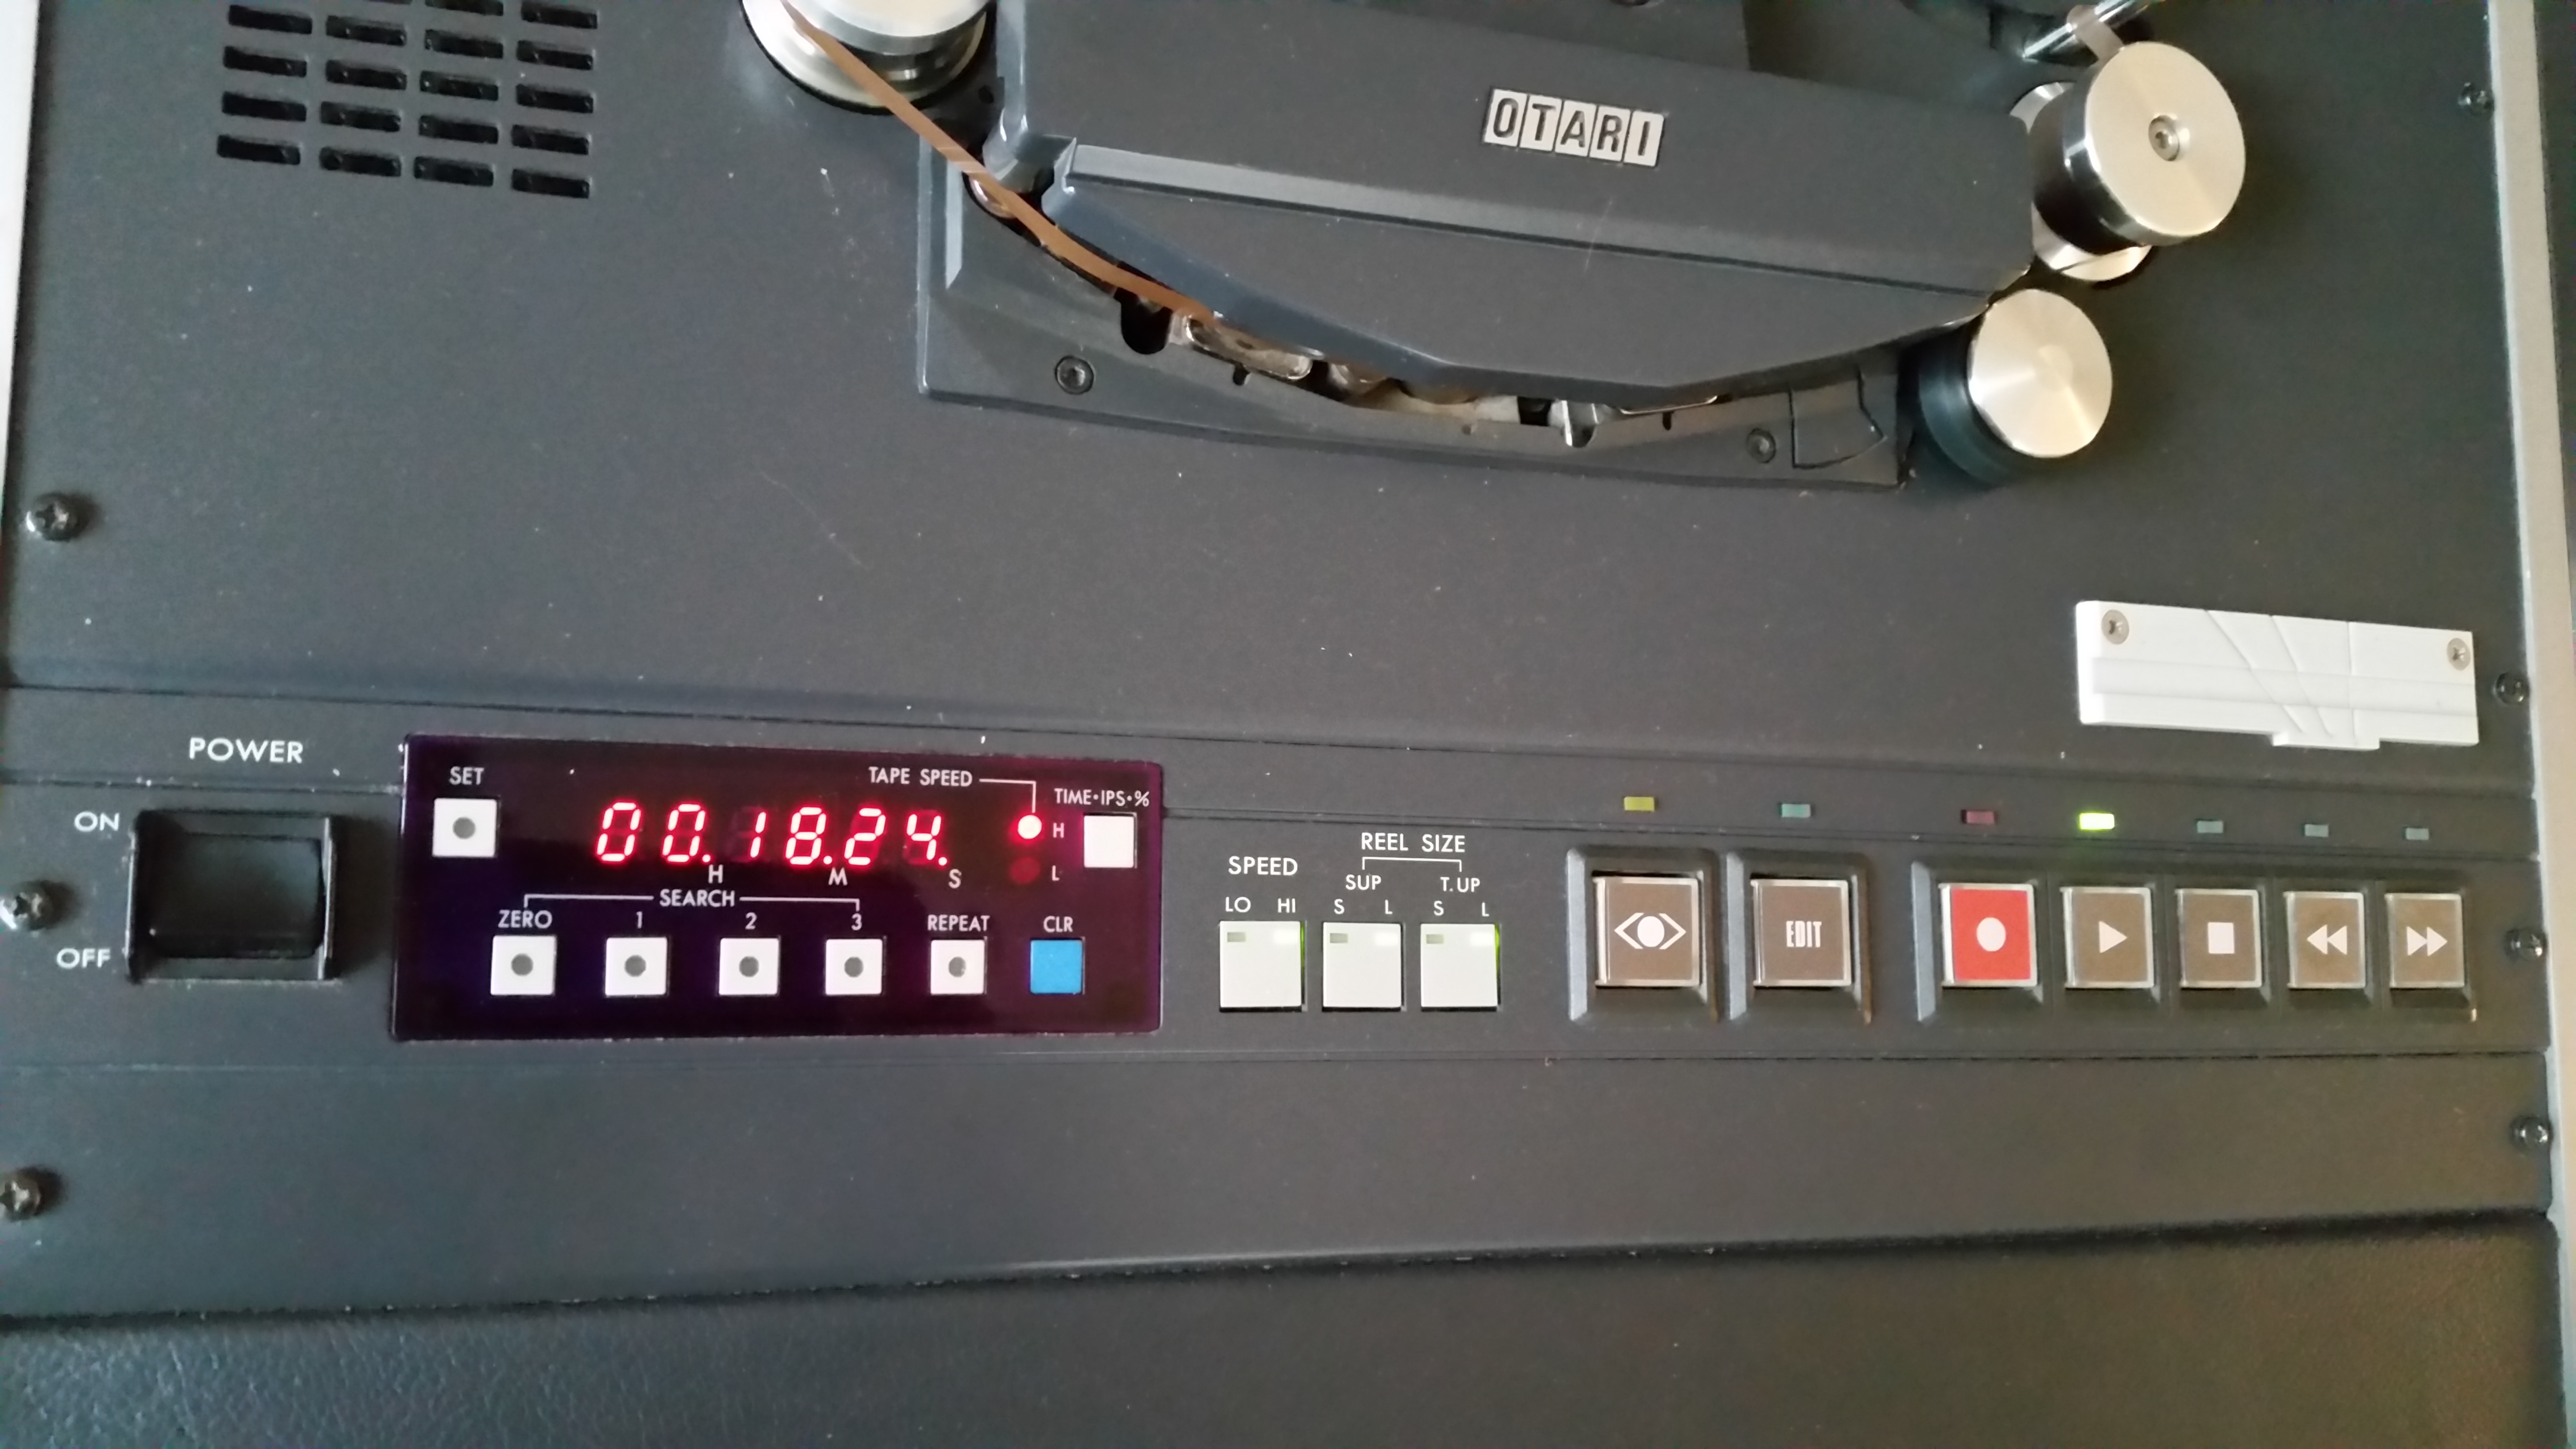
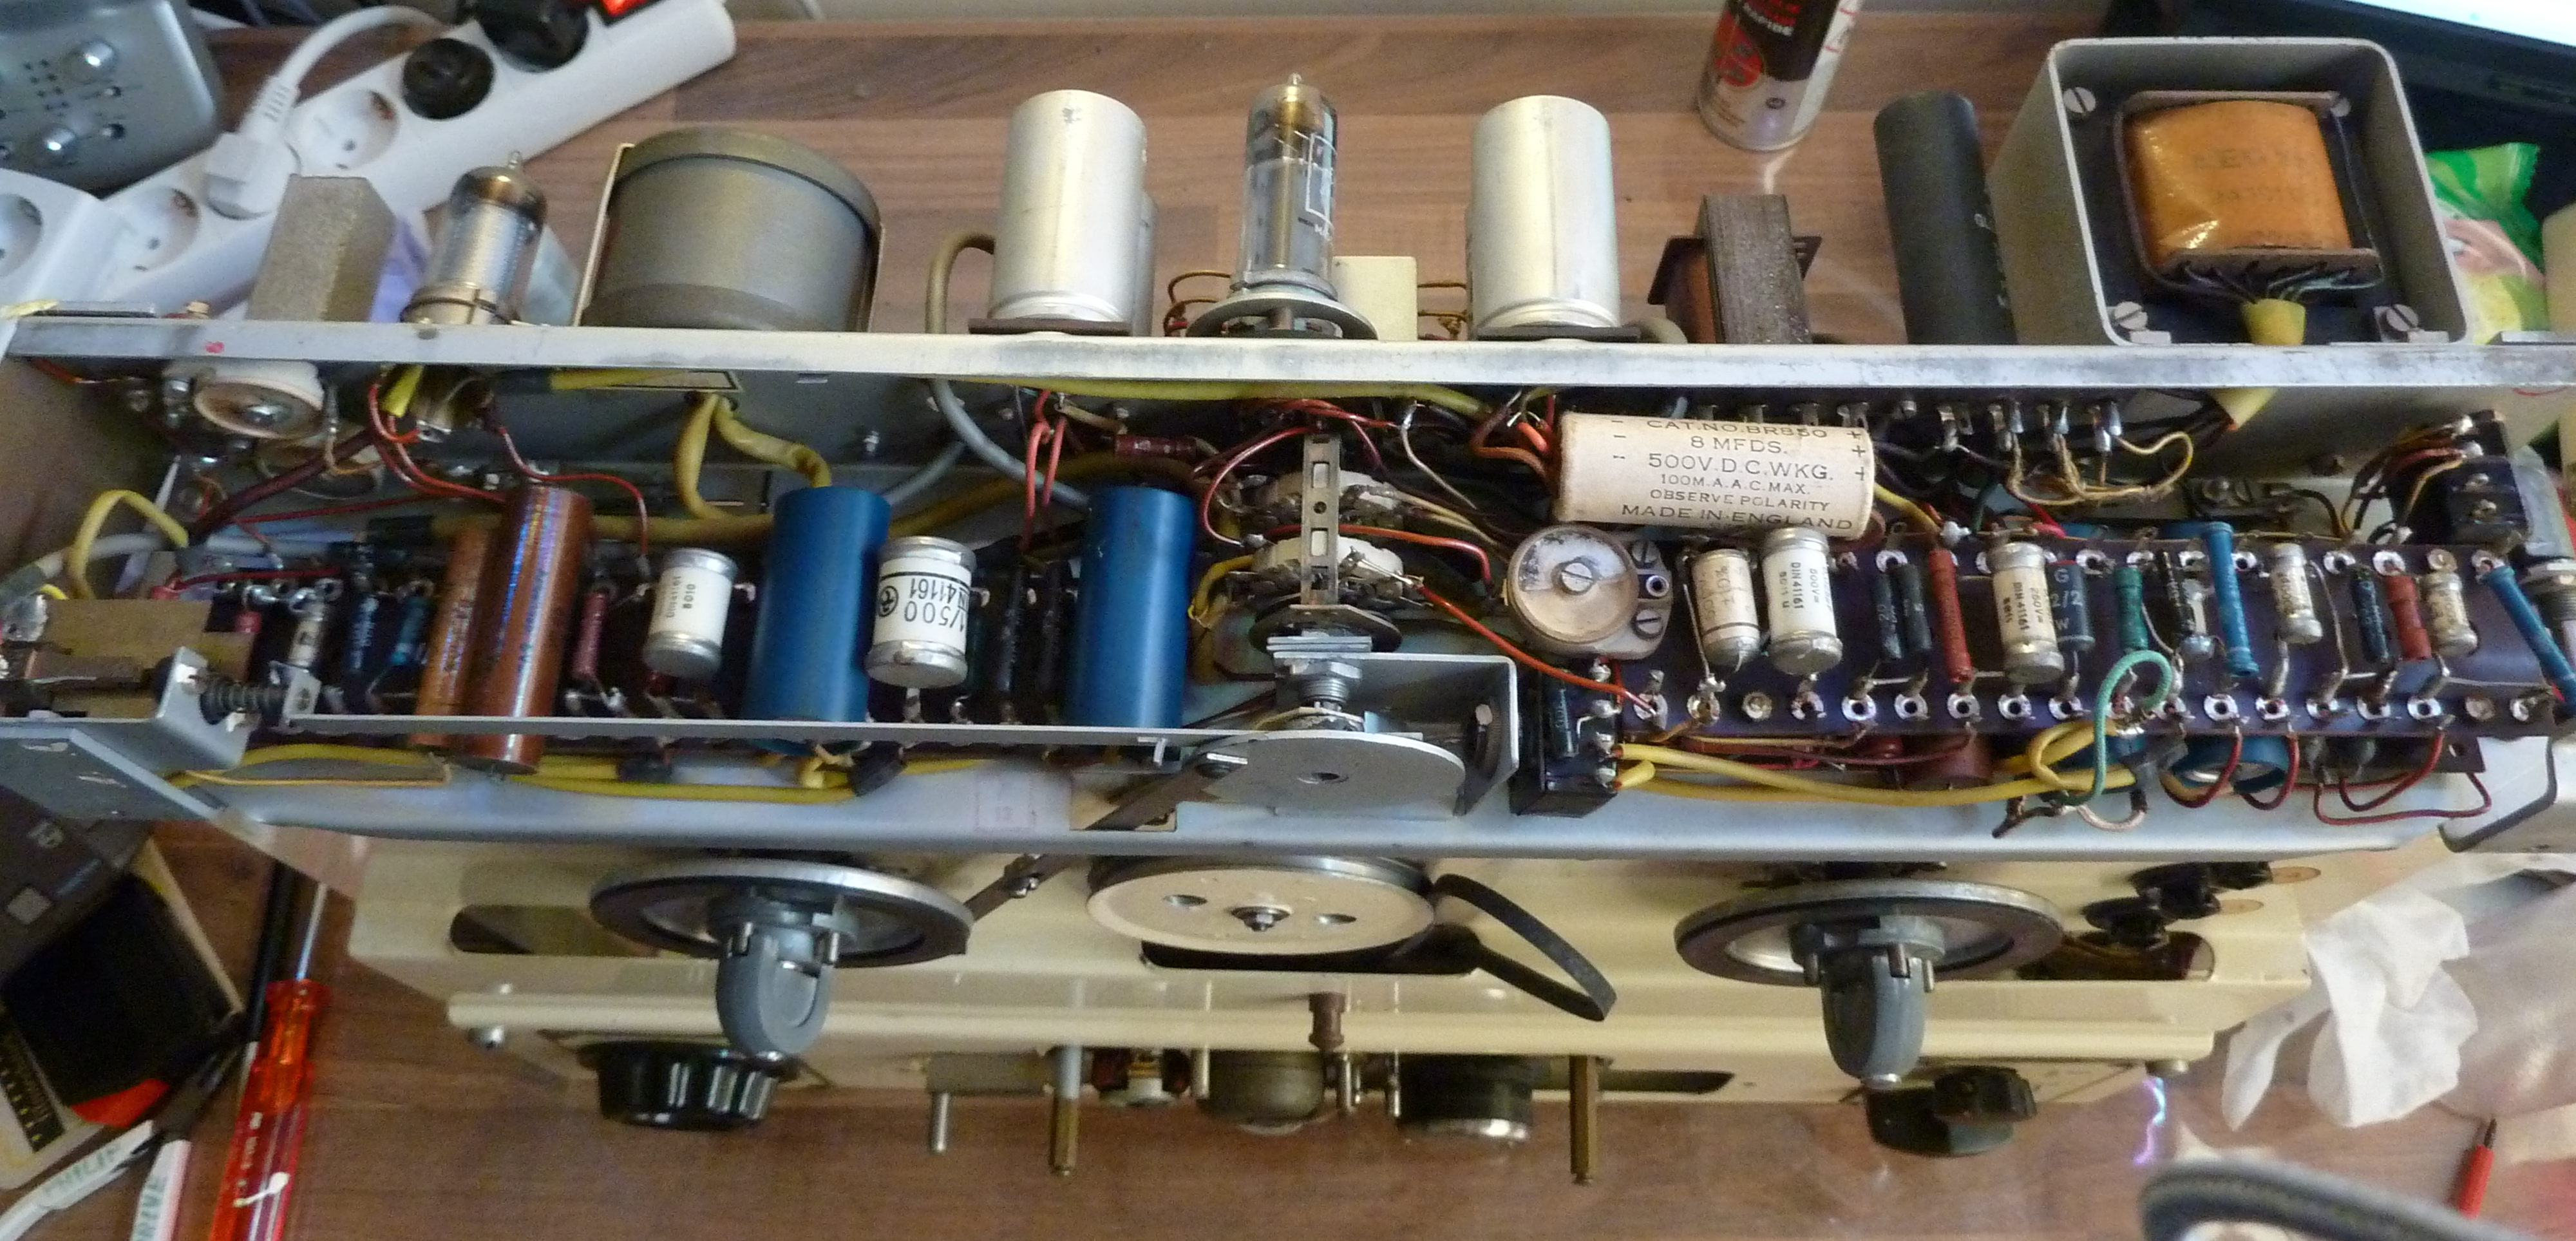
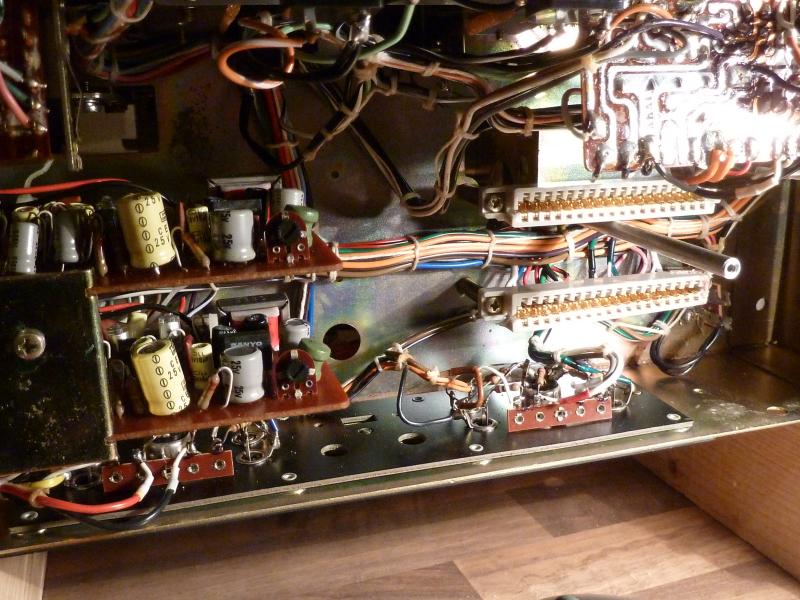
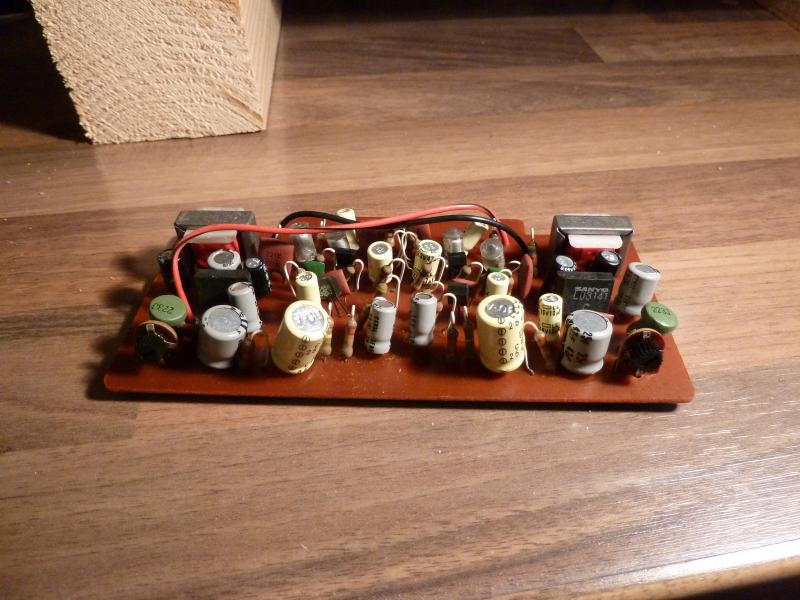
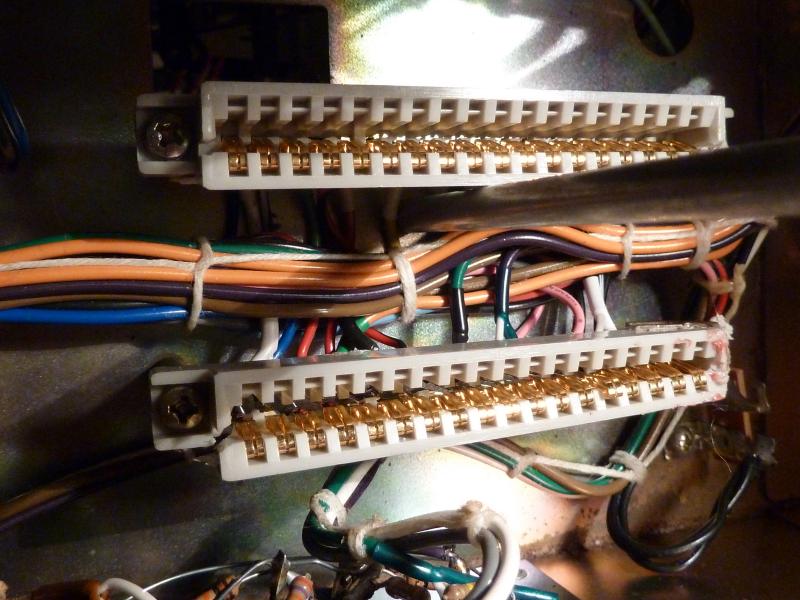
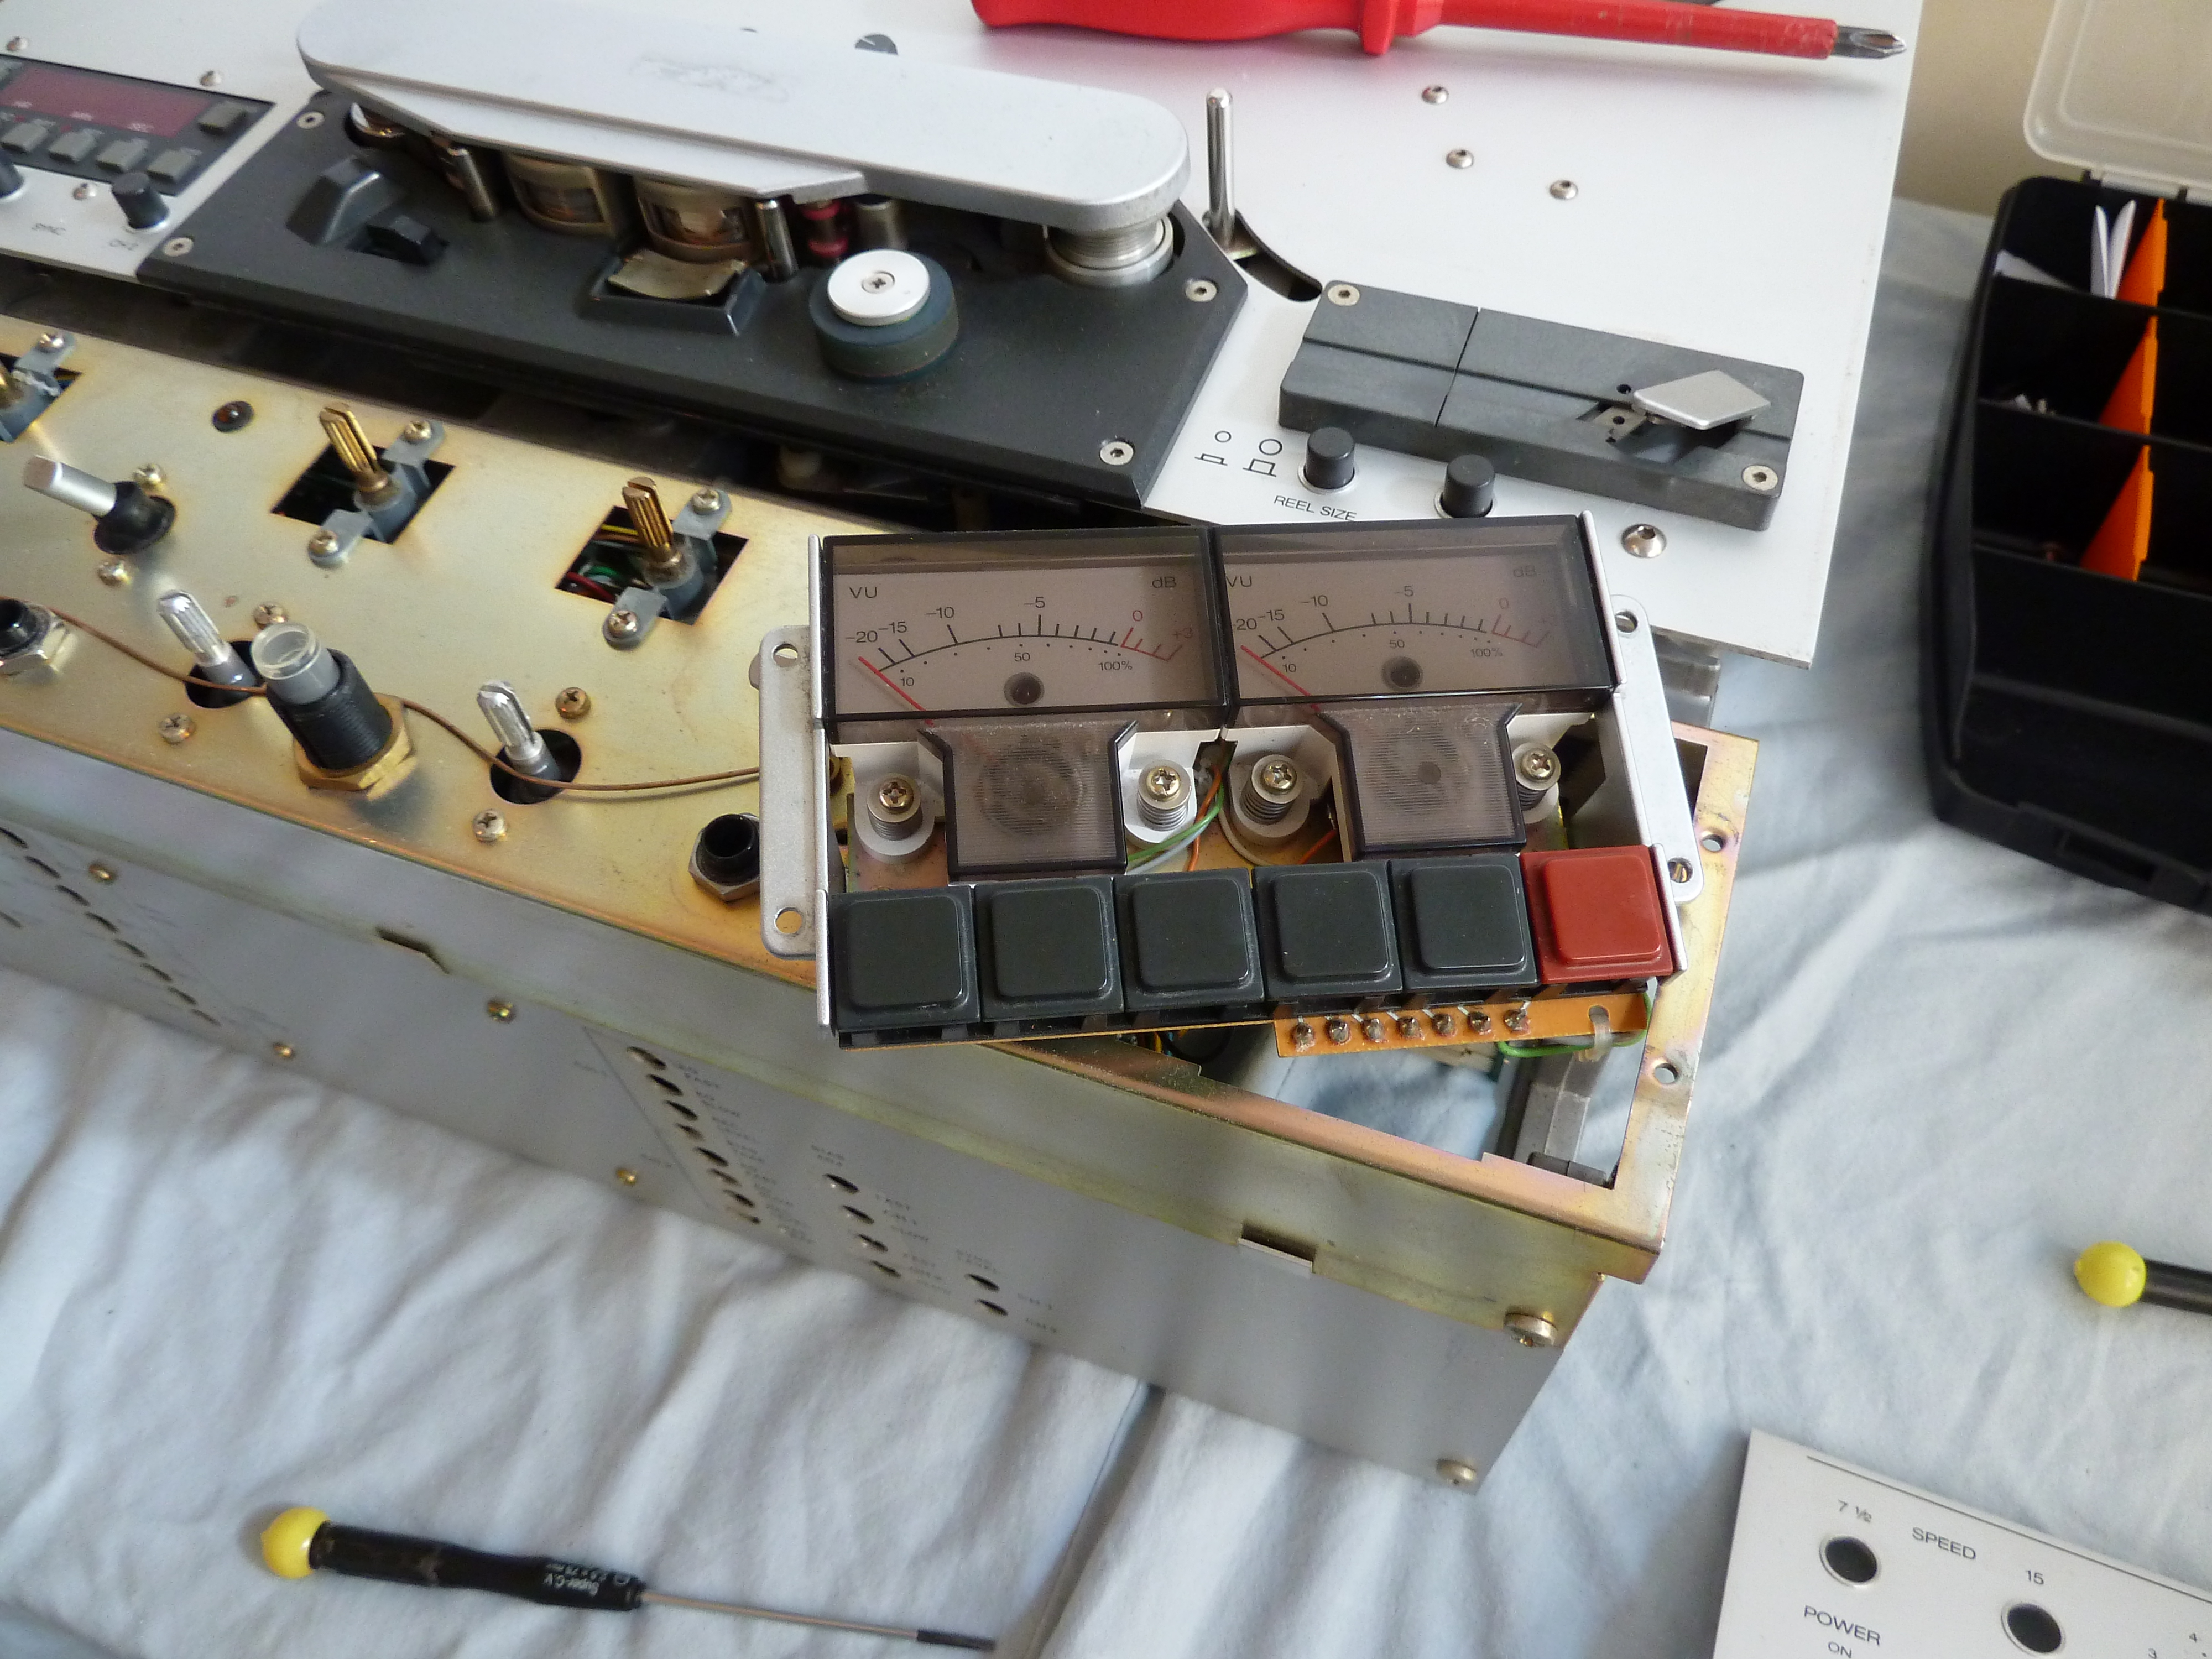
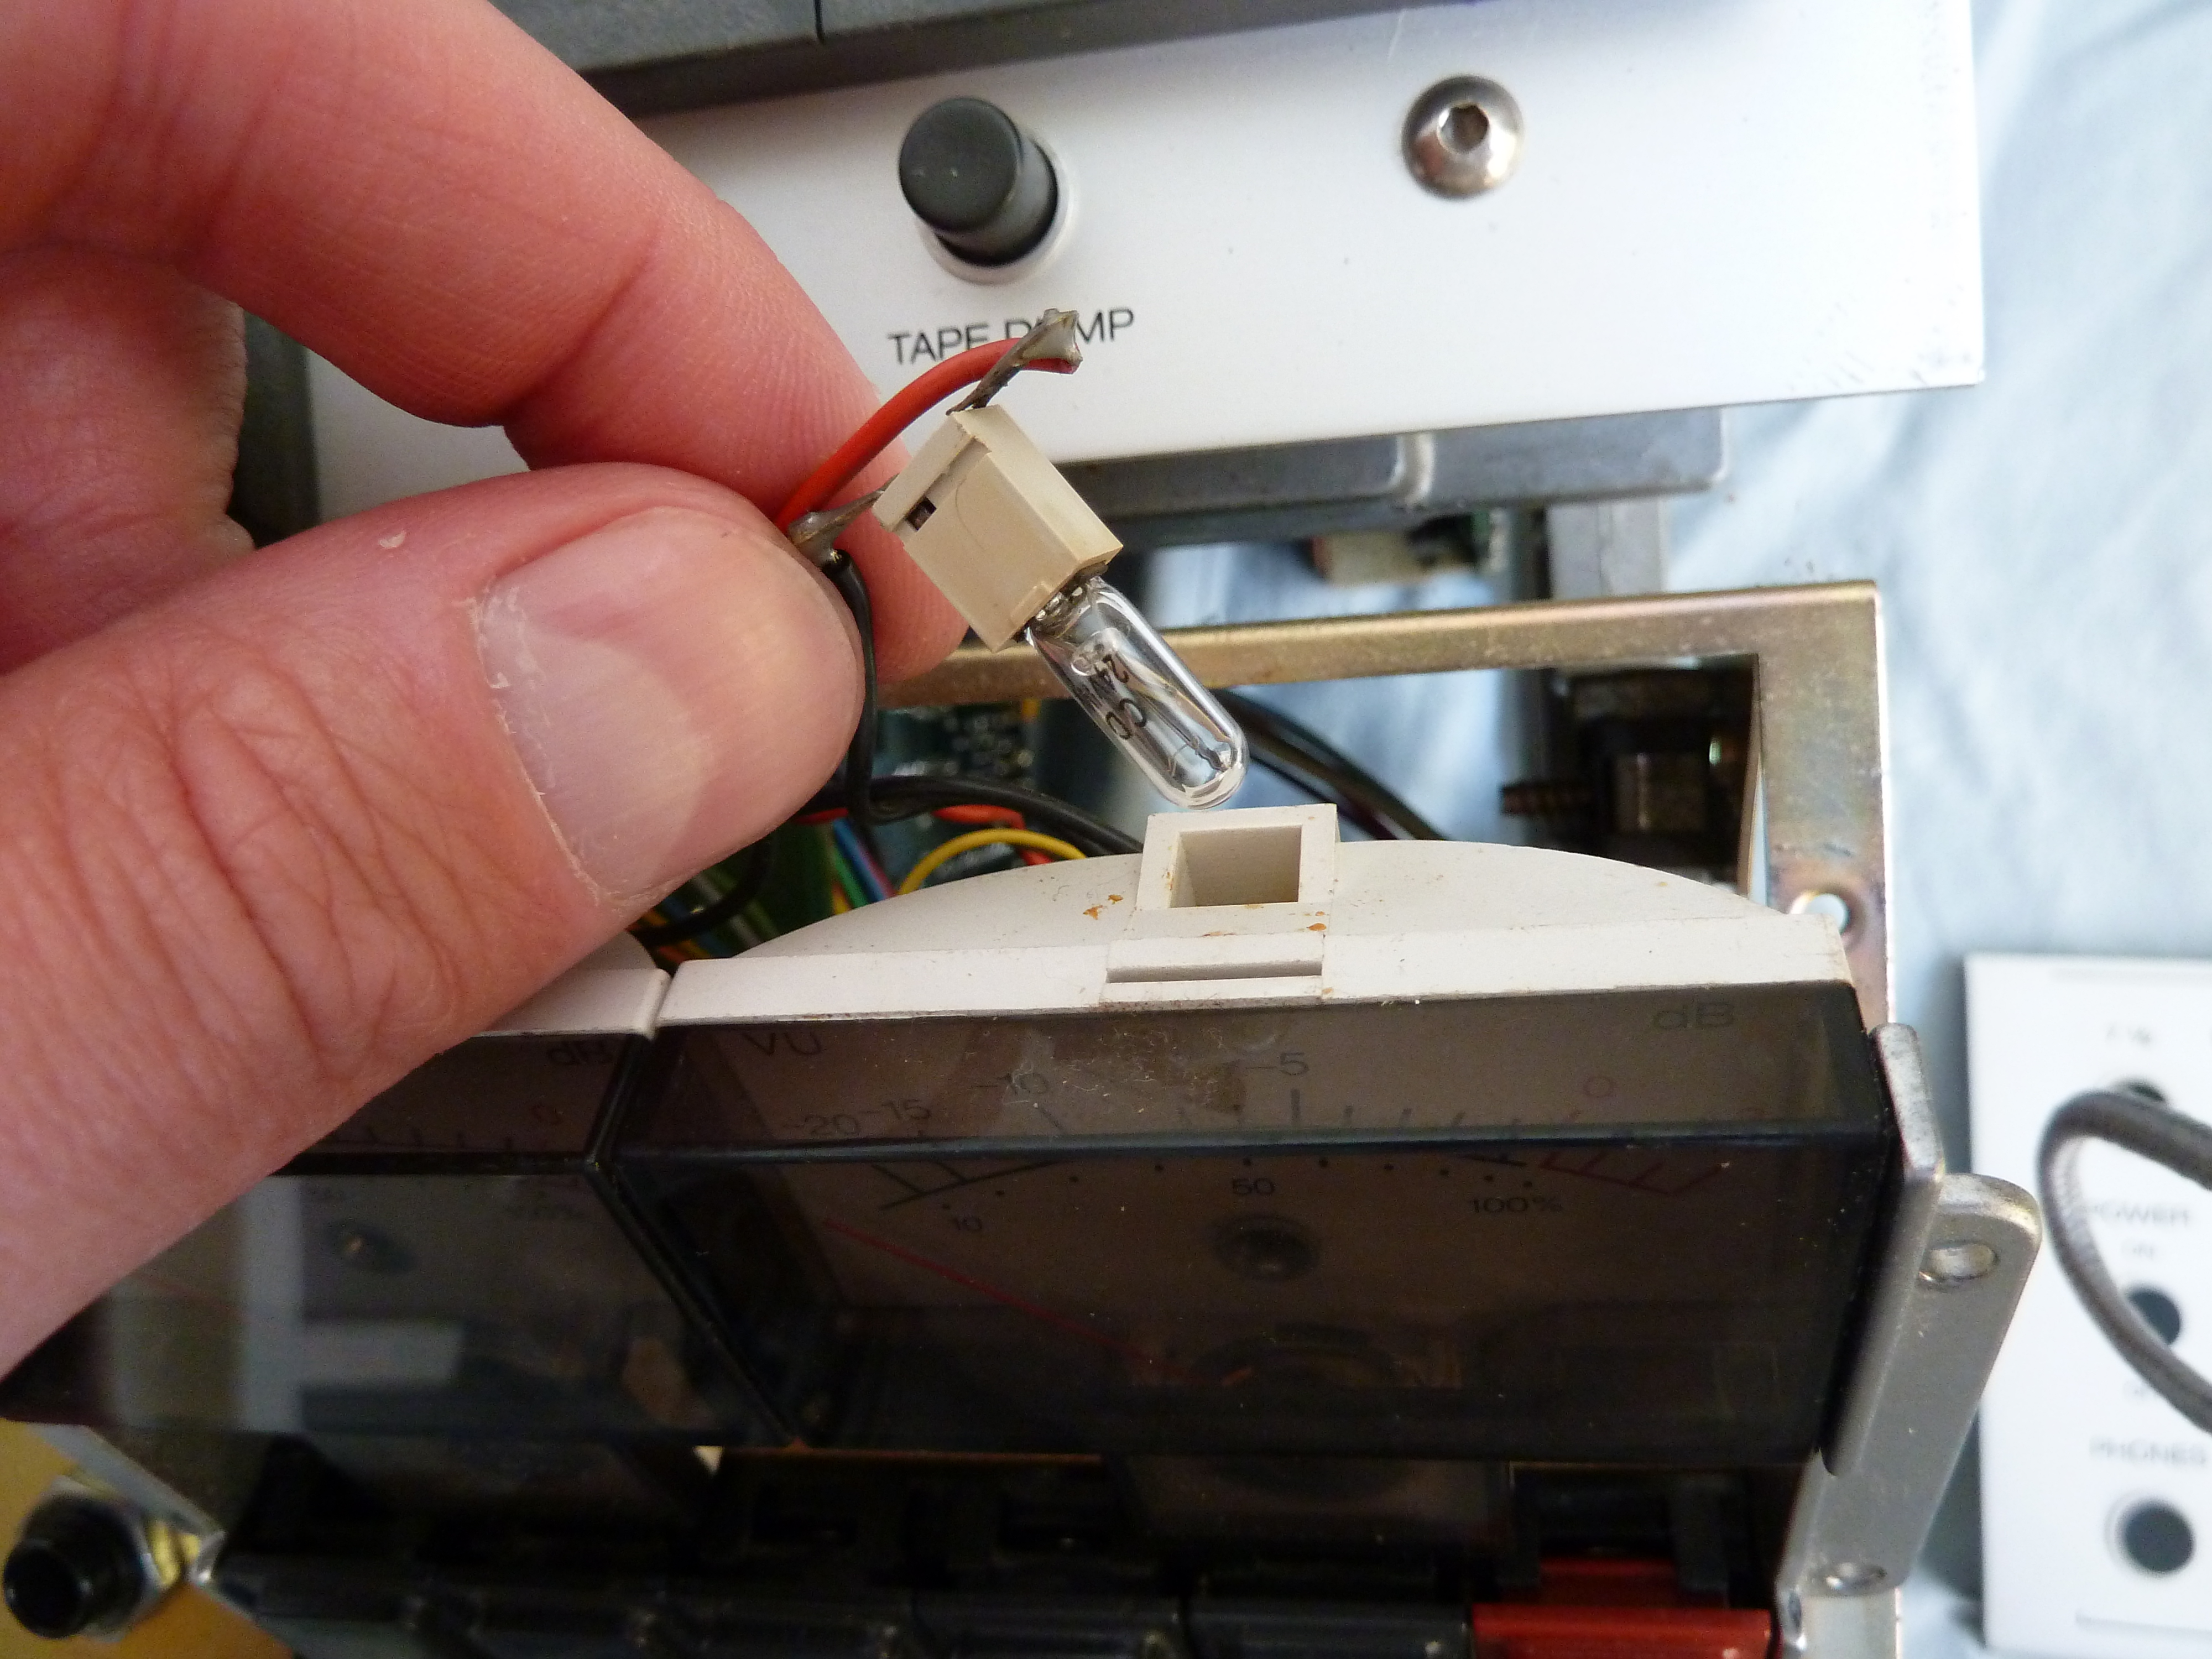
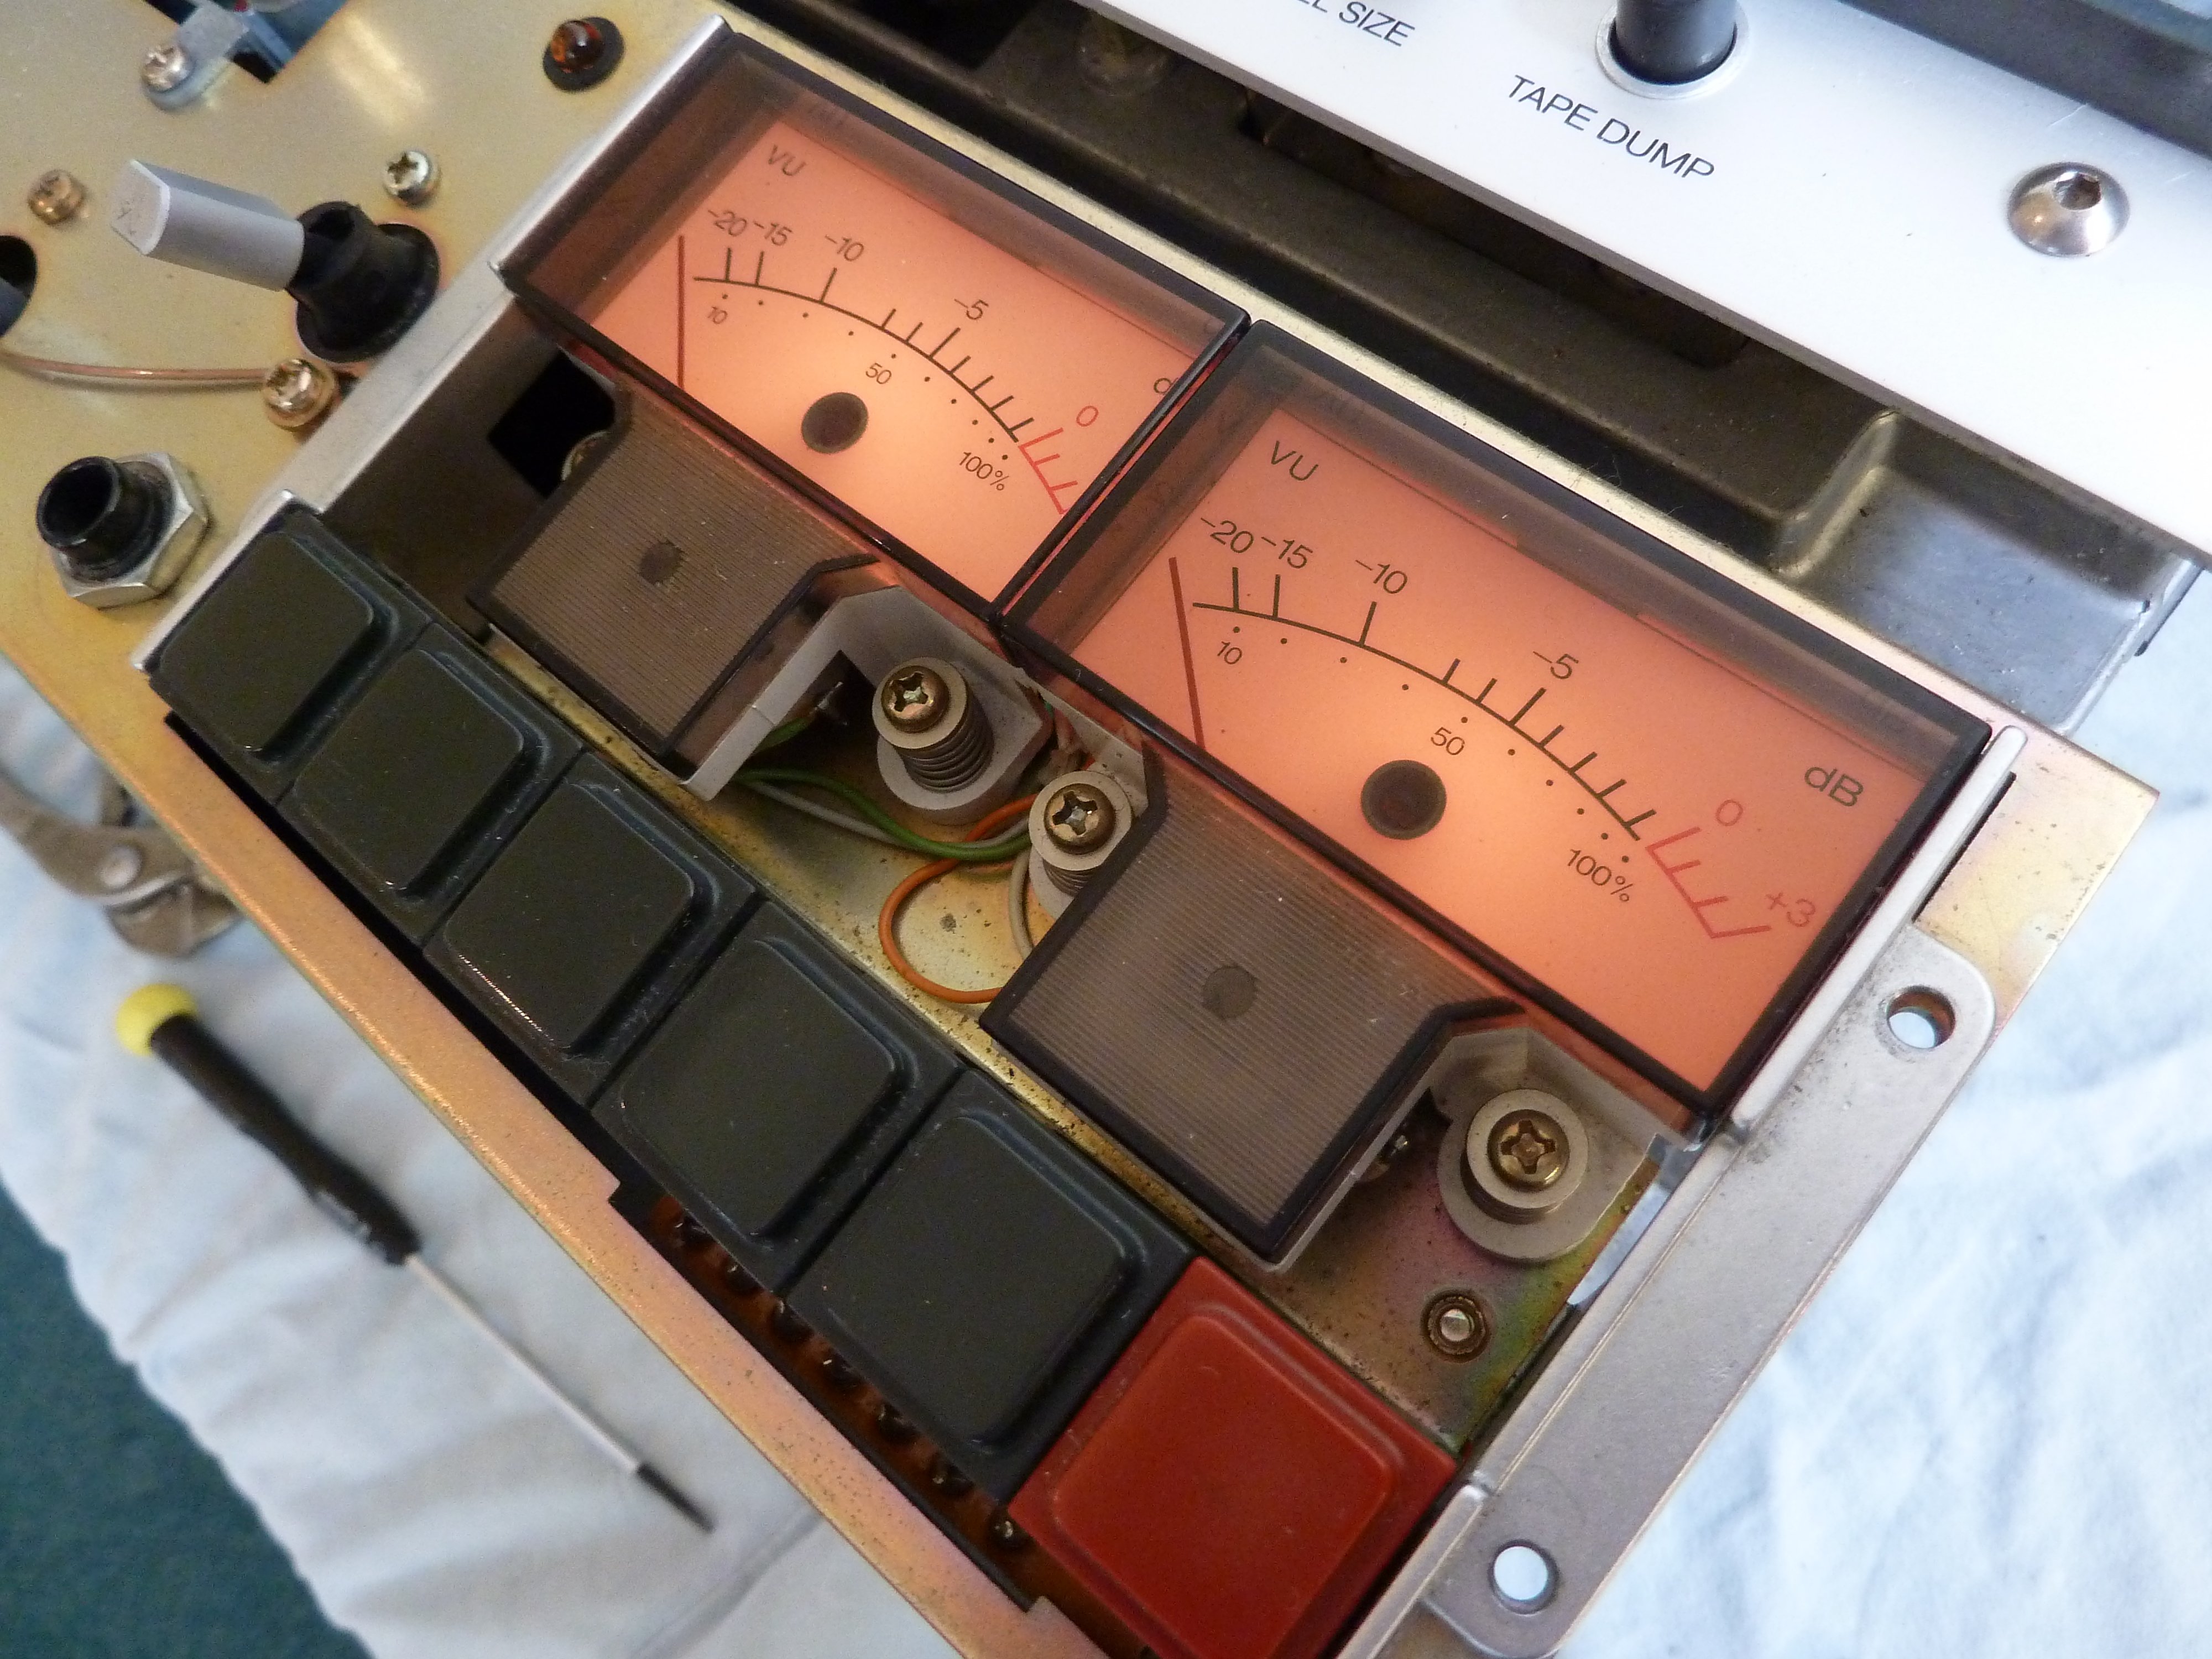
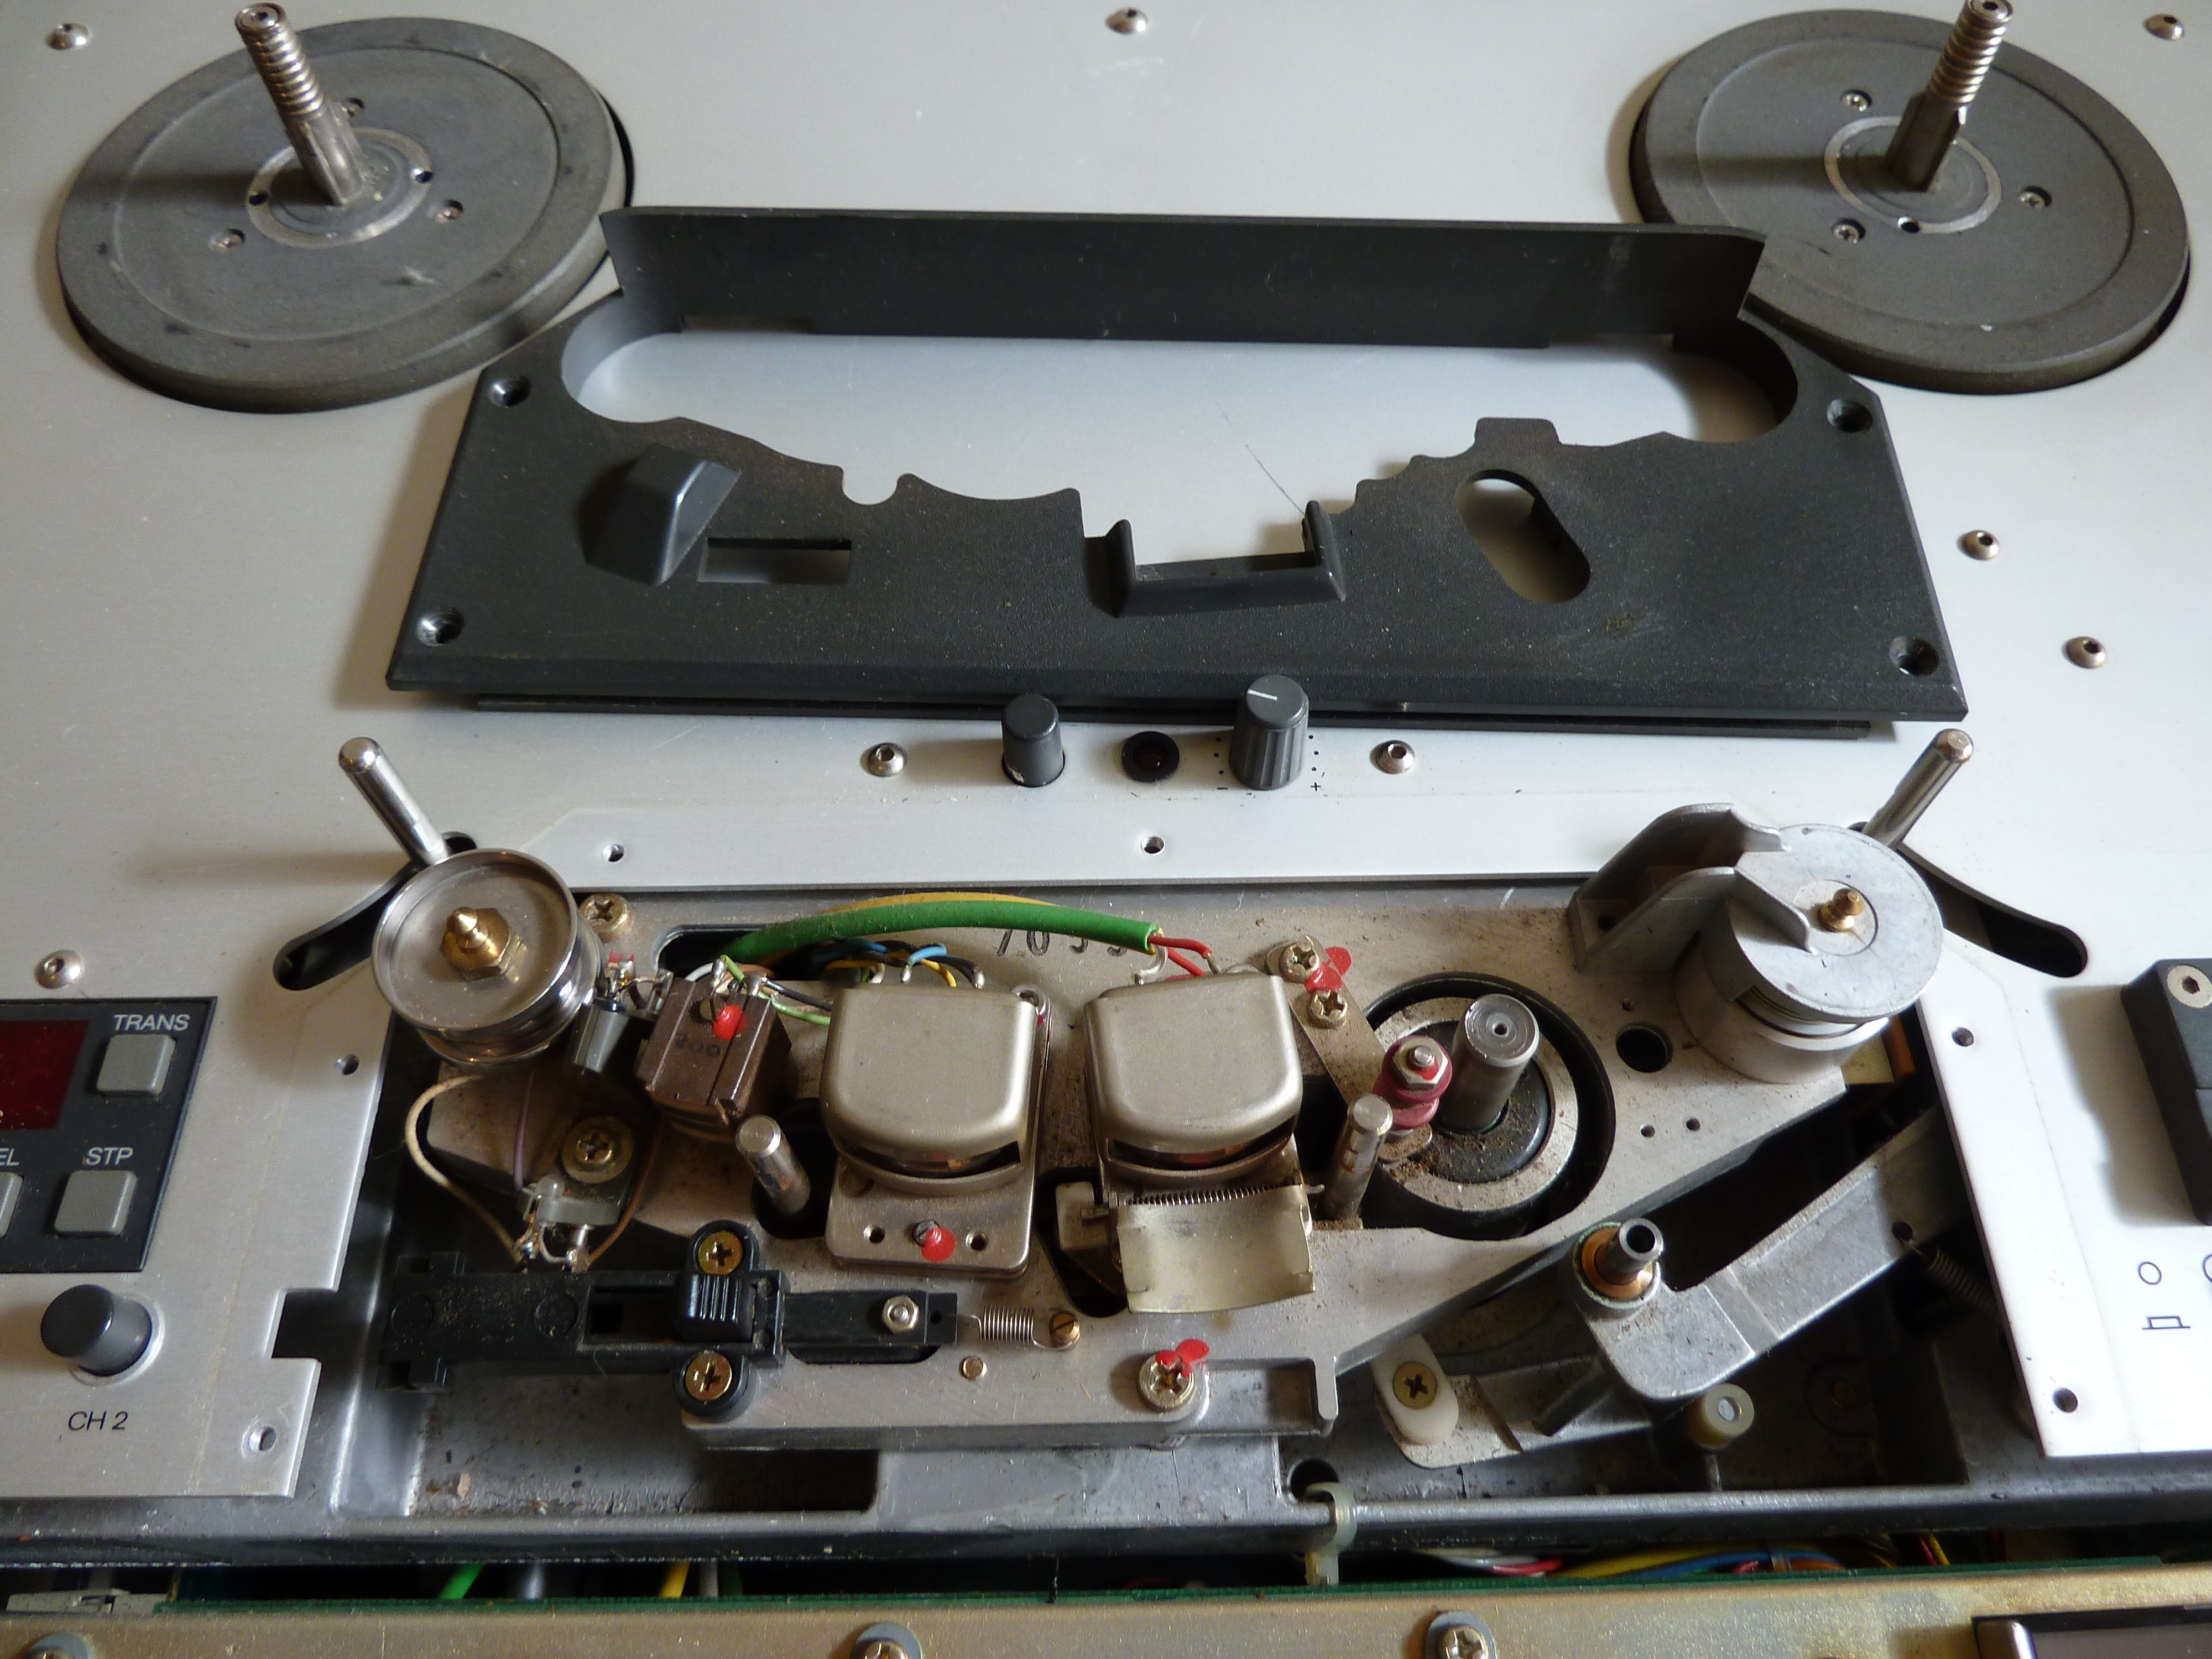
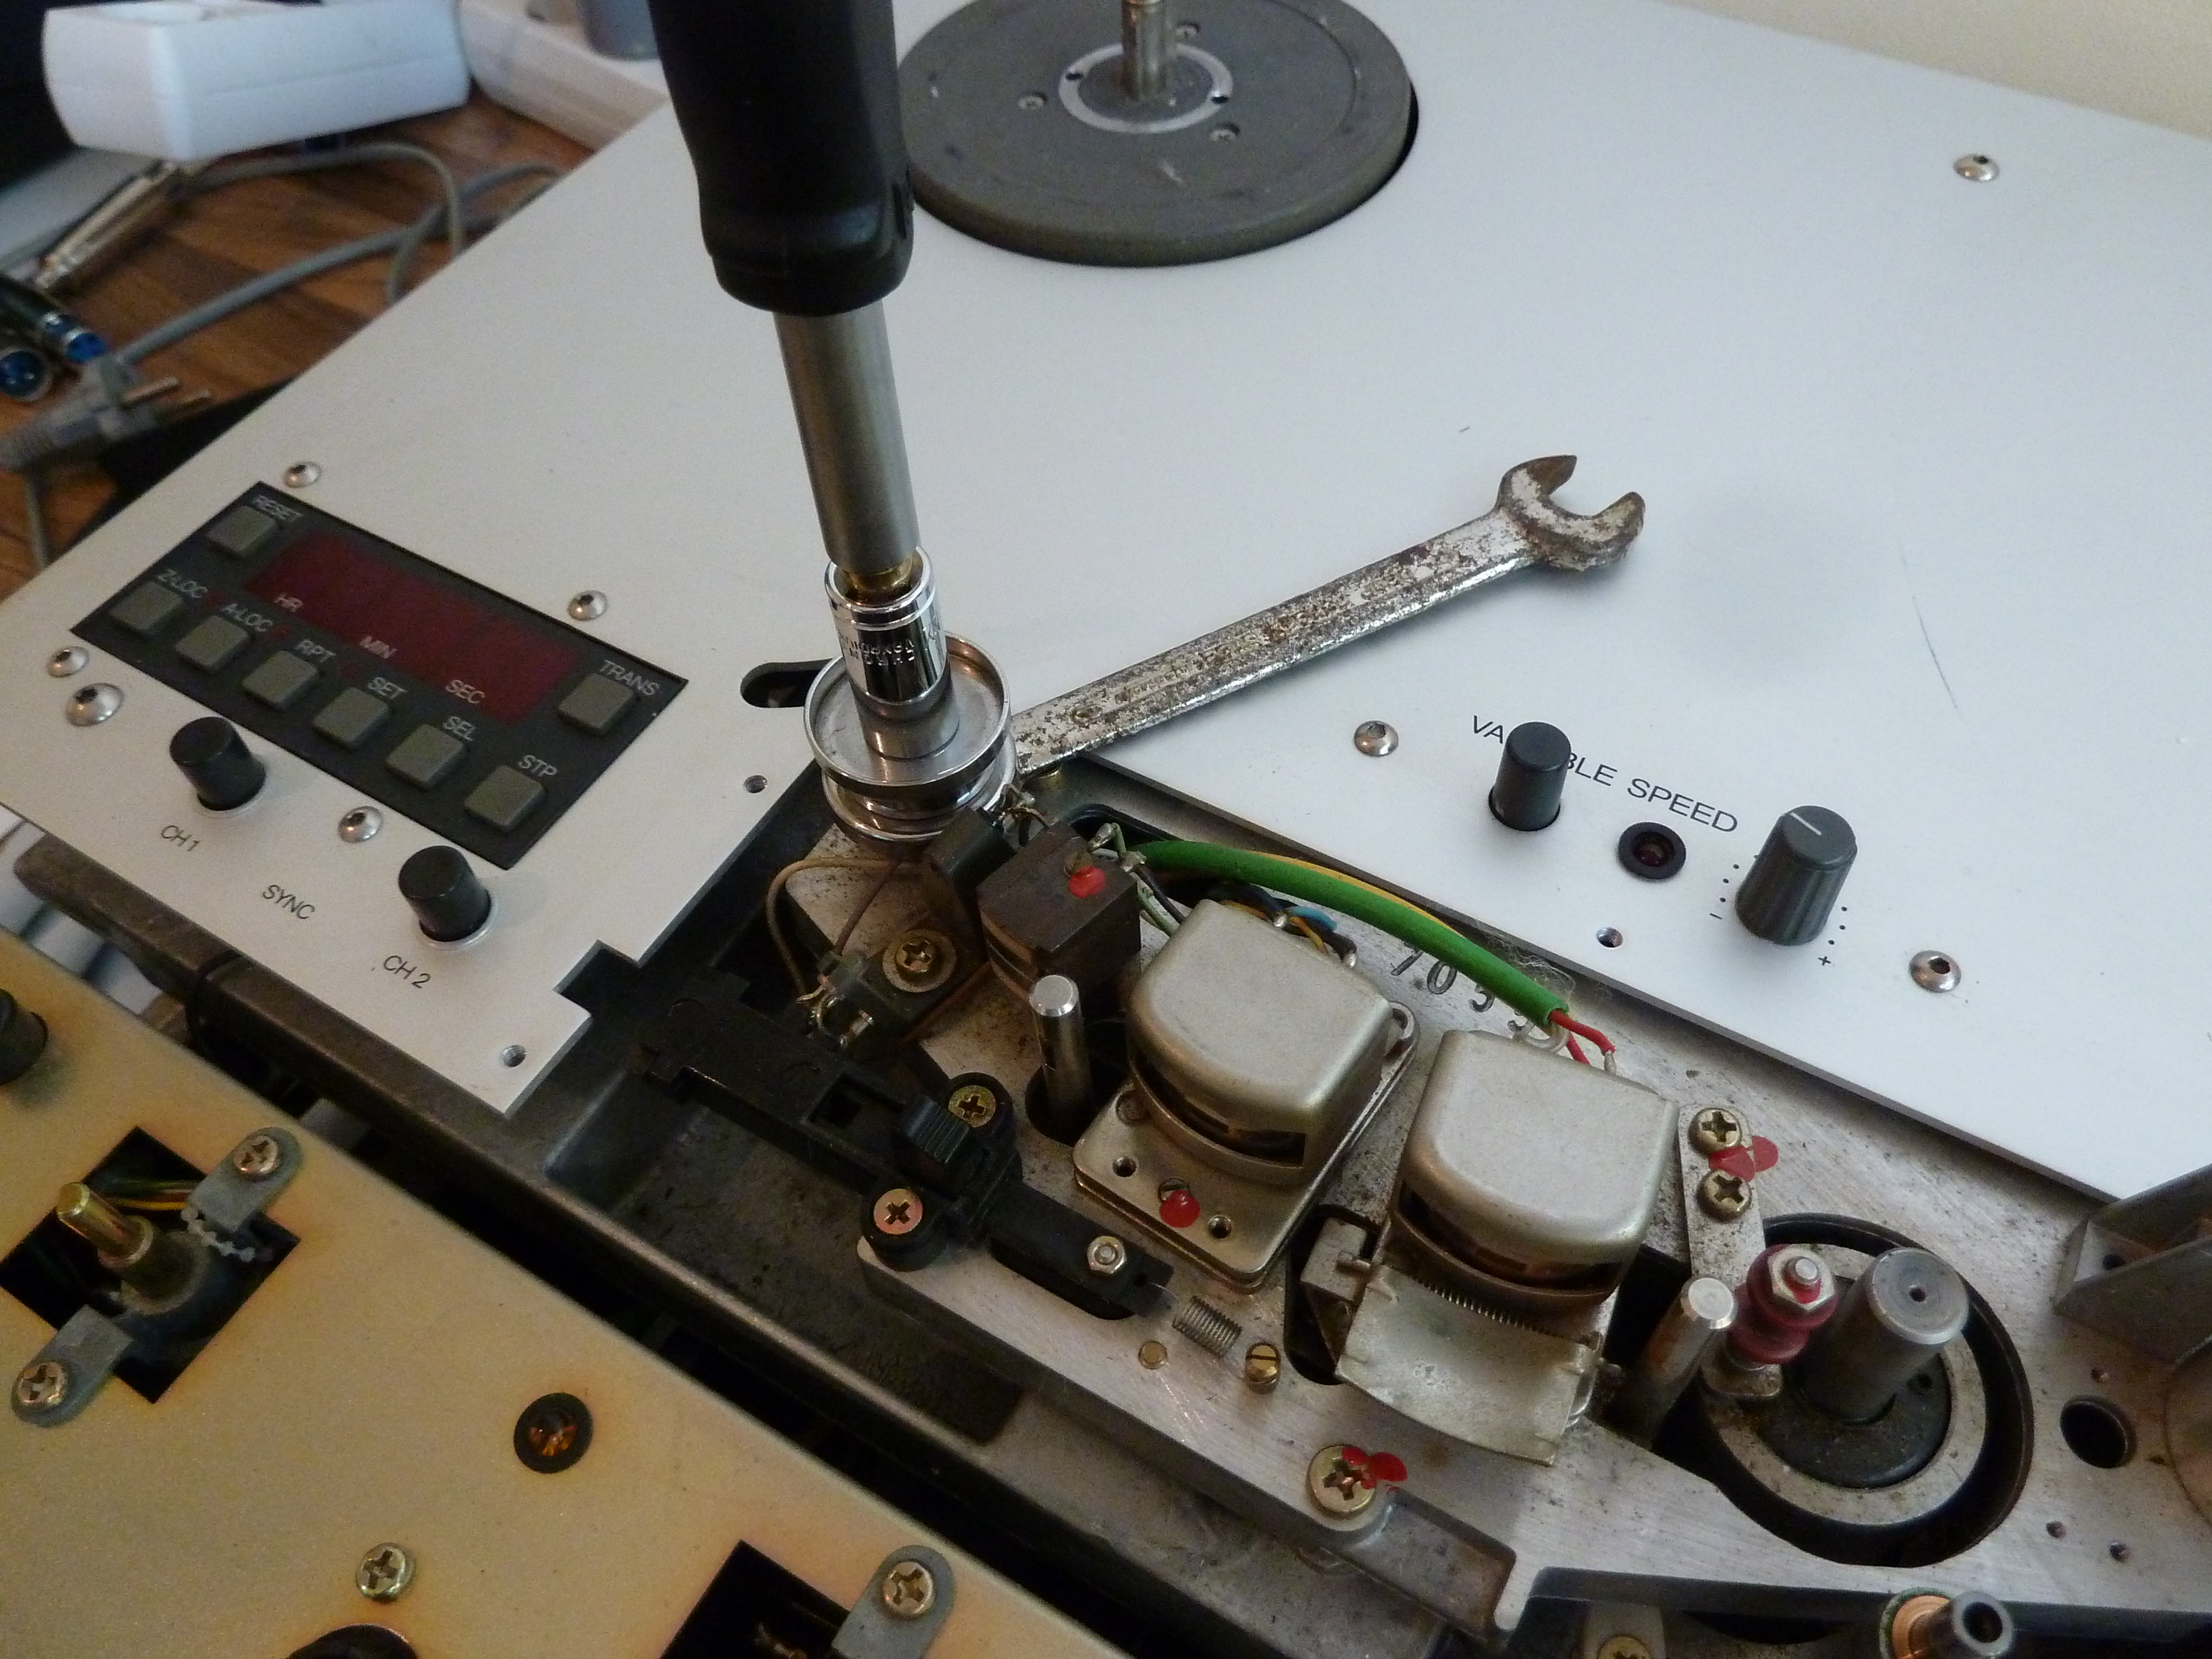
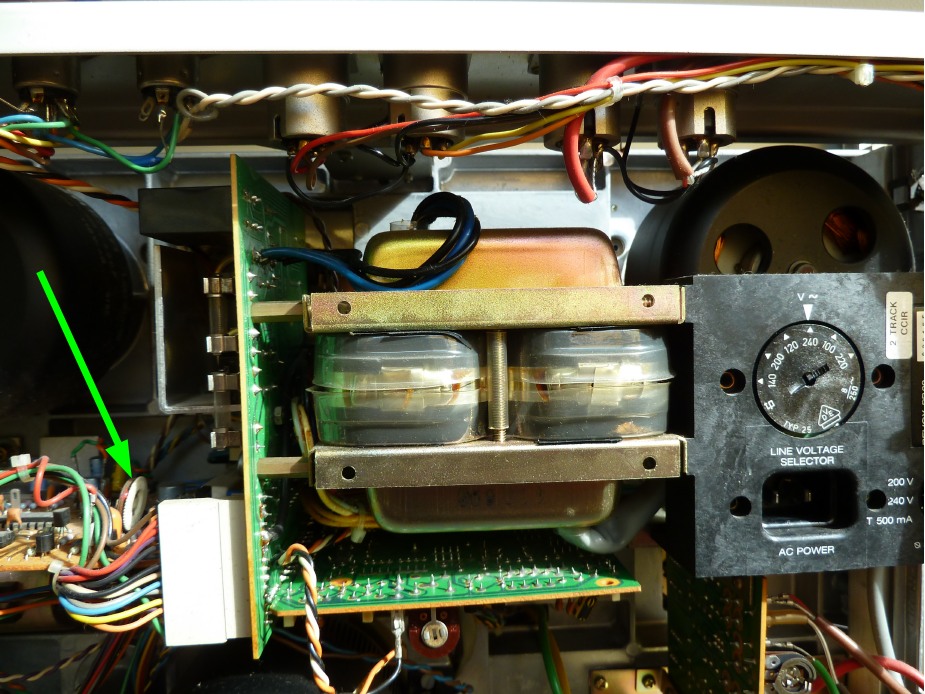
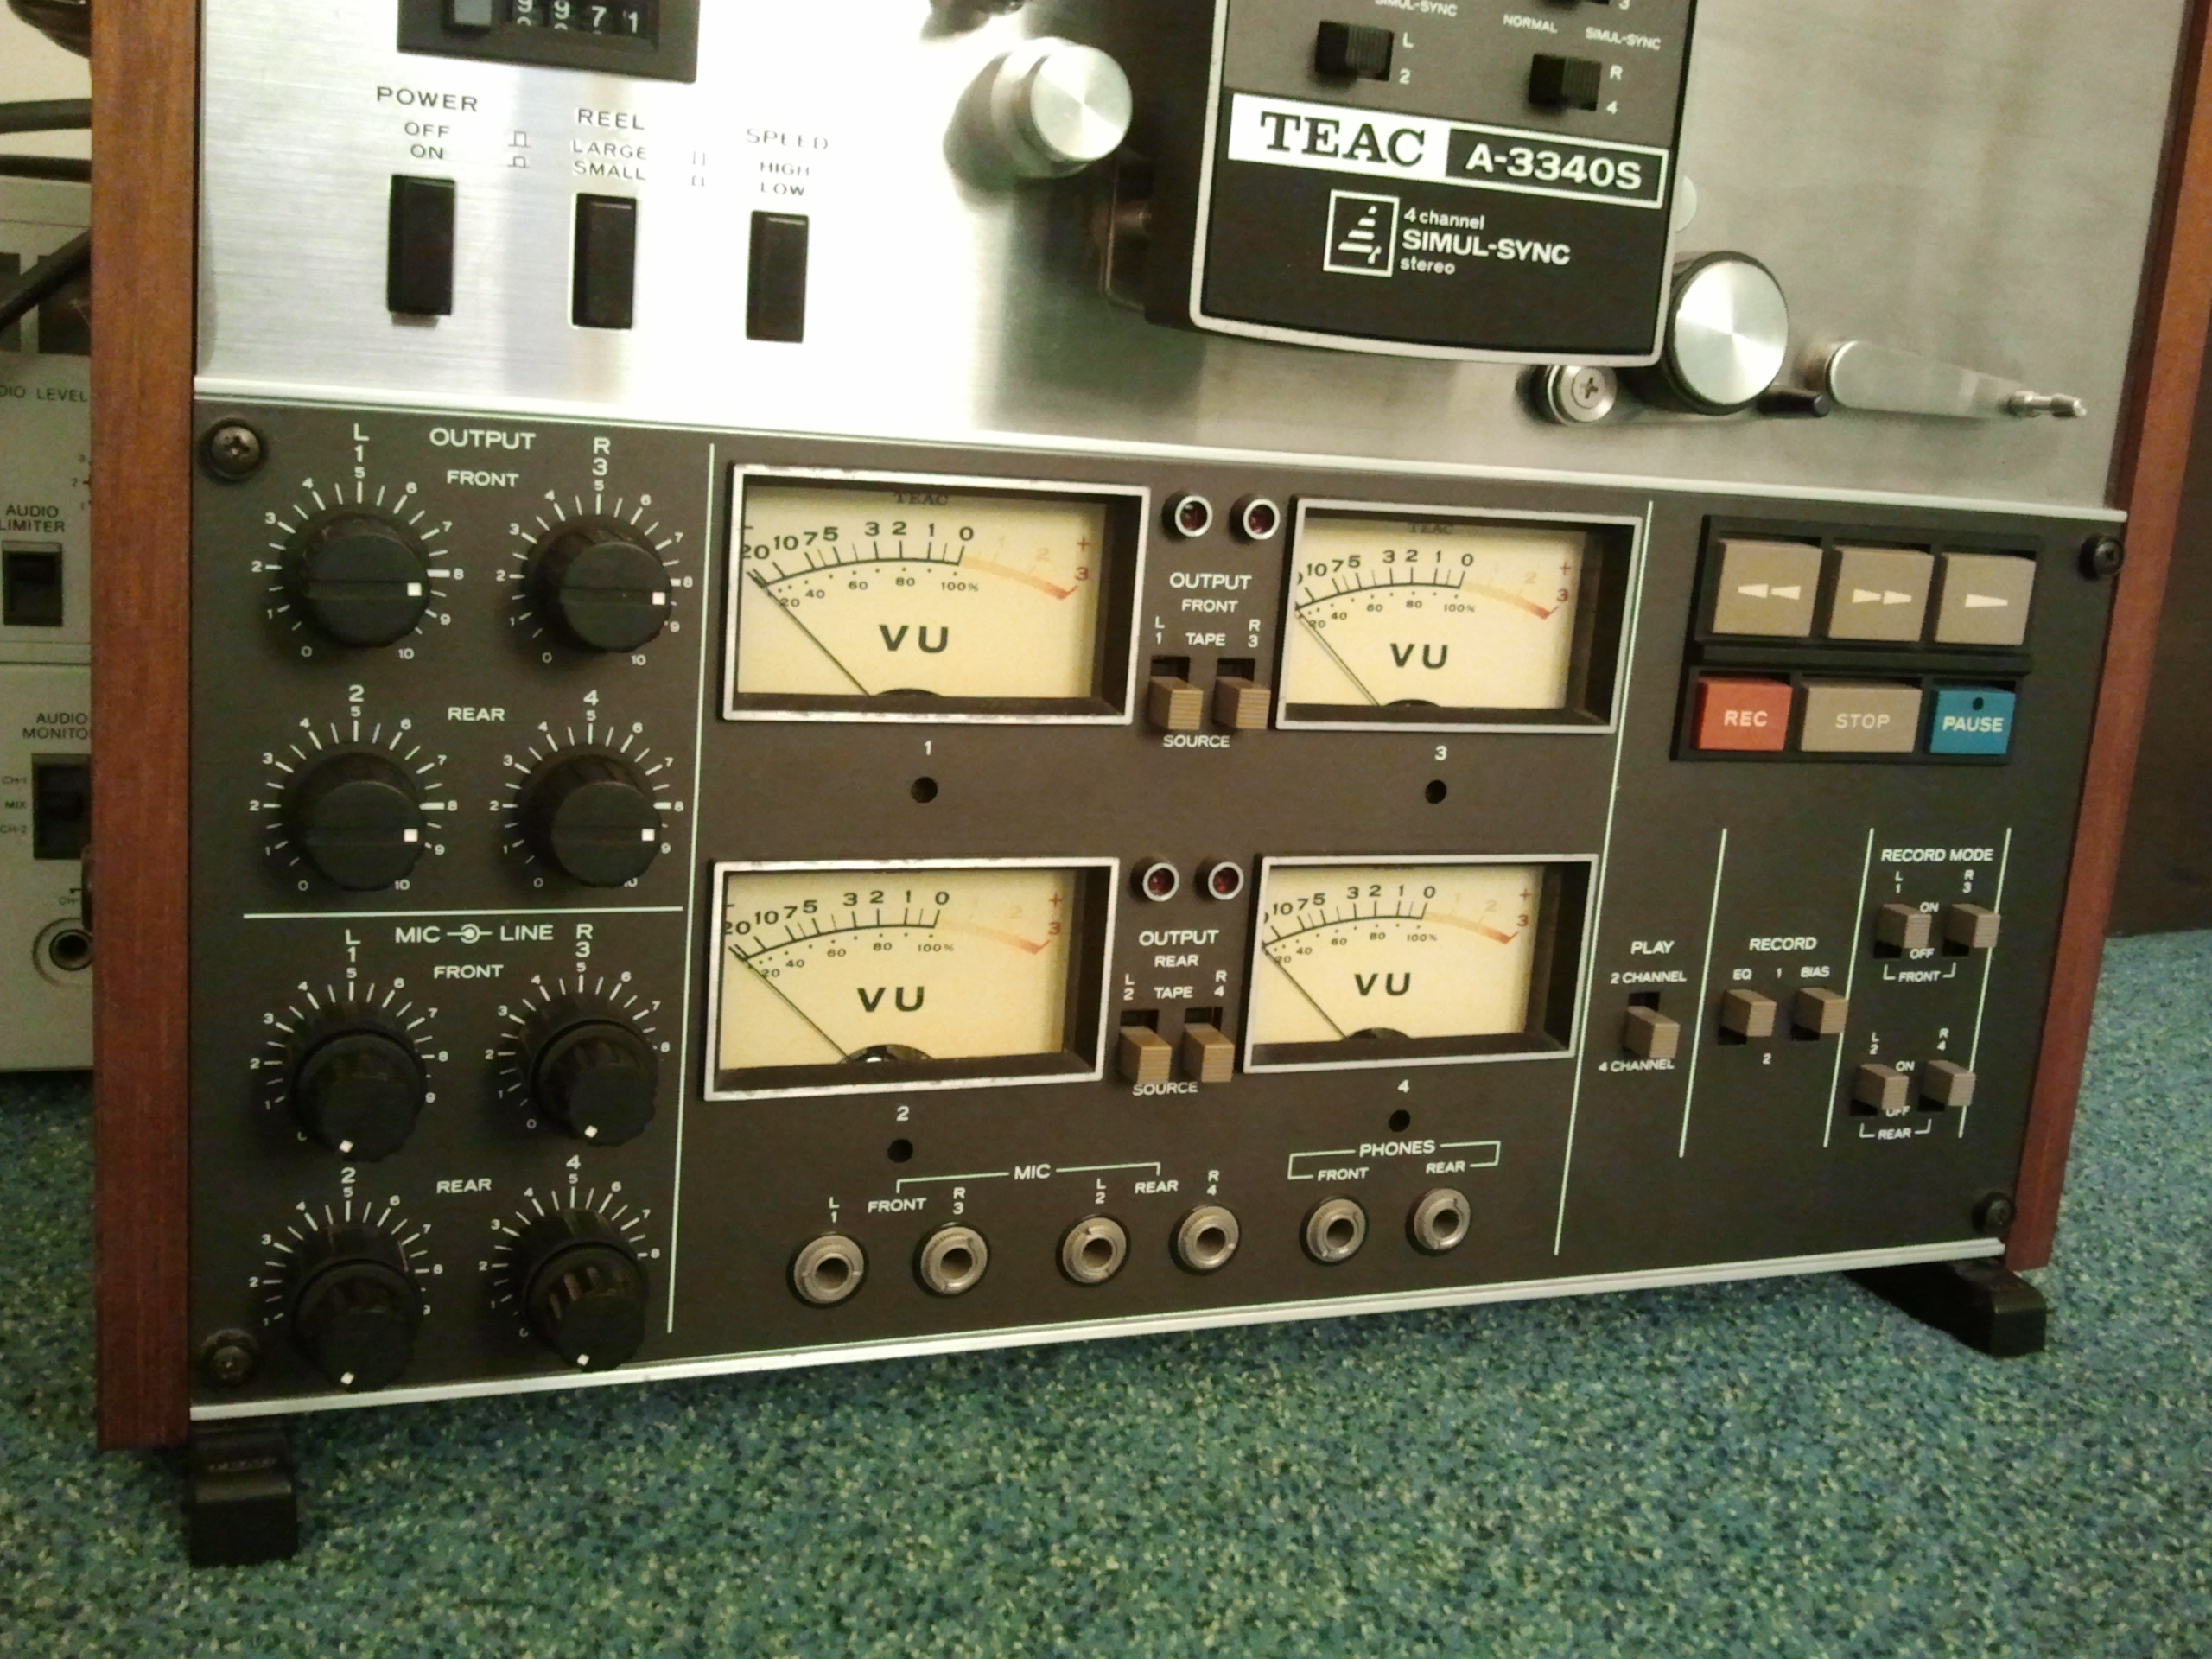
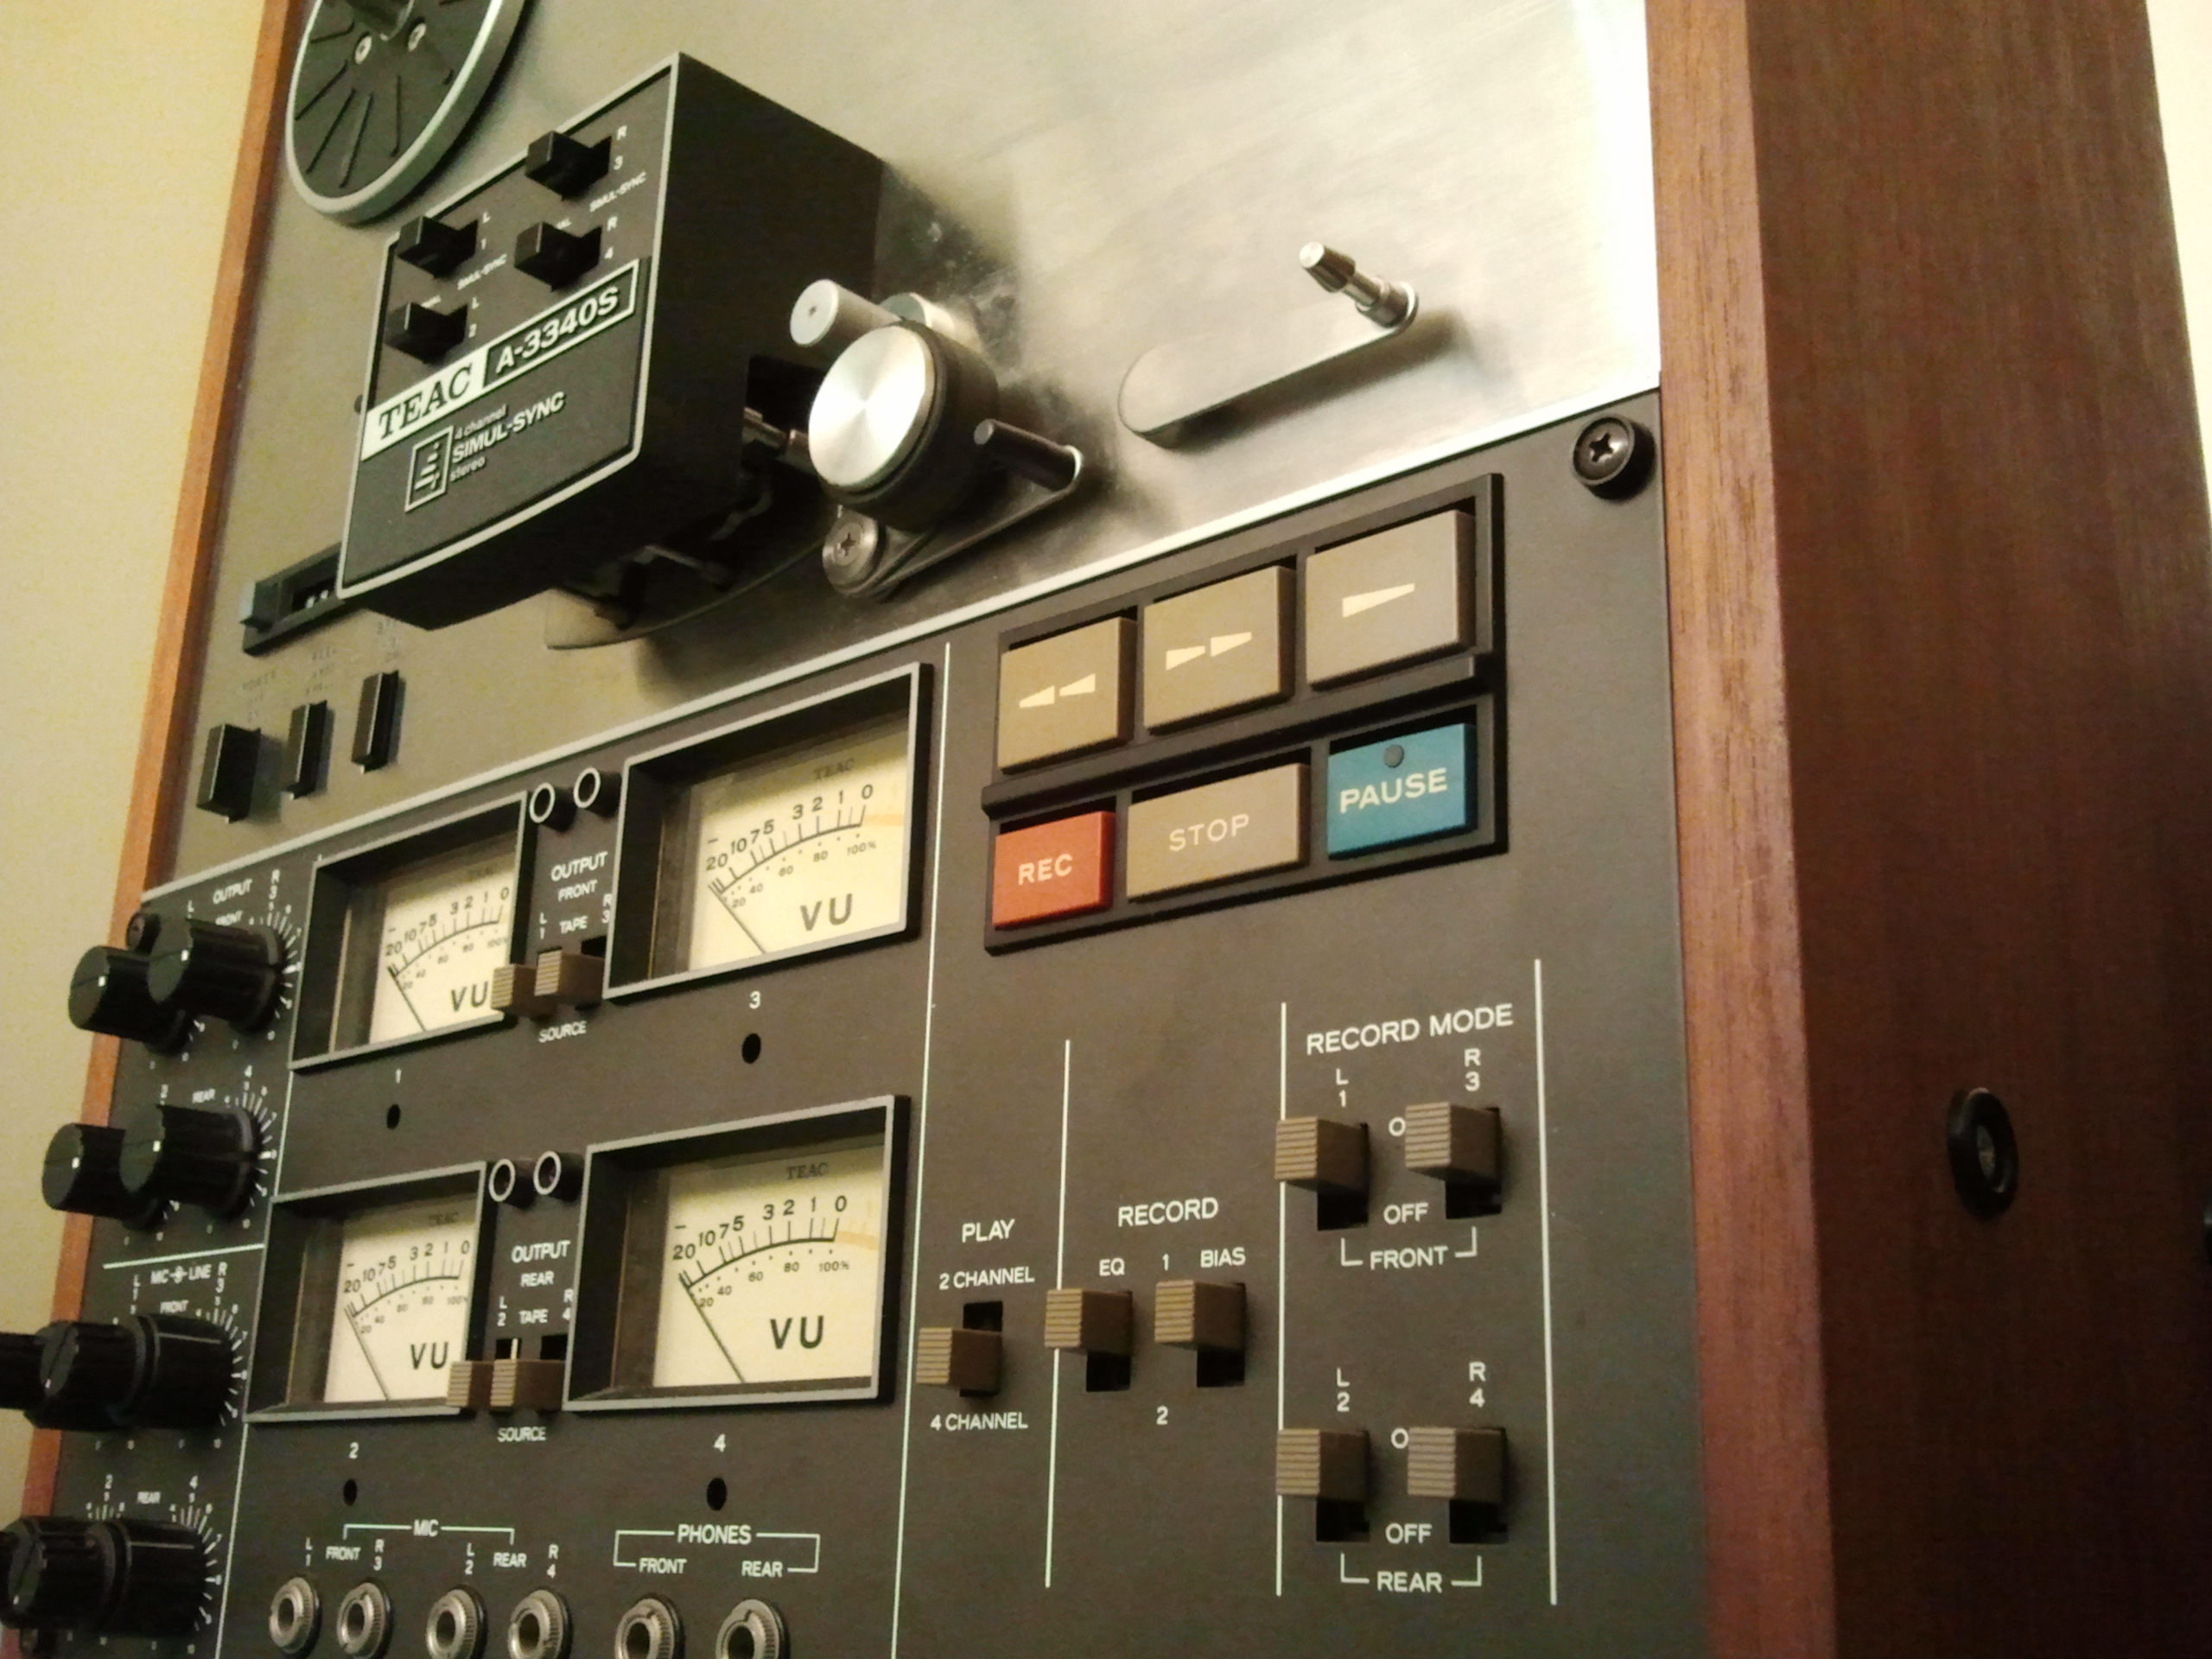
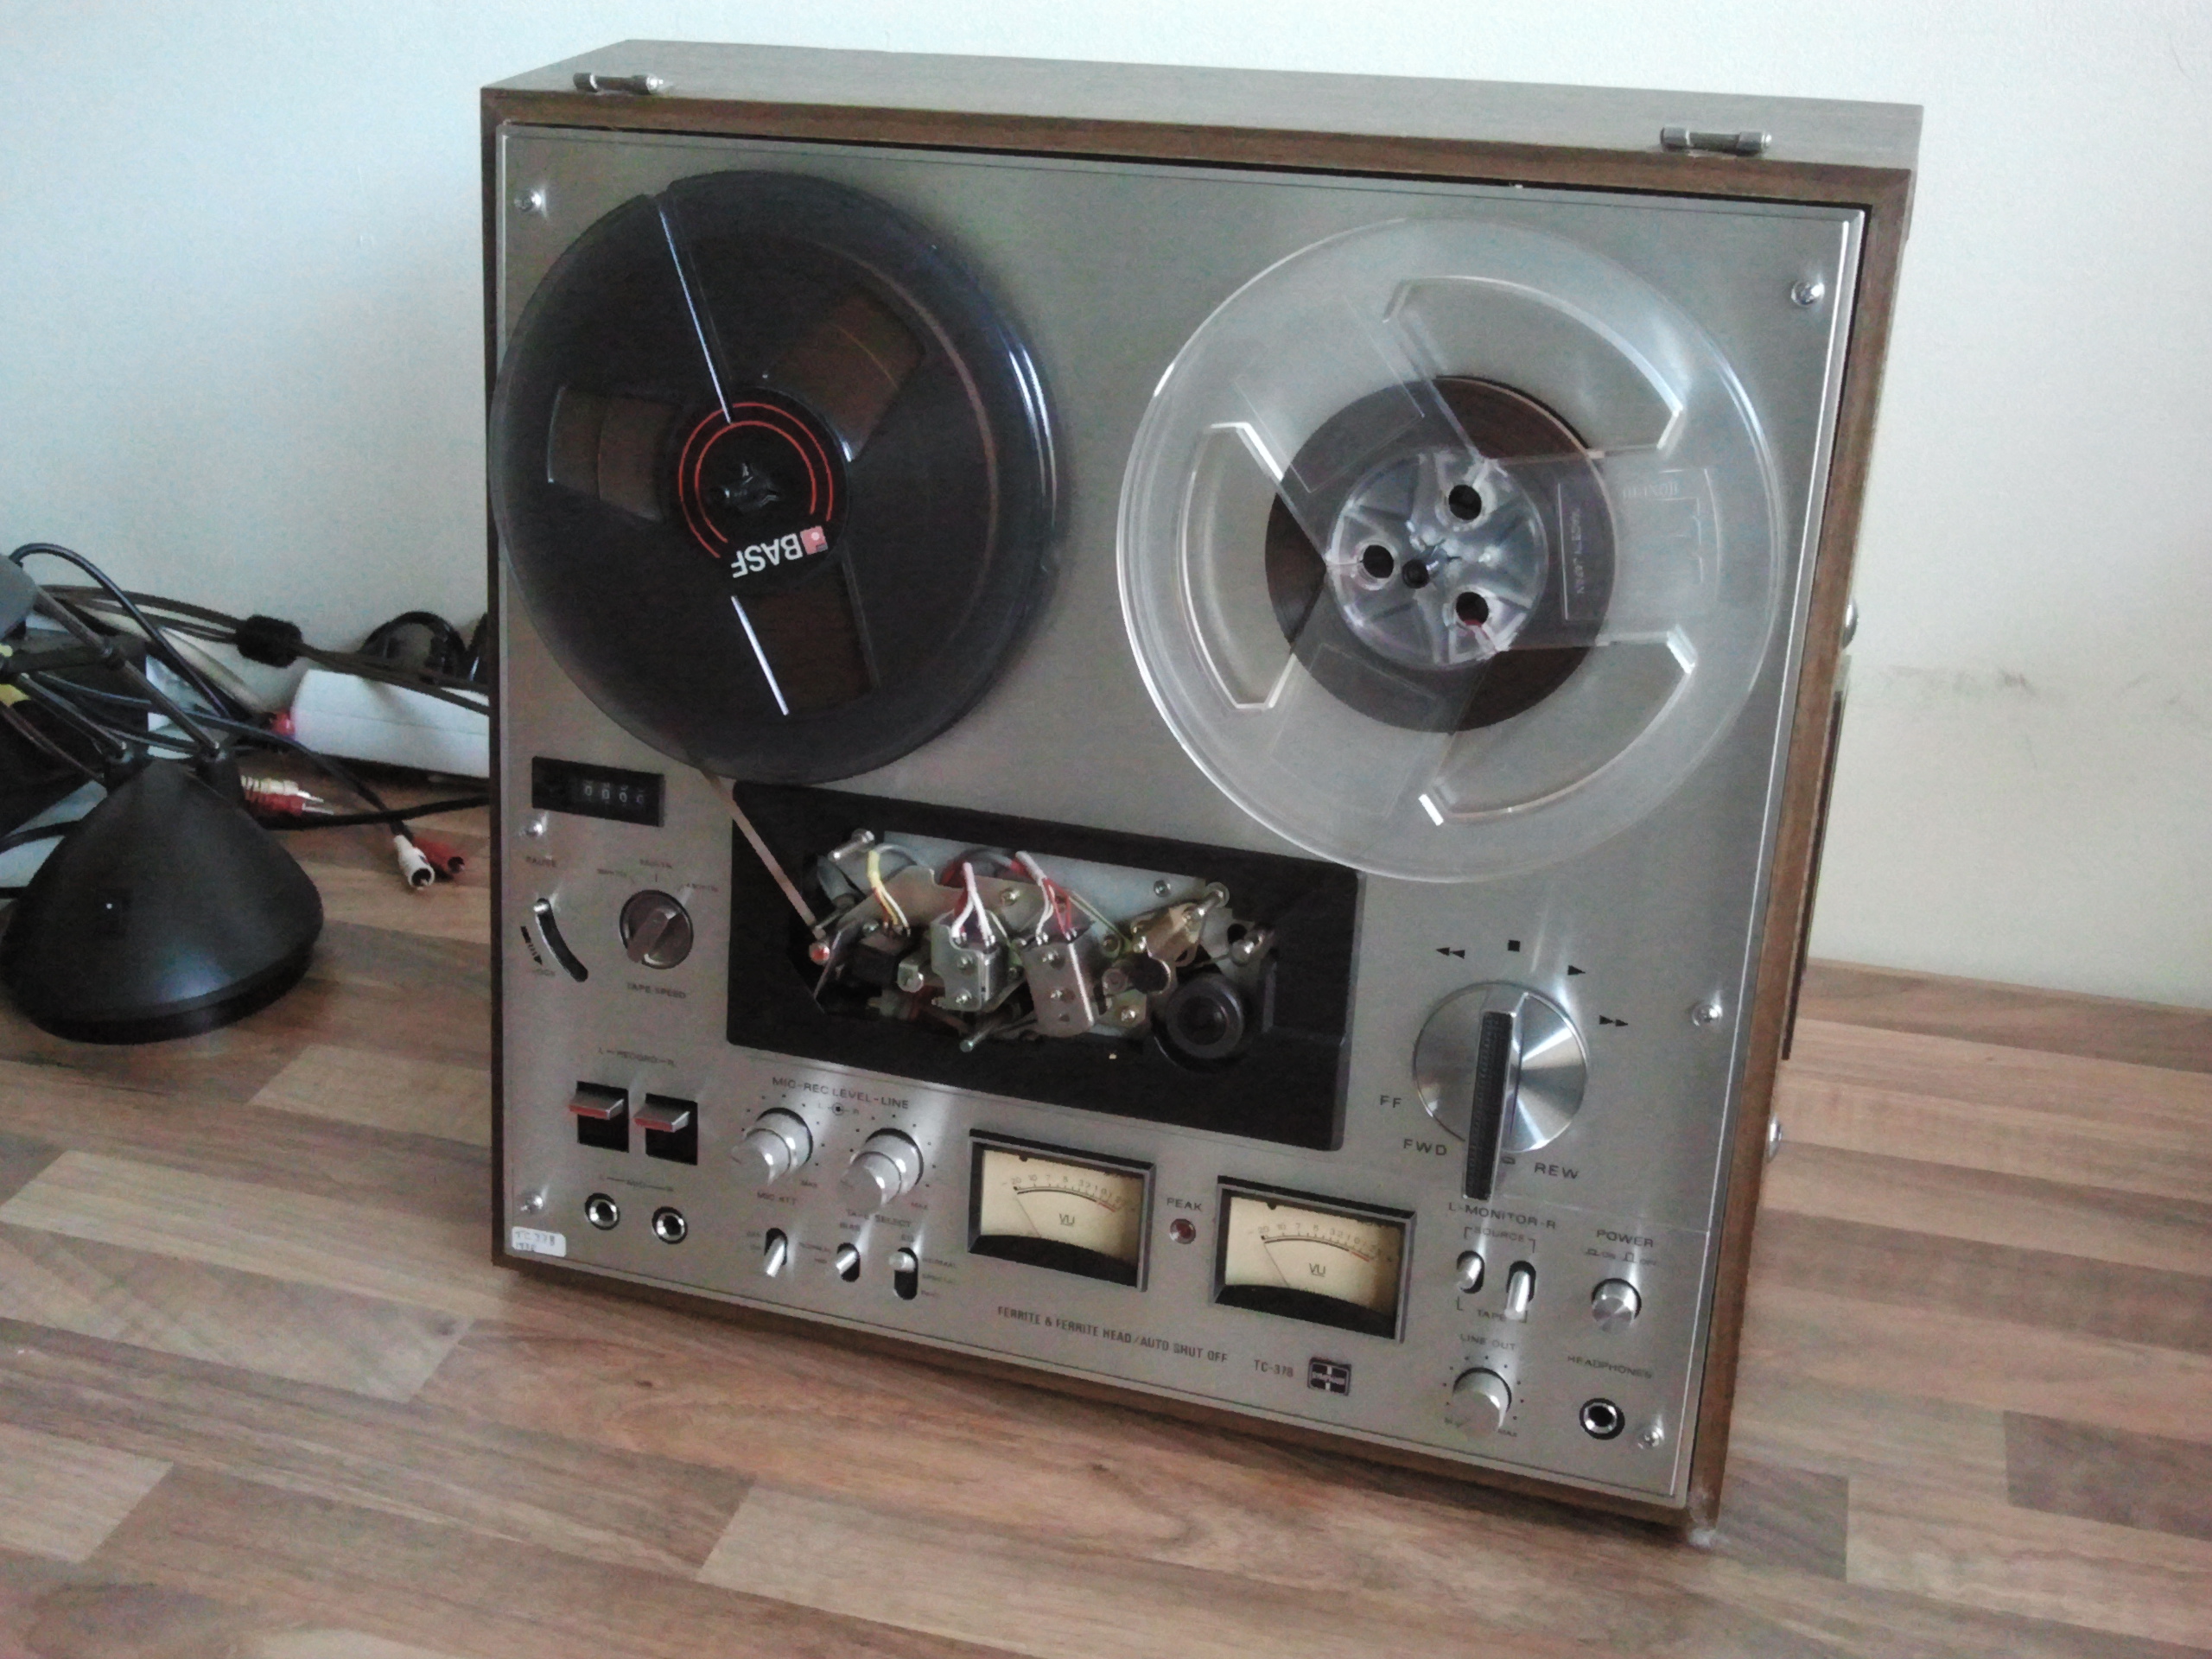
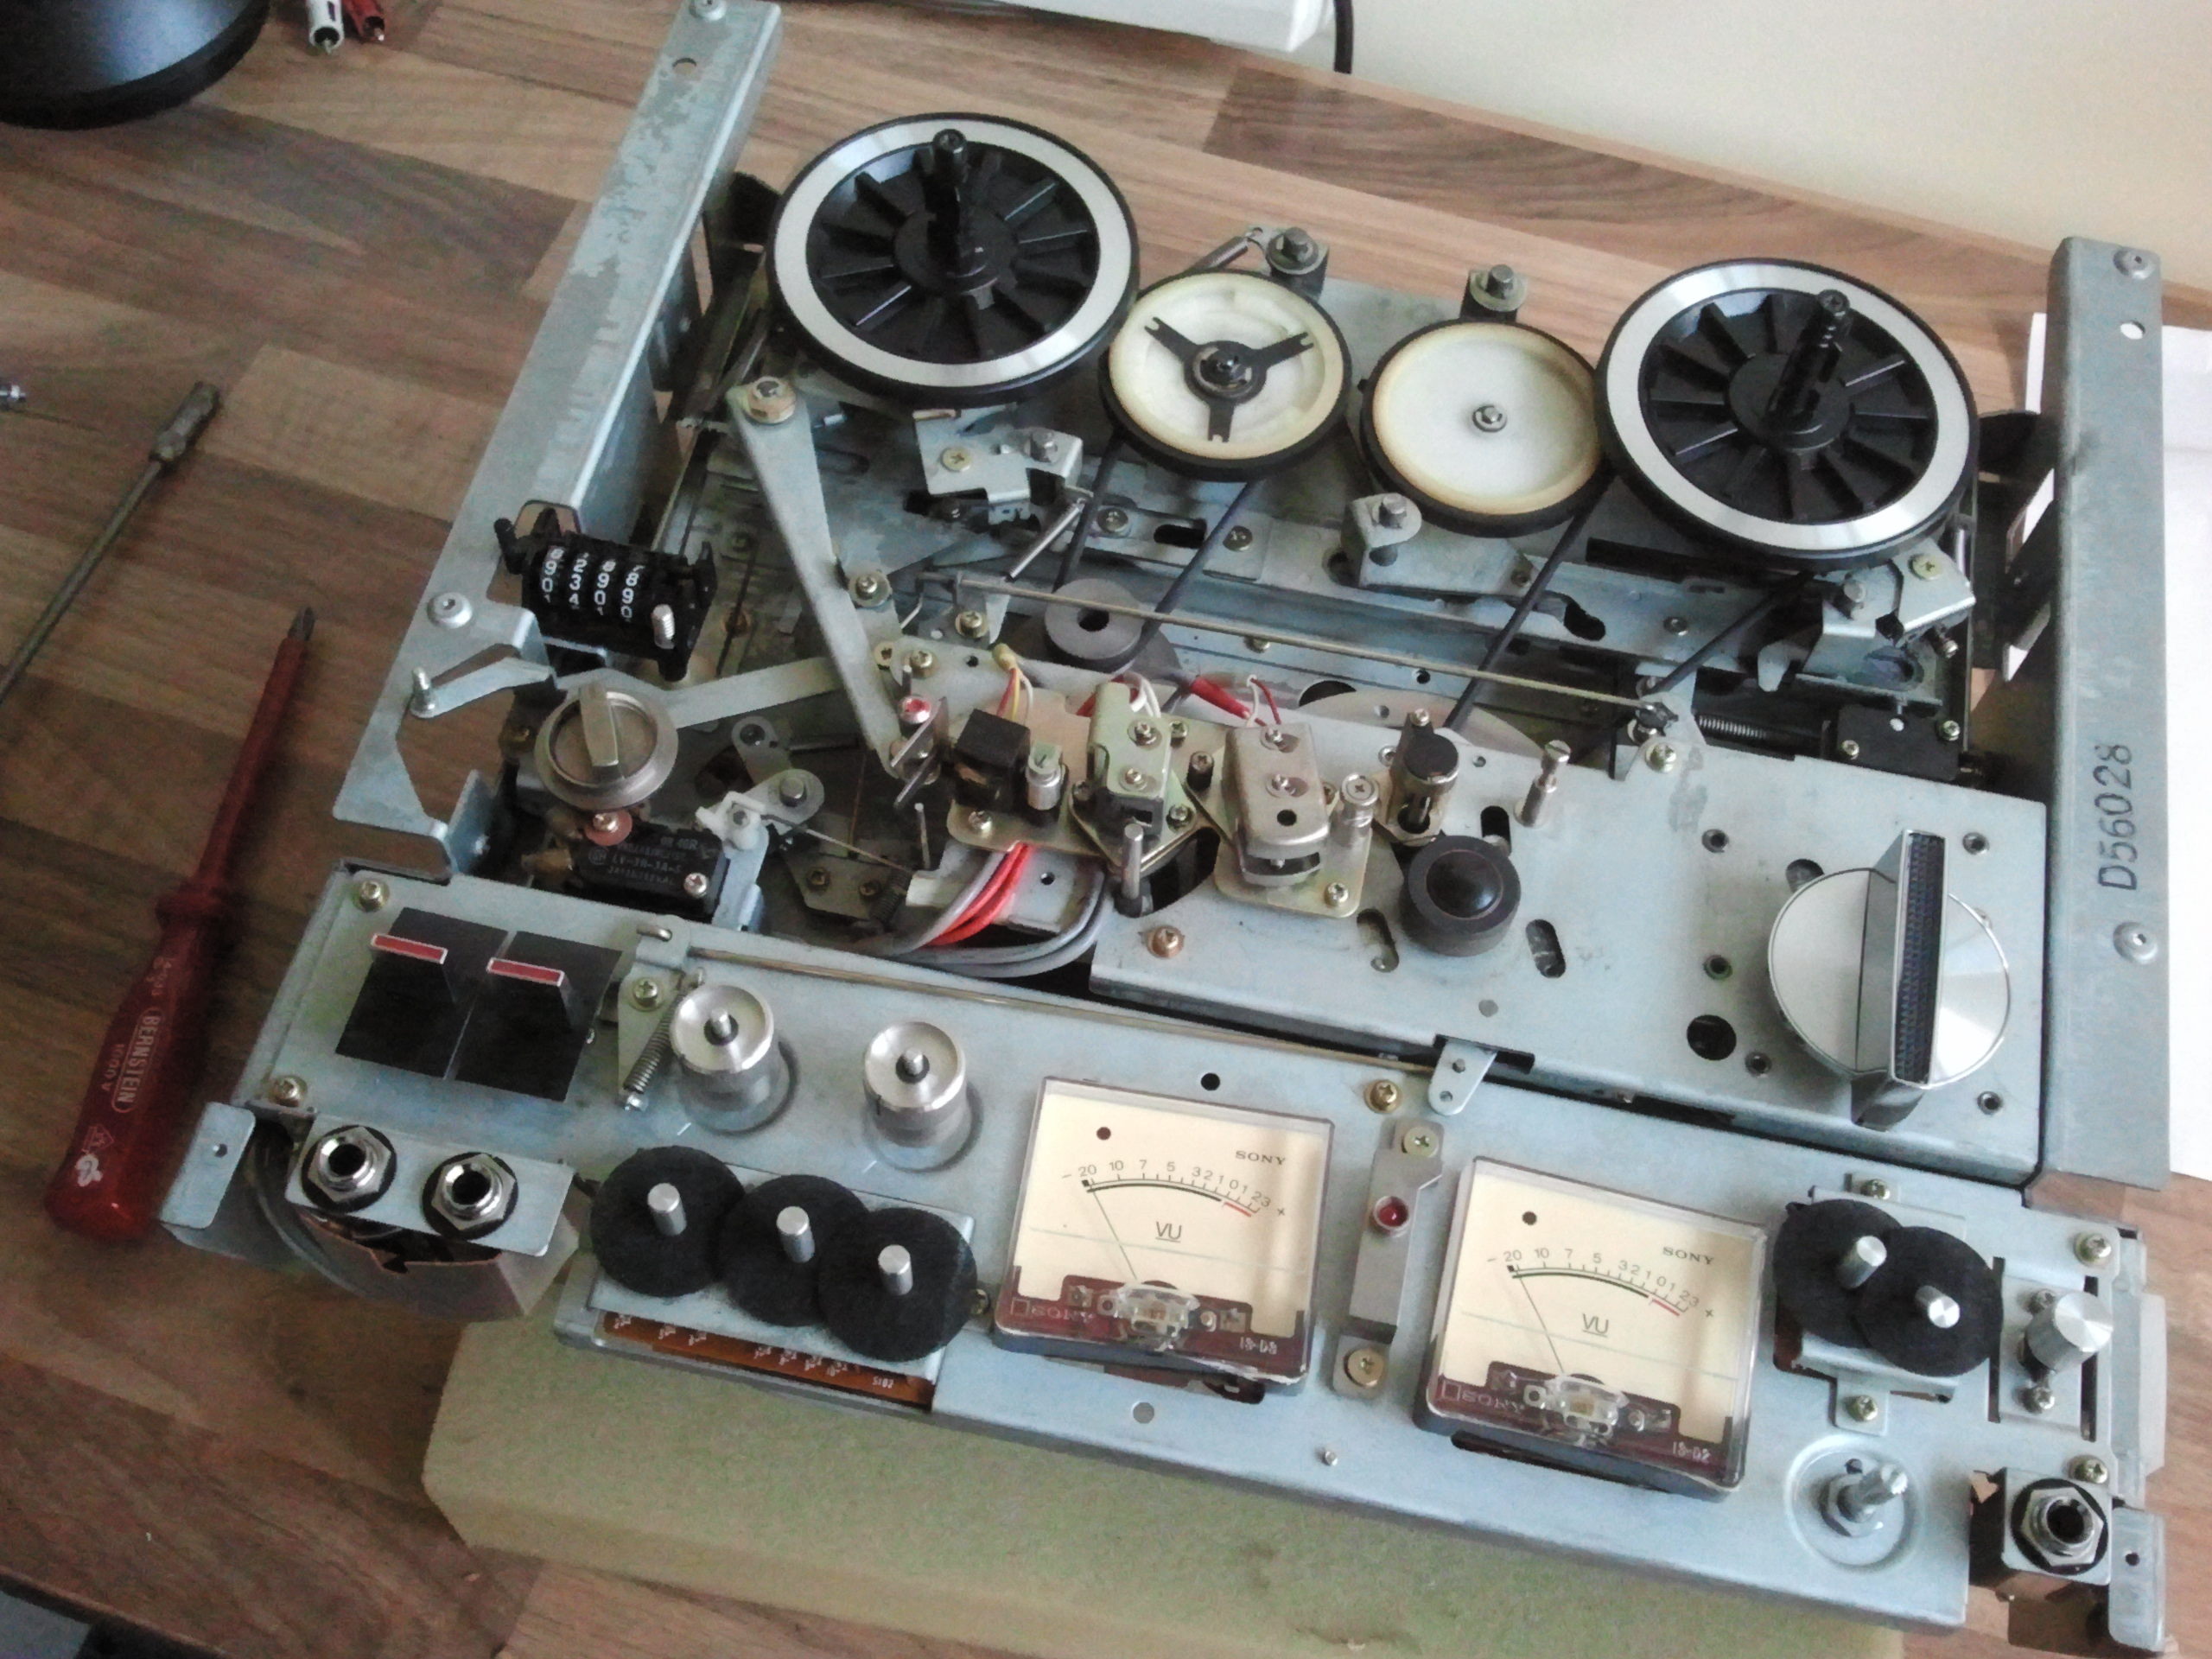
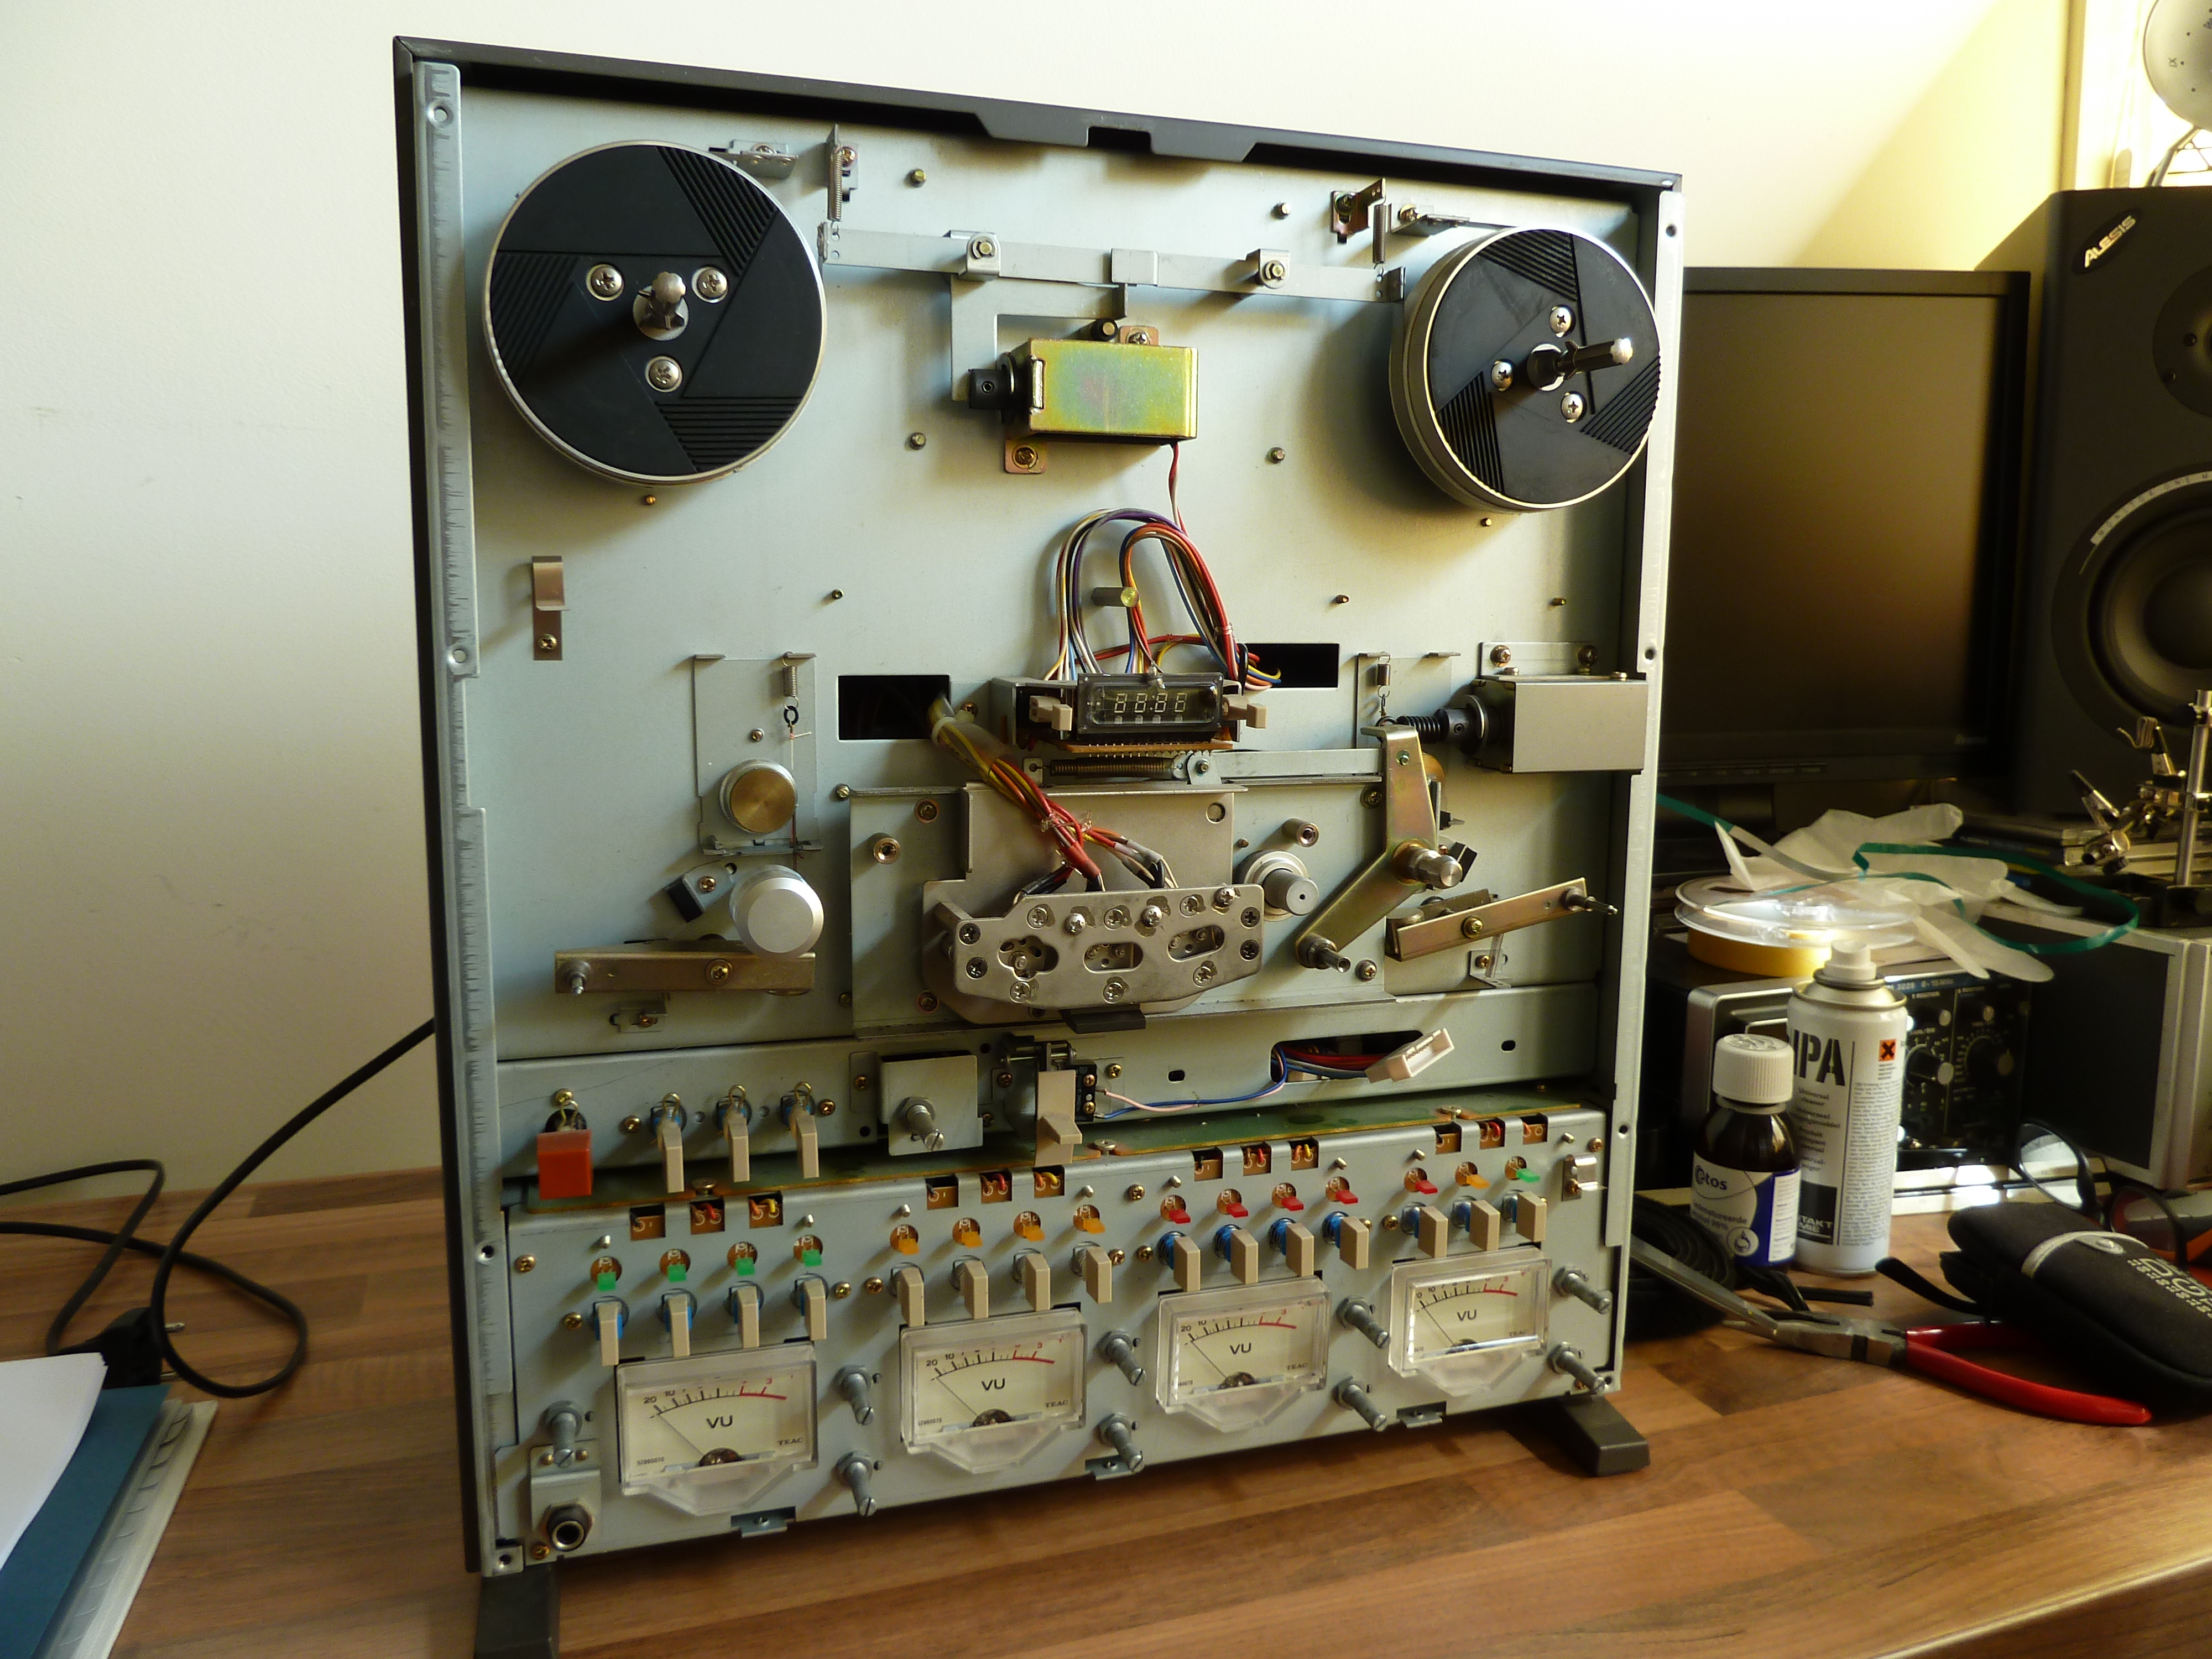
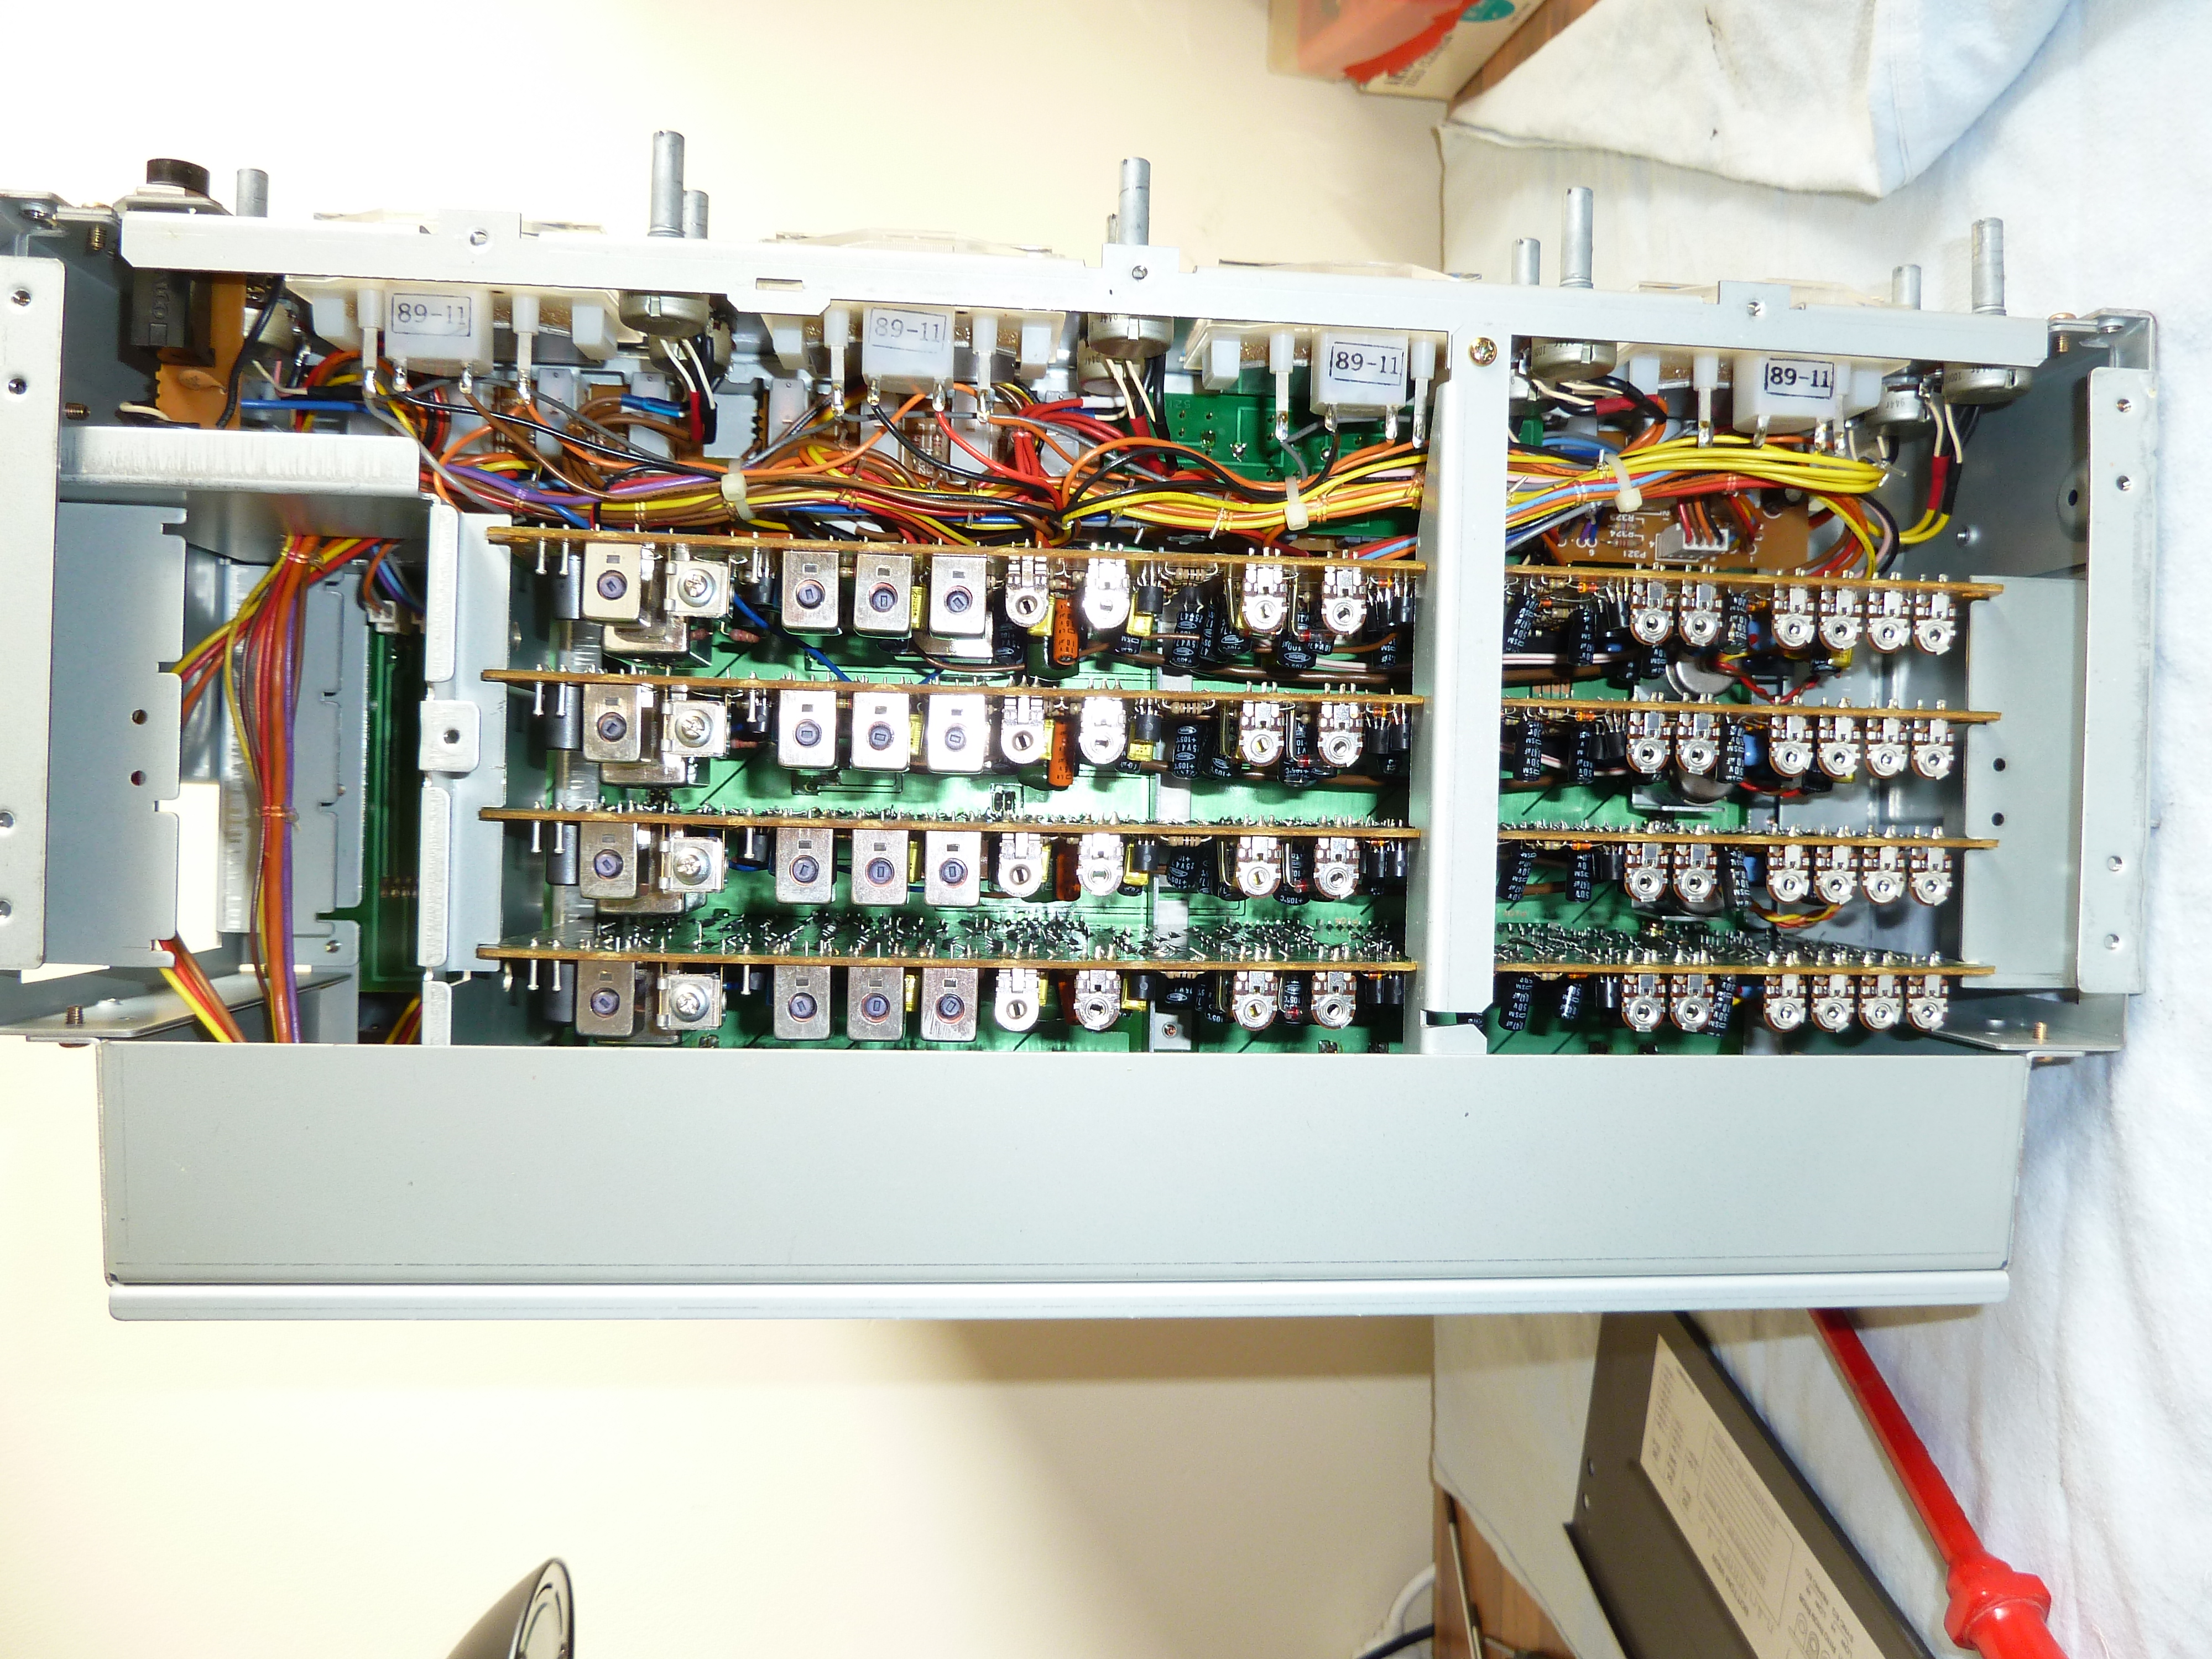
So again I dragged all my decks to the test bench and hooked them up one by one. Now reading the values from the program proved to be quite a challenge, because the readings vary a lot and change very quickly. So i took a sort of ‘observed average’ , as I would call it.
I did the measurement all at 19 cm/s, because that is the common speed all my decks have. I have noted where I used an other speed, like 38 cm/s.
So what are the first results?
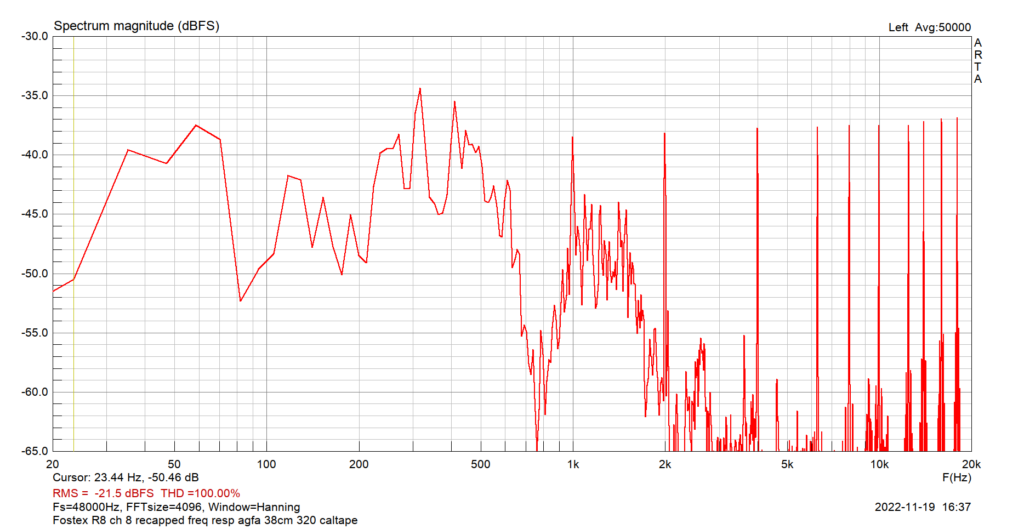
- the kind of tape used for the test has a great influence on the end result. At first, I used an older tape and got very different (much much worse) result that when I later used a brand new tape of the same type. This was kind of shocking!
- tape speed has a great influence on the stability as well. All deck produce much better results on 38 cm/s than on 19 cm/s. A few quick test at 9,5 cm/s were even worse.
- I did not find any difference when using the beginning, the middle or the end of the tape, but I have not tested that on every deck. I suppose if a deck has too much or too little tension, the position on the tape would matter
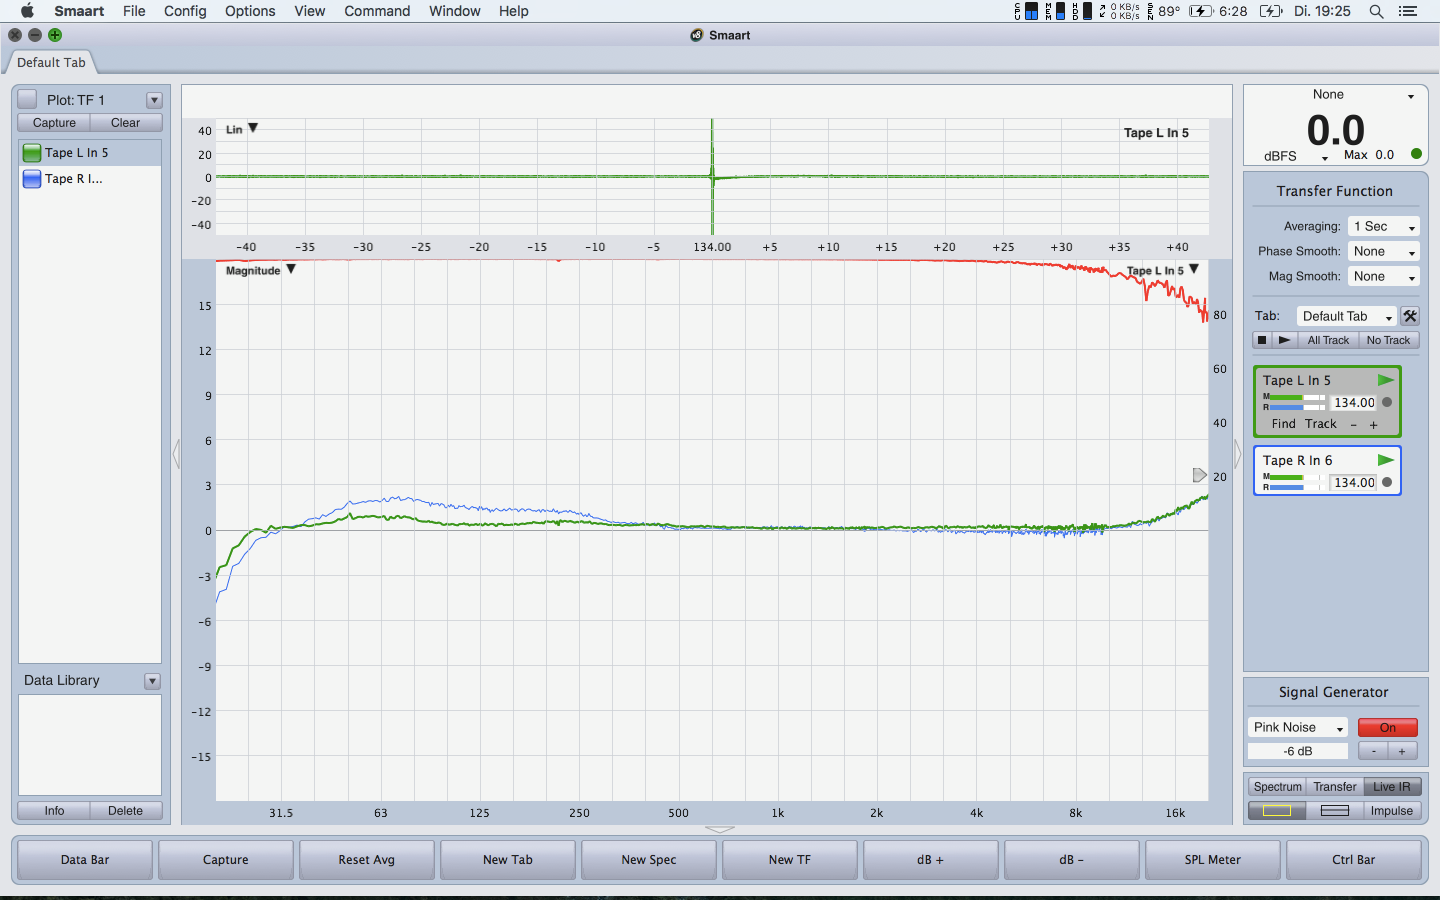
After a lot of testing I had a spreadsheet full of values that were very difficult to interpret. So I made a graph out of all the numbers and this is the end result:
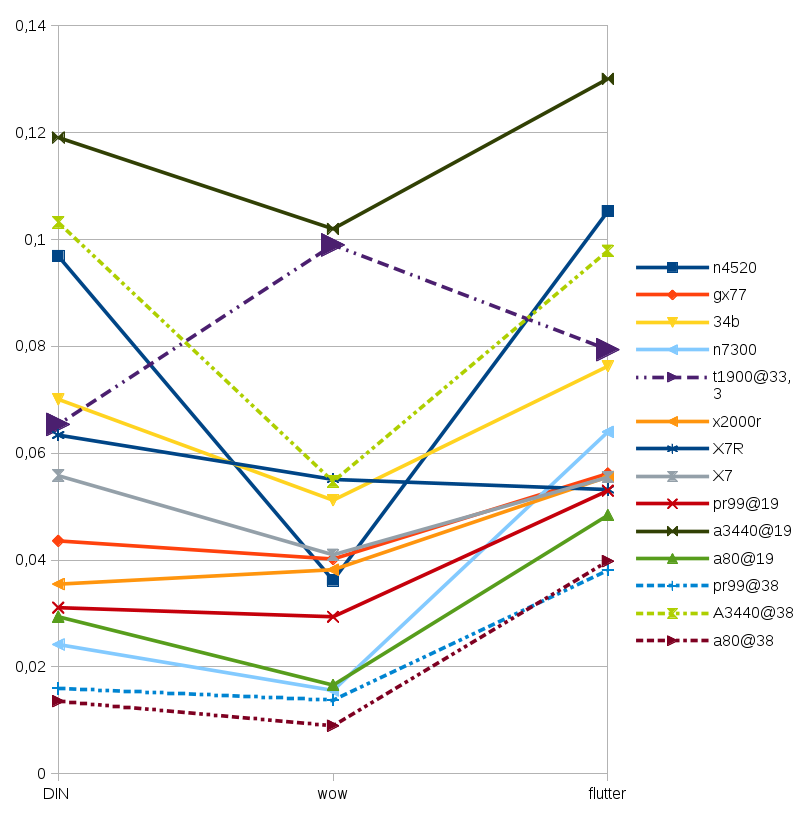
This may seem overwhelming and confusing at first, but it really isn’t. Let me clarify for you.
- On the X-axis (lower) you see the three different measuring methods for each deck: DIN, wow and flutter.
- Each deck has an corresponding line in the graph for these 3 values.
- Lower values (lower lines) are better.
- Legend is on the right, showing which line corresponds to which deck. It is a bit crowded but bear with me.
Here are the conclusions:
- the most upper line, meaning the worst deck, is the Teac A-3440 at both speeds. This is one of my oldest decks.
- for fun I included one turntable, my Technics SL1900. That is the blue dotted line. I found that I had a test record with a 3kHz tone on it, so I could actually do the measurement. I was surprised to see that the values produced were in the same range as the tape decks. However, unlike all decks, the wow is the worse value of the three.
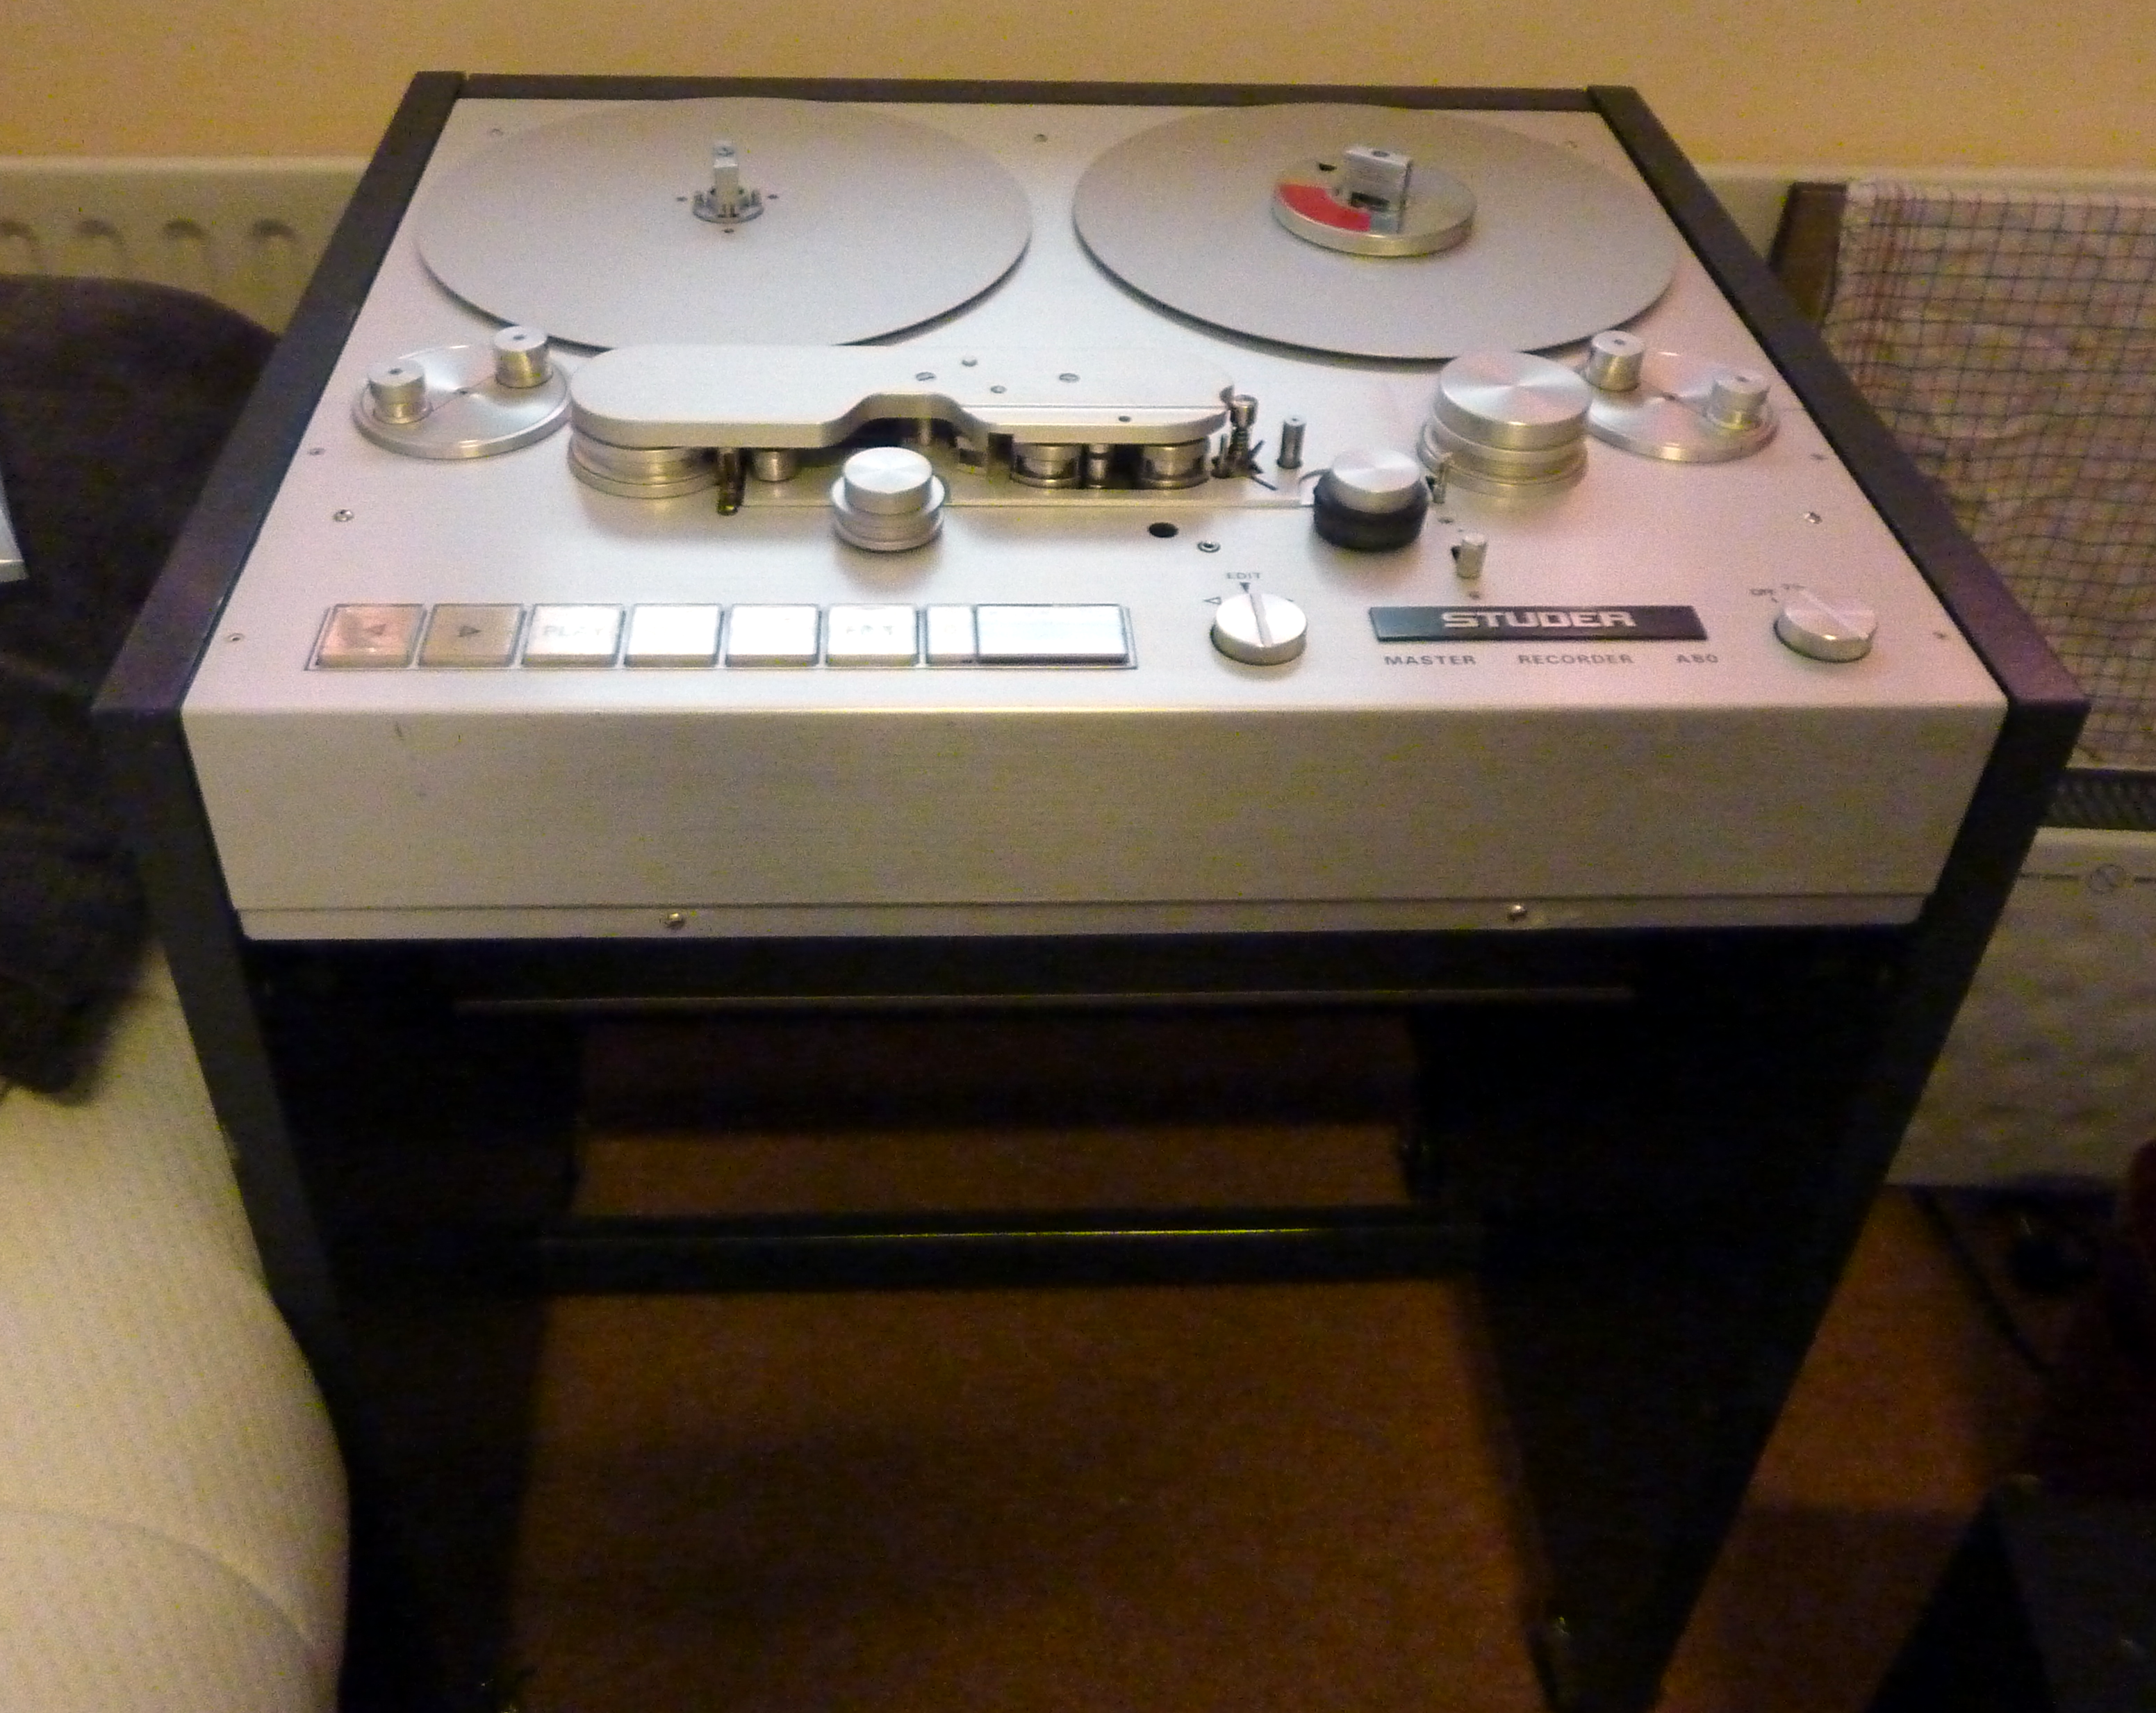
- the best deck is the Studer A80 @ 38 cm/s. Of course, Studer was famous for their mechanics and always paid special attention to the tape path. Studer used the best available bearings and even had special lubricant that had to be used.
- a very positive measurement is the Philips N7300, the light blue line in the lower part.
- in general, the newer decks (Philips N7300, AKAI GX-77 and Teac X-2000R) are in the better part of the graph. Maybe it is because when they were manufactured, the W&F was better under control, or it is simply because they are fewer used.
- the ReVox PR99 (also a Studer brand), the dark blue line, is giving the A80 a run for his money.
- the results for the dual capstan decks that I have (Teac X7, X7-R, and X2000-R) are not as I expected. Yes, they are good, but they are beaten by single capstan decks. The whole idea of the dual-capstan system is that that would eliminate (well, minimize) W&F values. I think the system fails to deliver. And on top of that, it introduces a lot of unwanted negative side effects, that are most notable after all these years when the decks age.
The result of playing in the reverse direction were mostly comparable to the forward direction, so no real diffrerence here.
There you have it. I hope you liked my article. If you have any comments, please leave them below.
-edit 31 may 2016-
I have recently purchased a ‘real’ wow and flutter meter, the B+K Precision wow and flutter meter 1035. 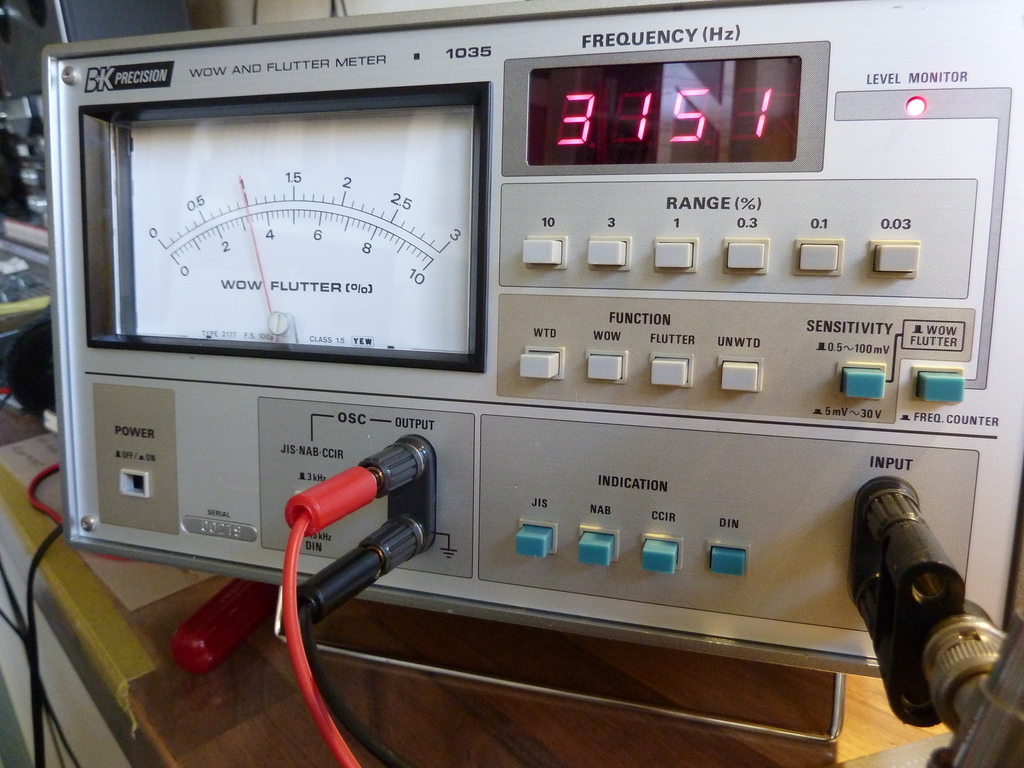
I have used this meter to check some results from the softwareprogram above, and the results fortunately match. Great!
| A80@19 |
RMS |
Peak |
max RMS |
| DIN |
0,0225 |
0,04 |
0,0294 |
| wow |
0,013 |
0,019 |
0,0166 |
| flutter |
0,0406 |
0,029 |
0,0484 |
|
|
|
|
| a80@38 |
RMS |
Peak |
max RMS |
| DIN |
0,0093 |
0,019 |
0,0136 |
| wow |
0,007 |
0,01 |
0,009 |
| flutter |
0,0368 |
0,059 |
0,0398 |


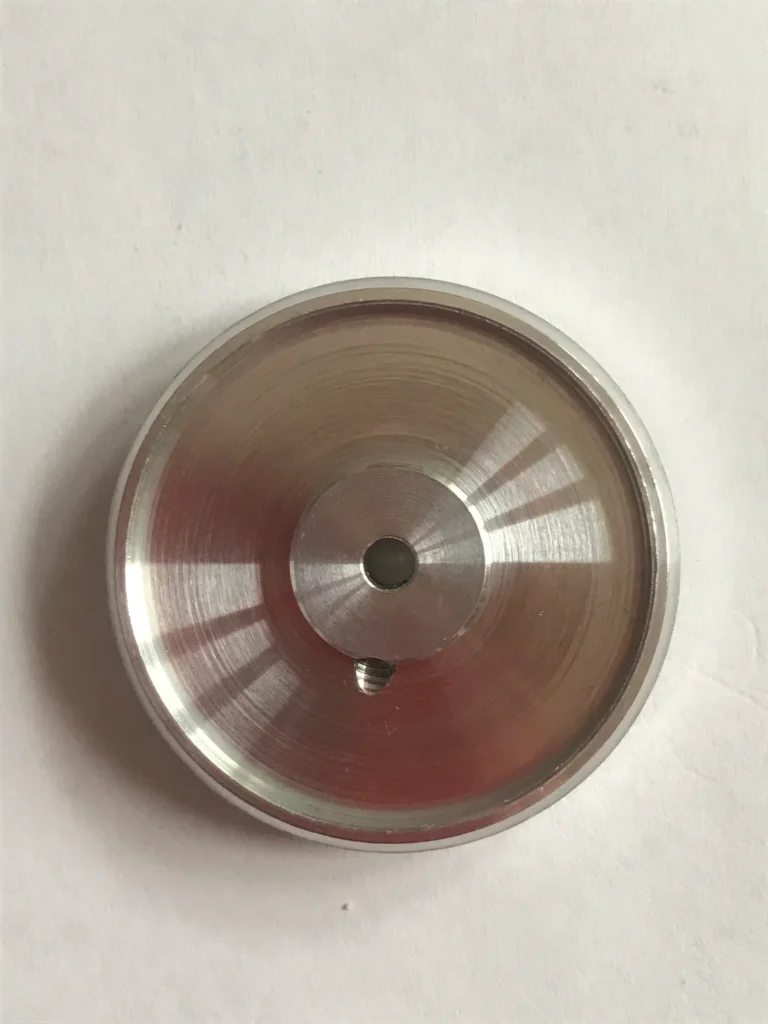


.jpg)

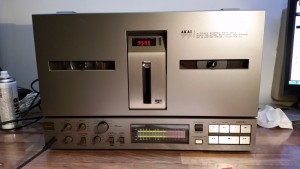
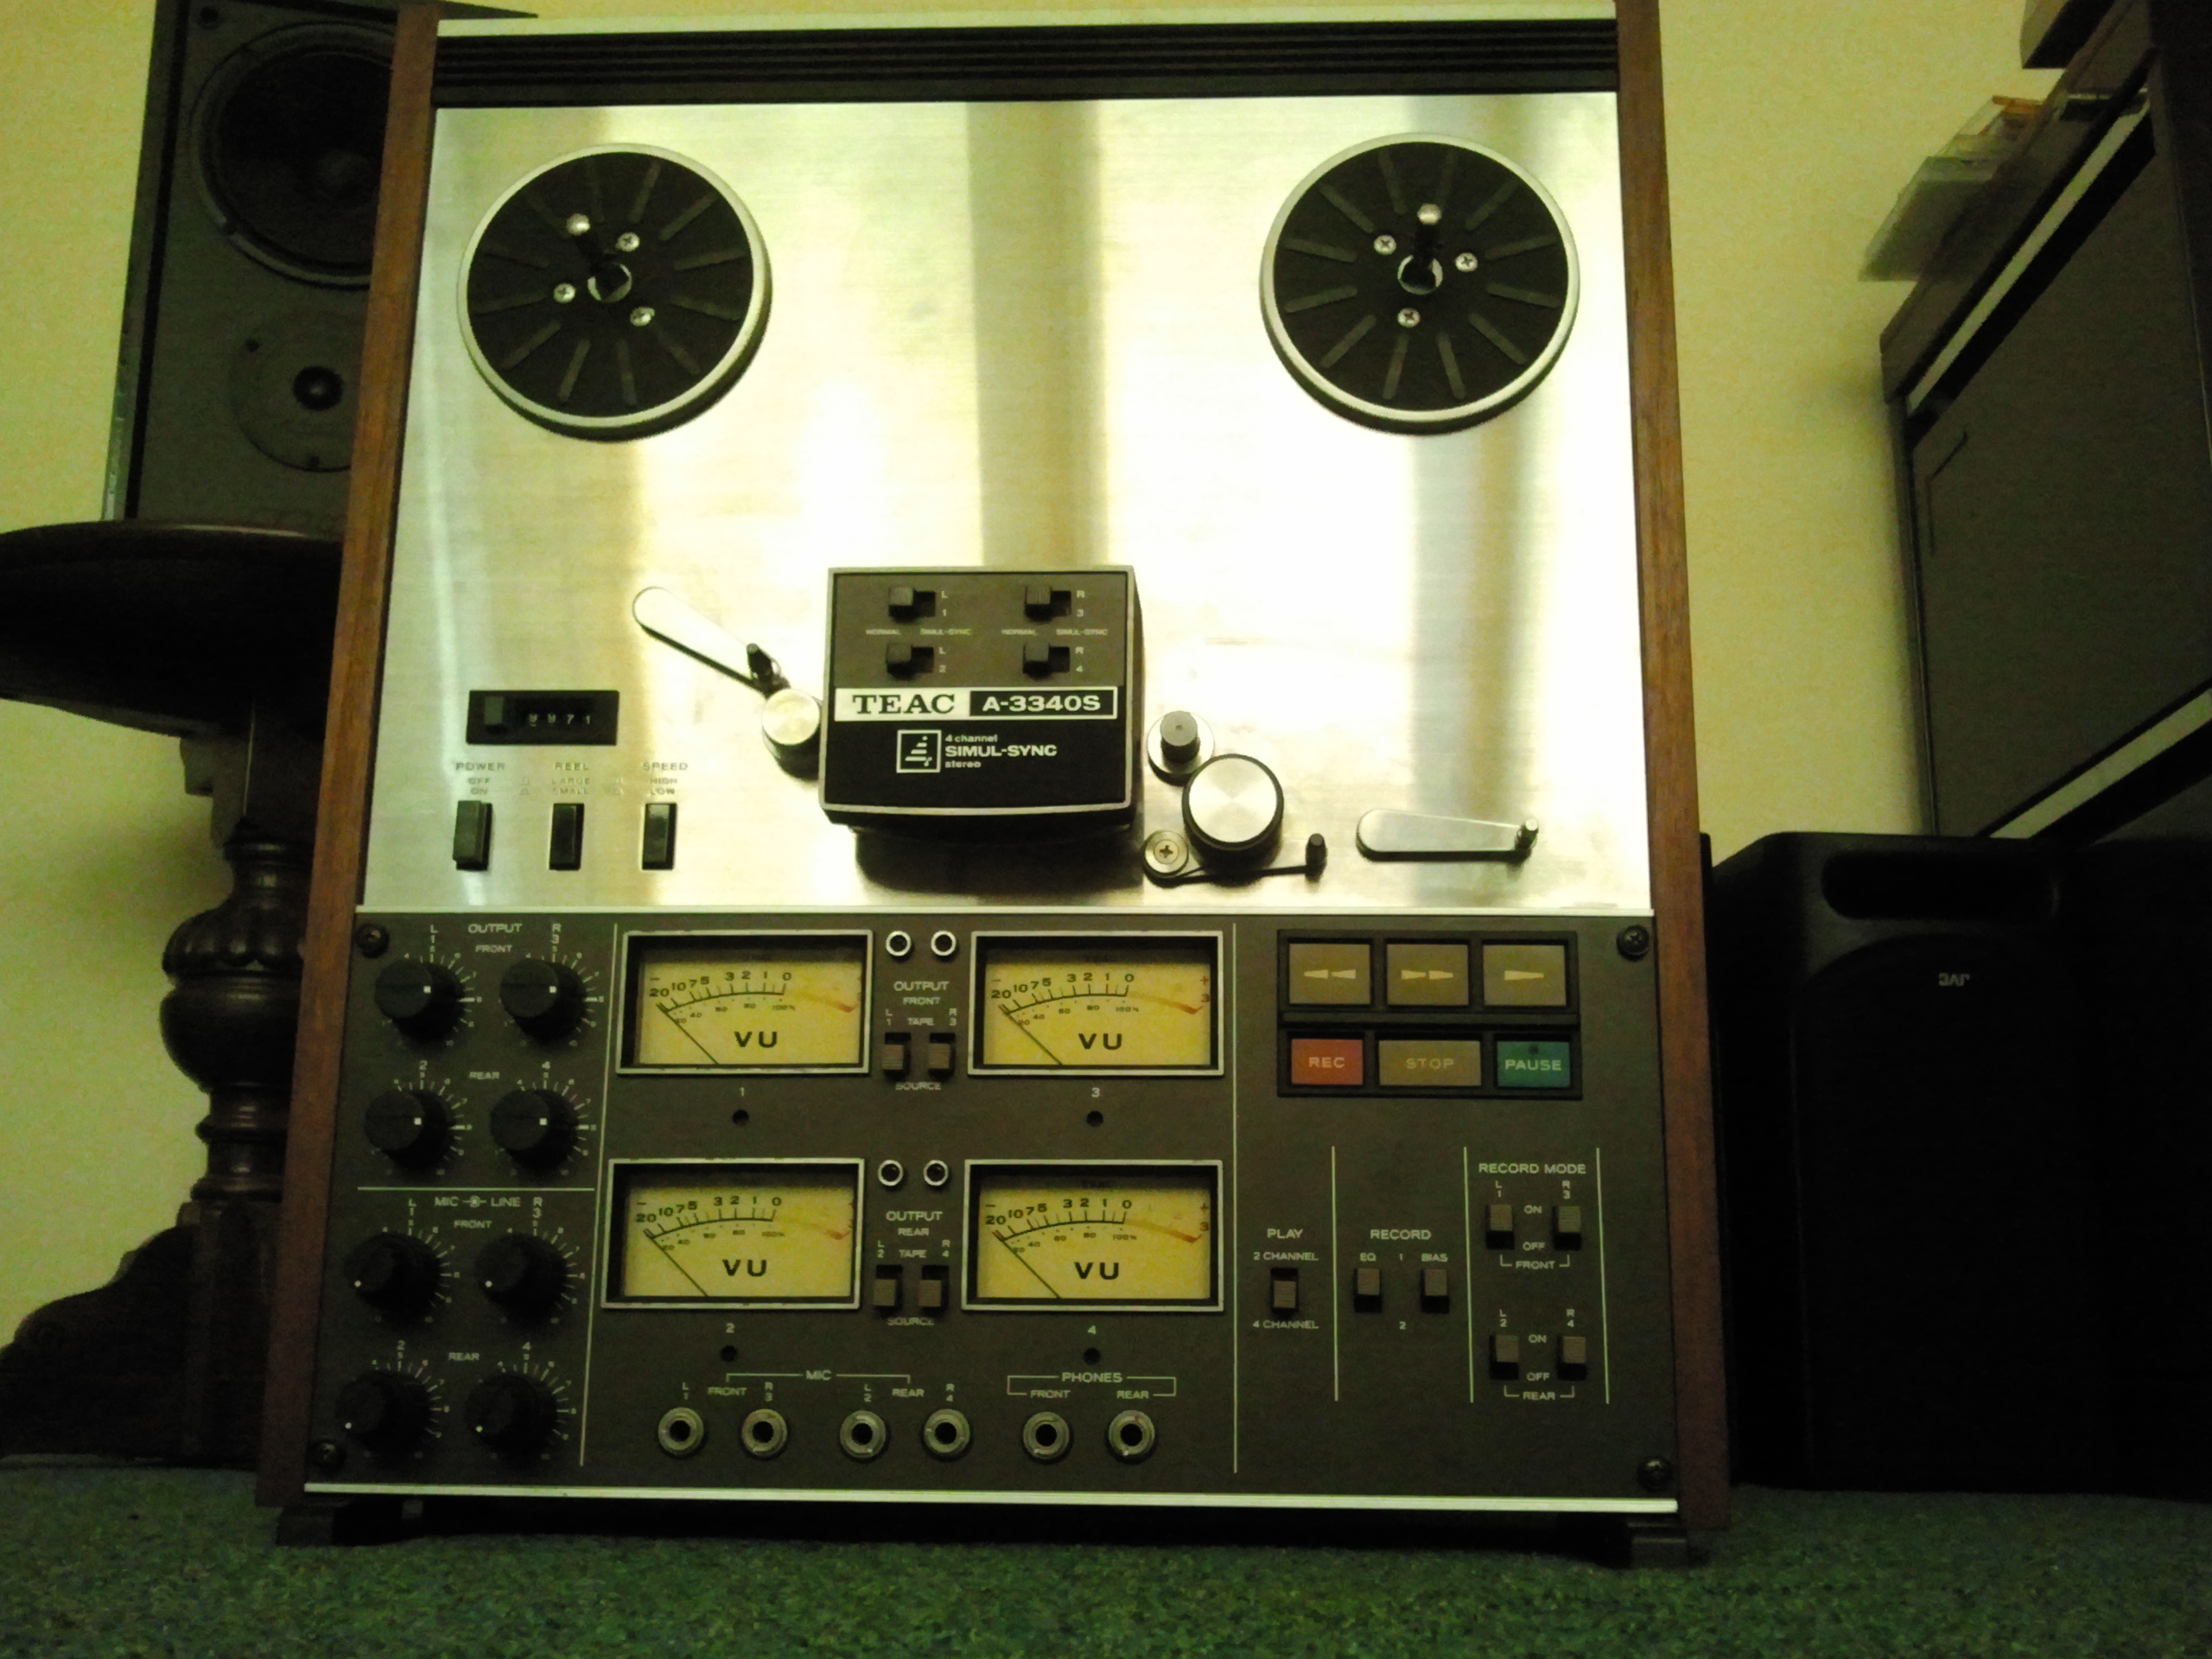
 Here it can be seen on top of my JVC. At the moment the picture was taken, it was playing a quad tape as you can see by the ‘4 channel’ indicator light. In this mode there are only 2 programs, not 4 as you would find with a stereo tape.
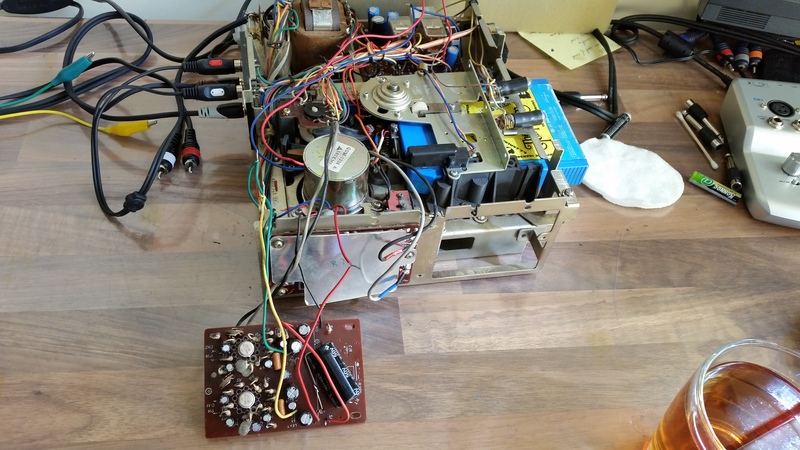


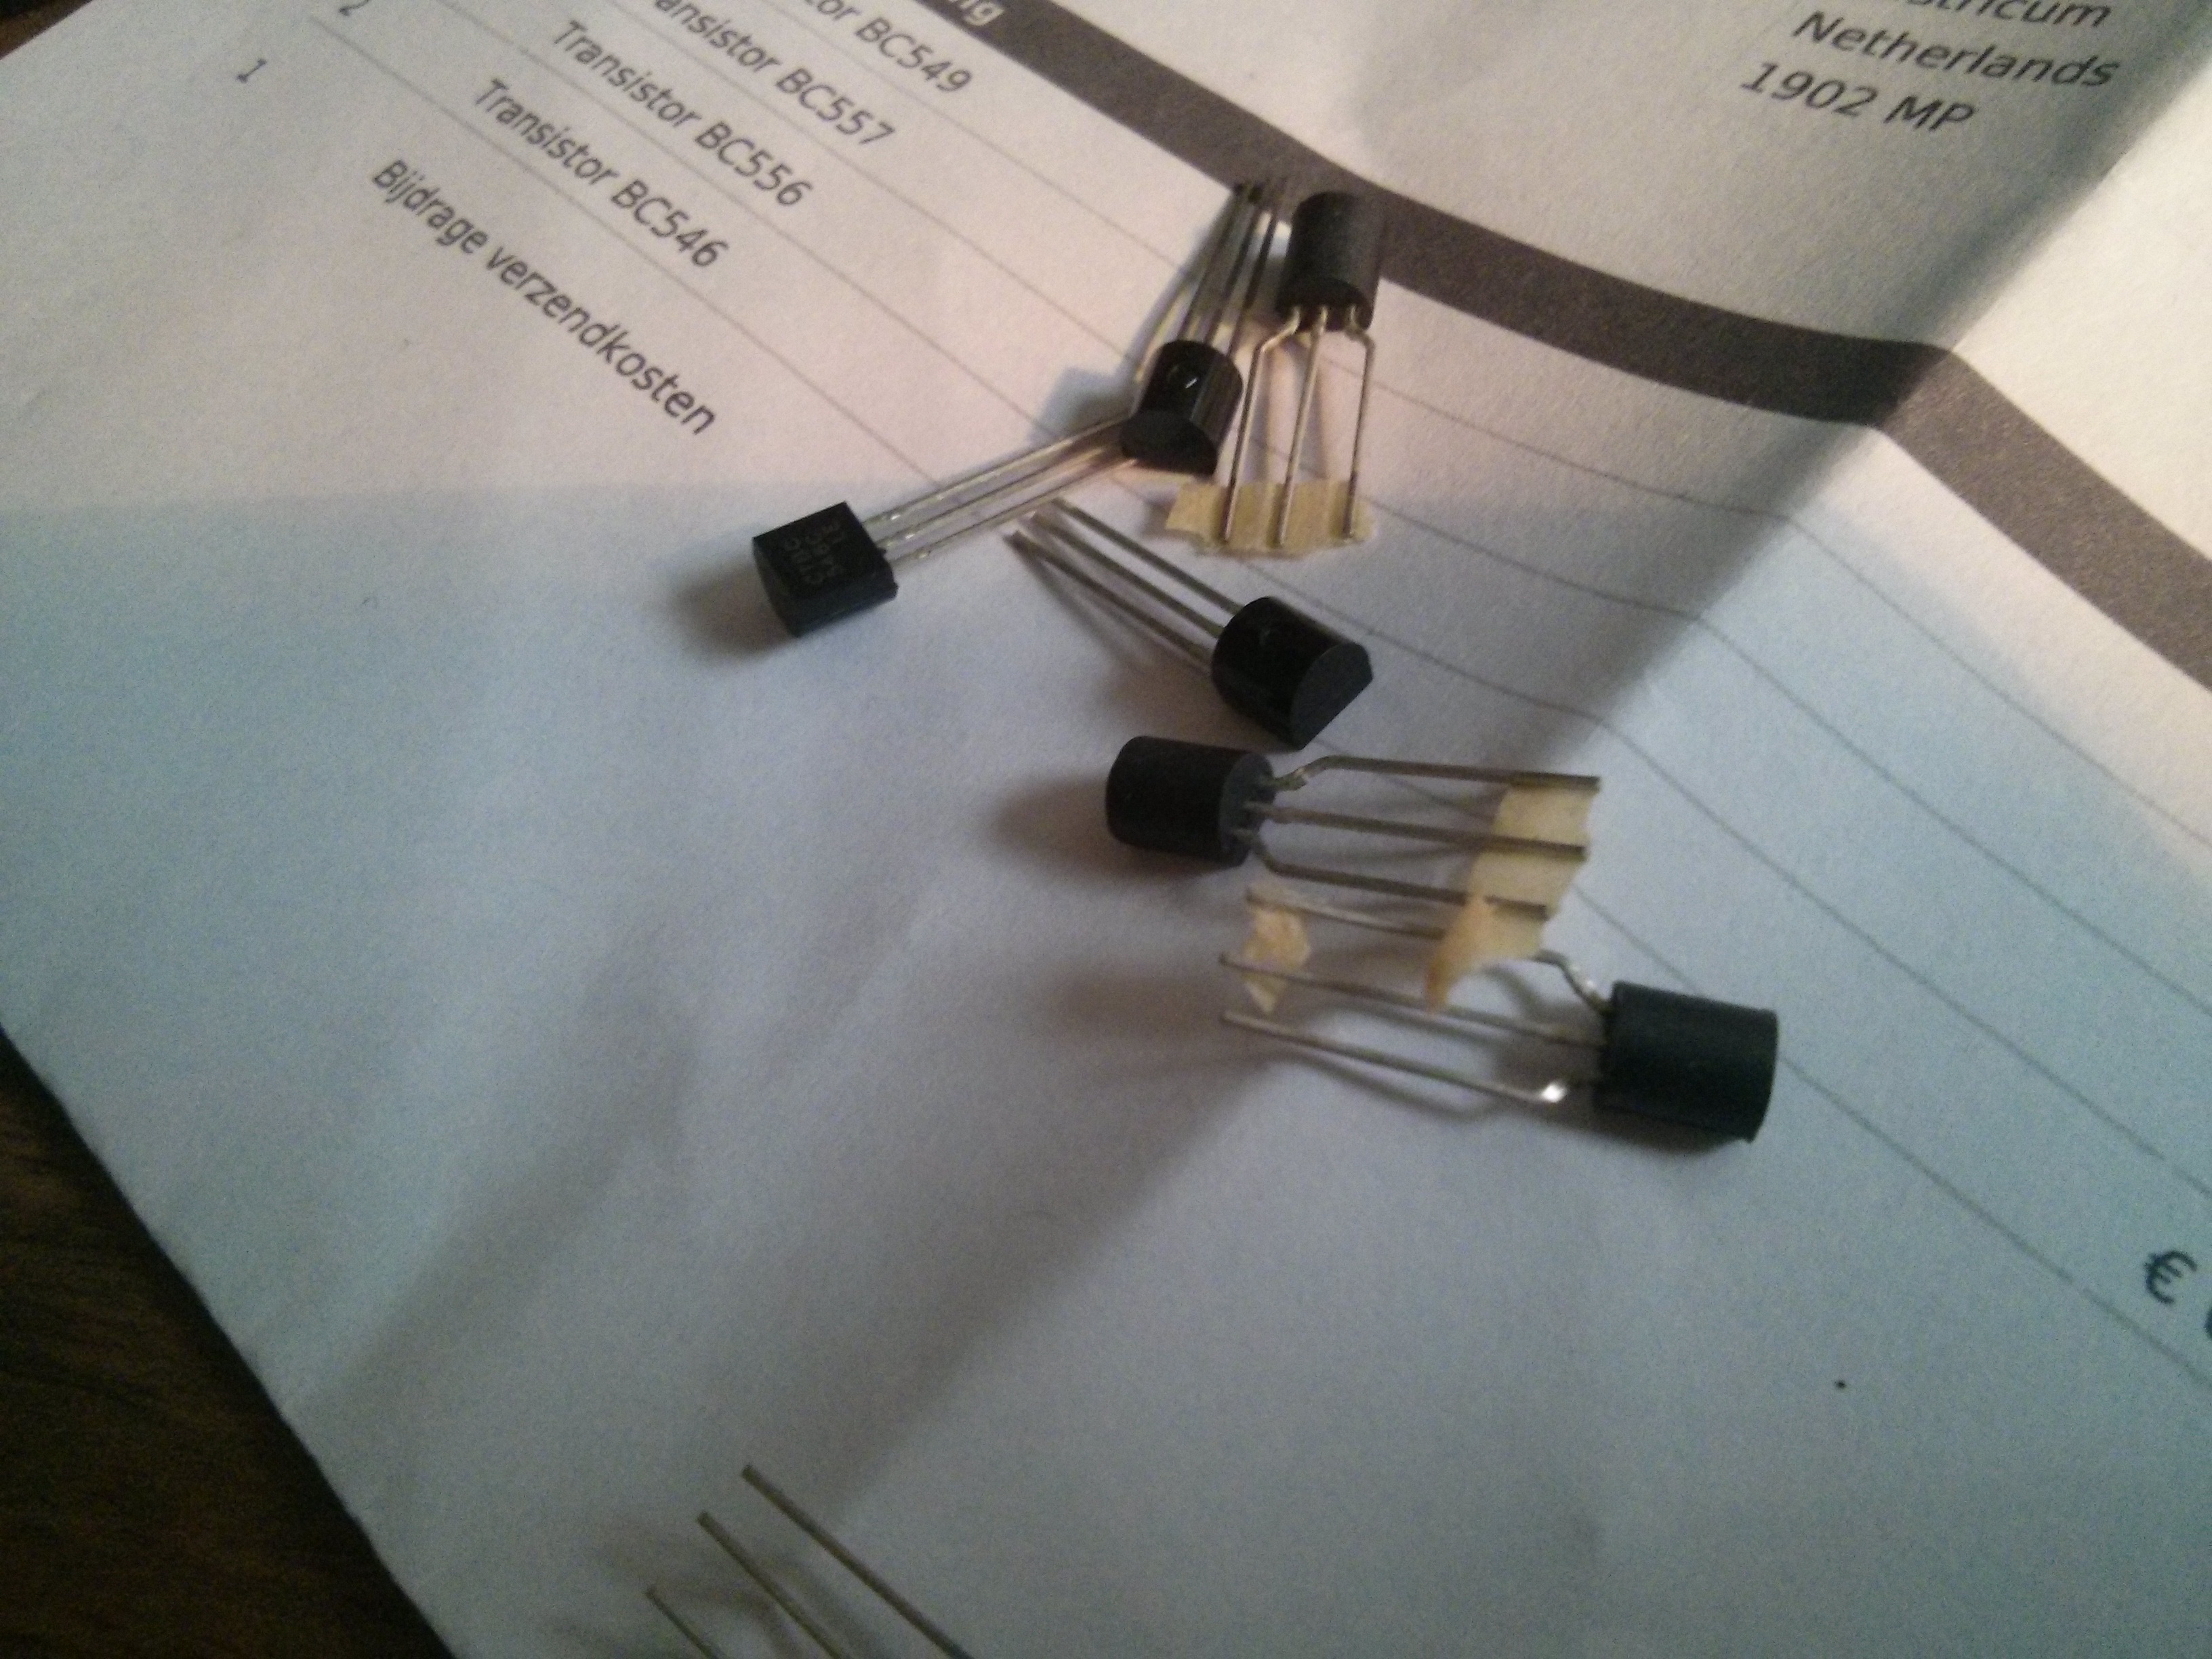
 They simply needed to be turned around, so that was relatively simple. I did not need to cross their legs.


Hi, I would love to try out your 8903B py software. Your help file specifies very carefully py version and lib versions. I have a lot of SW experience, so I feel that I can beat it into submission.
I have built pete millet jonokuchi headphone amp, a 2nd with boutique transformers, sangaku headphone nutube amp, his mighty midget, 26a7 preamp. Working on his engineers EL84 amp.
Also built a tubelab TSE with 2a3 tubes.
I have an 8903B and usb interface and would love to get measurements going on all these amps.
Thanks, C
Hello Curtis,
I have created a codeberg GIT repository. I have uploaded all the files there. It works very well, but since I run a rolling distribution (openSUSE tumbleweed) The GPIB driver breaks a lot. Every time I get a new kernel, about once a week. But there is now built-in DKMS support so that the GPIB will be rebuild after each update. But check in often, it is still being ‘perfected’ so whenever there is an update, I push the new files. Also after you have ‘git cloned’ the repository, be sure to check out the README and the help files.
You can find the git repository here:
Thanks,
If you could change my display name to “Curtis H”, that would be great.
I am very interested in getting this going as well, however I am using a standard PCI type interface, which is working on Pete Millets software in windows, but I cannot seem to get your version working unfortunately. I have tried it in linux as well, but as you mentioned there are so many variables. I would like to get it working on linux preferably, windows would be acceptable because I have other test equipment hooked to the same GPIB interface on it anyway.
A brilliant open-source solution! Moving away from legacy Windows dependencies to a clean Python-based architecture is a pro-move. As an Electrical Engineering student at Telkom University Surabaya, I really appreciate your effort in making this instrumentation data accessible and extensible.
Thank you for your kind words!
-Philip
hello sir,
First of all, a very nice and neat GUI.
I tried the script under Windows 10 with a PCI NI488-2 card, but it did not work well.
So I rewrote the script a bit, the interface for Windows and I must say it works perfectly.
But one question, have you already implemented the filters?
I work with the HP8903B and I do not have HP filters but a CCITT filter, so it is very possible that there is another command for this.
I would only expect the HP filters to work if you have activated them in the script, otherwise I will continue looking.
Greetings,
Henk,
Hello Henk,
Thank you so much!
I think it’s amazing you got it working under windows.
I have not updated the app, if I would have it would have been pushed to codeberg.
-Philip
Hello Philip,
My question is whether I am doing something wrong with the controls or if the filters in the script are not yet activated?
The keys work, but nothing happens on my instrument yet; I currently have the B version and a CCITT filter instead of the HP filters.
If the filters are not yet activated, I will see if I can add this to the script.
If you would post my changes—the complete script for Windows 10—along with your script for Linux, I will send it to you so that everything remains organized together.
Regards,
Henk.
Hello Henk,
Are you talking about the high pass 400 Hz and the low pass 30/80 kHz filters?
I do believe this functionality works on my machine with the app. It has been a while. I can not verify it atm.
And yes, I would like to eventually include your script in the codeberg repo when it is working, with the proper credits of course!
-Philip