Solving famous cracking sound problem: replacing all transistors in mainboard Philips N4520
A few months after my purchase of the Philips N4520 tapedeck, it developed a nasty fault: during playback there would be cracking sounds coming through the music, or even when not playing at all. Also when touching the knobs, there would be pops and clicks.
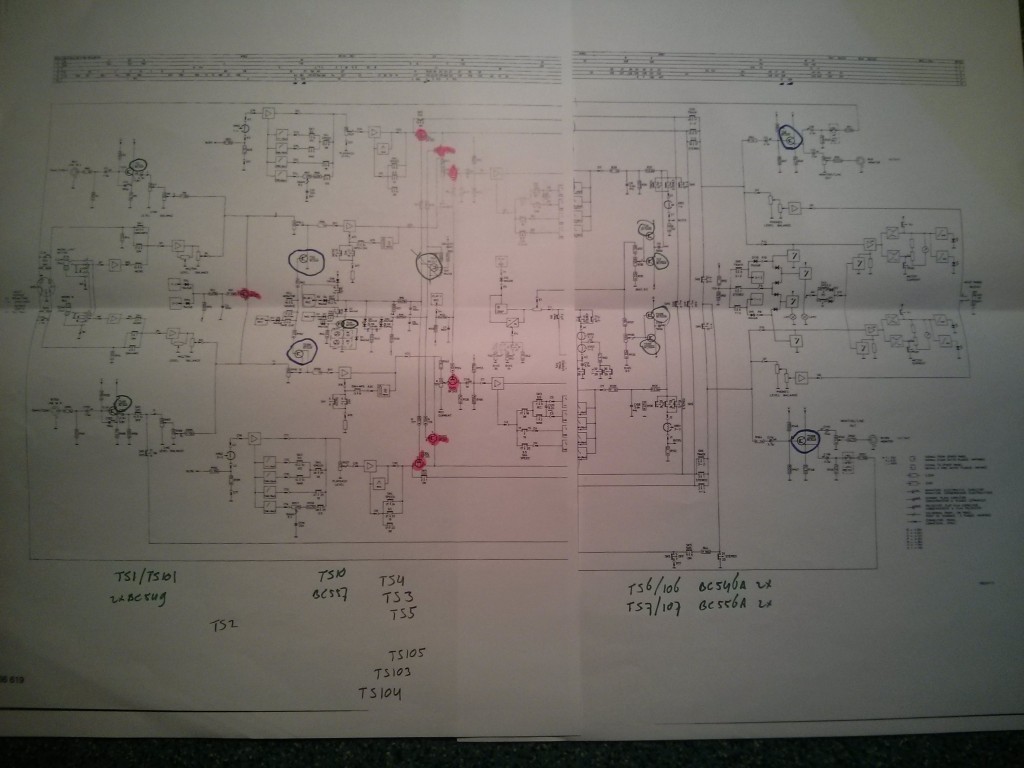
An intensive internet search revealed that there were more decks affected with the same symptom. Fortunately, a remedy was also given: replace the transistors on the main circuit board with new ones. Gulp. All 19 of them.
I have some experience with soldering, but this was a completely new level for me. I happen to be in possession of a very good soldering station with temperature control, and I have used litz wire once or twice, to remove solder of the component you want to remove.
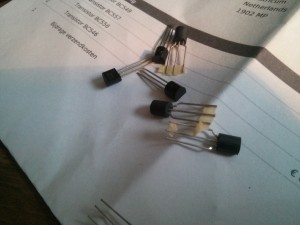
So, I ordered the necessary components on-line:
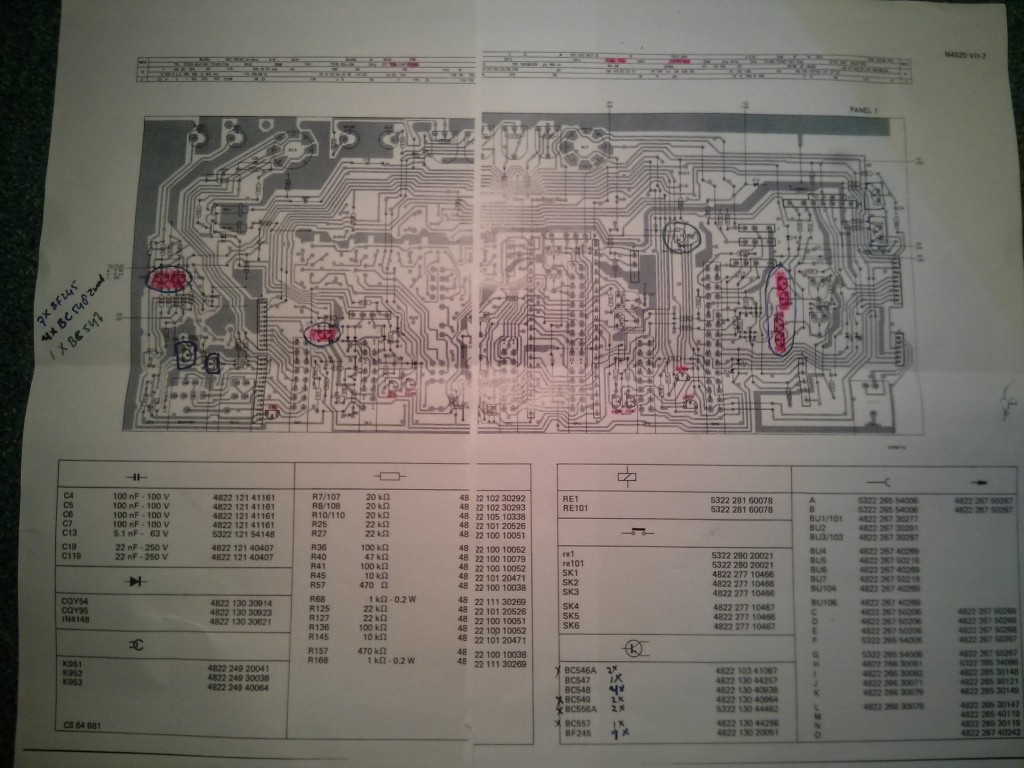
 7x BF245A : TS2 TS5/TS105 TS4/TS104 TS3/TS103
 1x BC547 : TS11
 4x BC548 : TS8 / TS108 TS9 / TS109
 2x BC549 : TS1/101
 1x BC557 : TS10
 2x BC546A : TS6/106
 2x BC556A : TS7/107
Total number of transistors: 19 pcs.
Total cost: around € 10,- excl. transport.
Then, the scary part started.
Taking apart the biggest monster in taperecorders known to mankind.
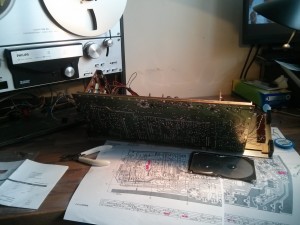
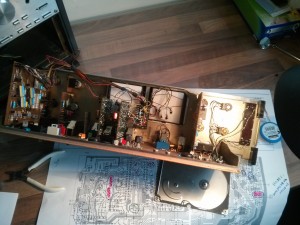
Well, almost. And, as I found out, the bottom part slides out fairly easy to the front. And it is connected to the rest of the machine with connectors. So in the end you have the bottom part which contains the ‘mainboard’ as I call it as a separate unit on your workbench.
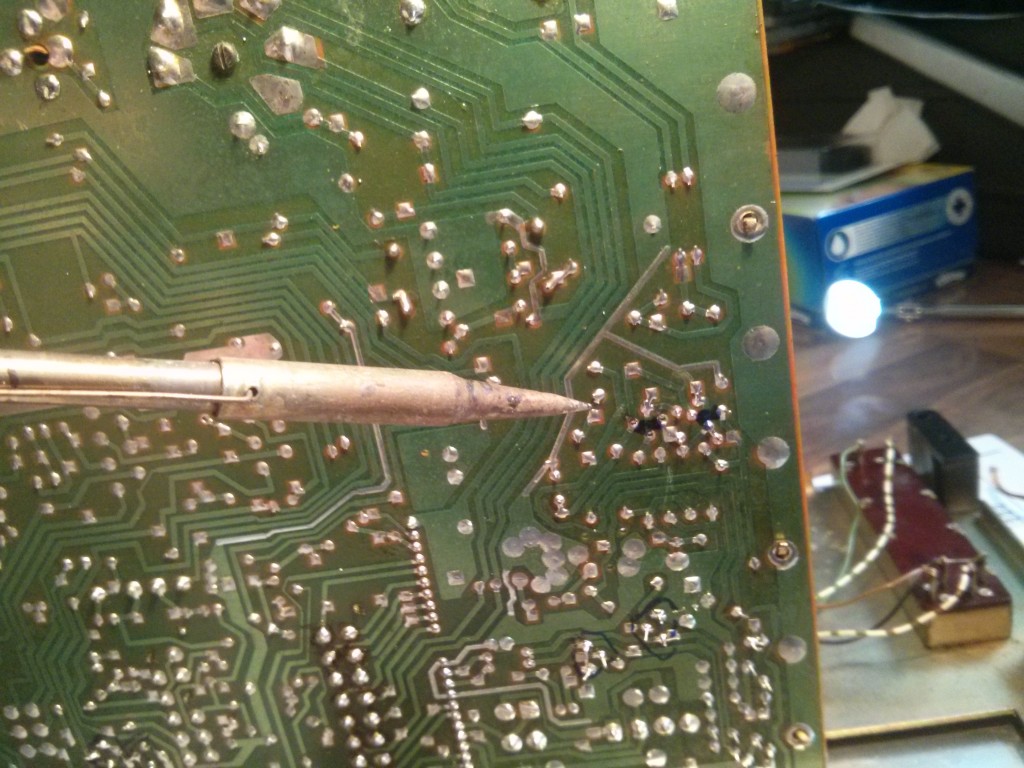
Locating the components on the printboard was difficult, but doable. Then soldering started. Using the litze wire to remove the solder from the board, I was able to remove the components.
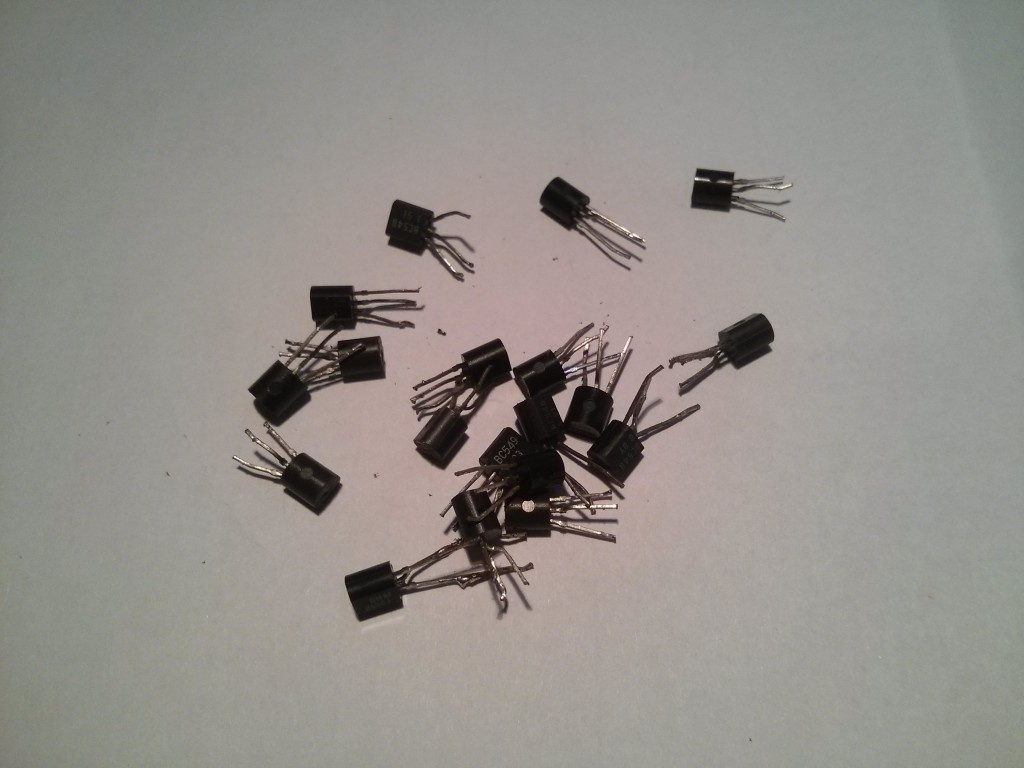
Working methodically through all components, I replaced all 19 of them. Double-checked the joints for good contact. Cut away the excess pins. And I was left with this:Then it was time to test. To do that, the mainboard had to be reinserted into the recorder and reconnected.
And?
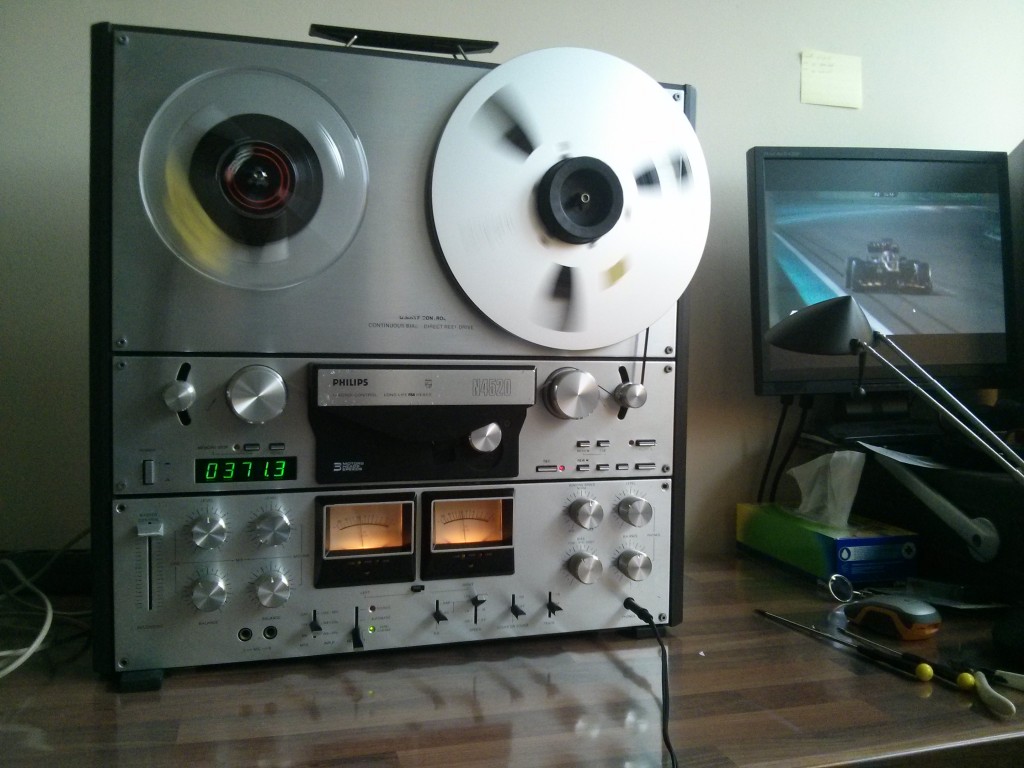
It worked! Yay! I now have a N4520 that plays back and records beautifully! It took about an afternoon’s work and about ten euro’s, but Then you have successfully restored a very very nice machine.
See a video of this beast in action on my YouTube channel:
Update 20210116: I also made a handy ‘layout quick reference guide’ for the audio main board (also better known as Panel 1) which comes in handy when you are troubleshooting or calibrating the deck.
Picture is below, you can download it here in PDF format.
20220415: Another updated version is here in PDF.
And here is a diagram of the faceplate. Also handy!
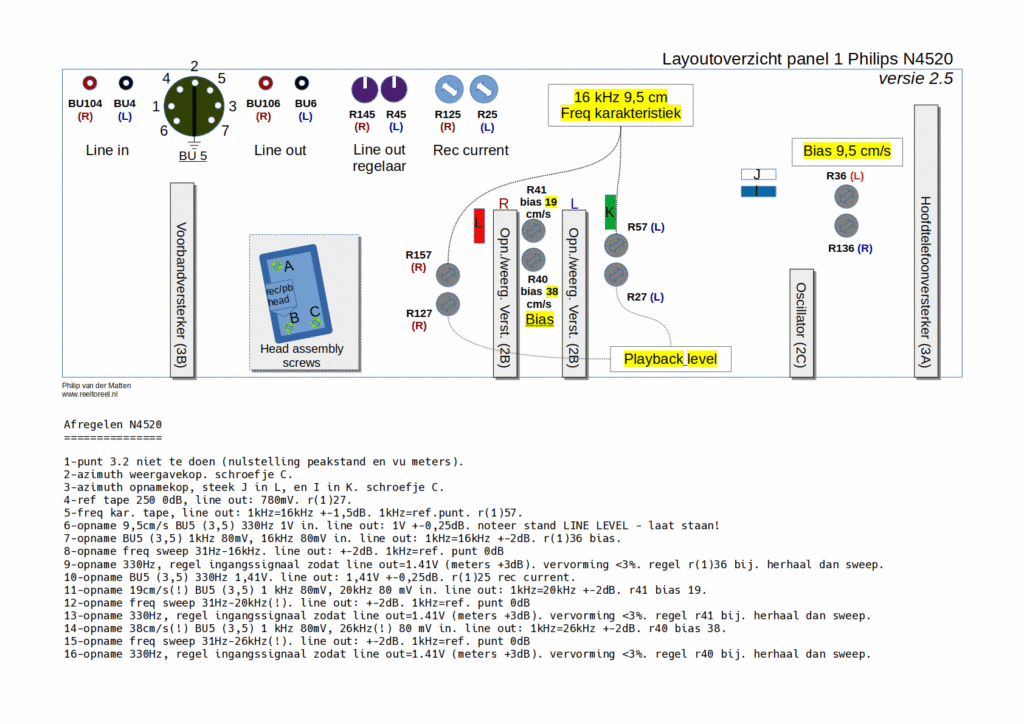
BETTER STLL: visit the Quick Reference Guide section of my website, for new and updated QRGs all the time.

